How to Choose an Optical Sight: 10 Fit, Safety, and Use Checks

To choose an optical sight, start with the firearm, the distance you actually shoot, the target size, lighting conditions, eye relief, mounting system, reticle style, and how you will confirm zero. A sight that looks good on paper can still be wrong if it sits too high, has poor eye relief, blocks safe handling, or does not match your hunting or range use.
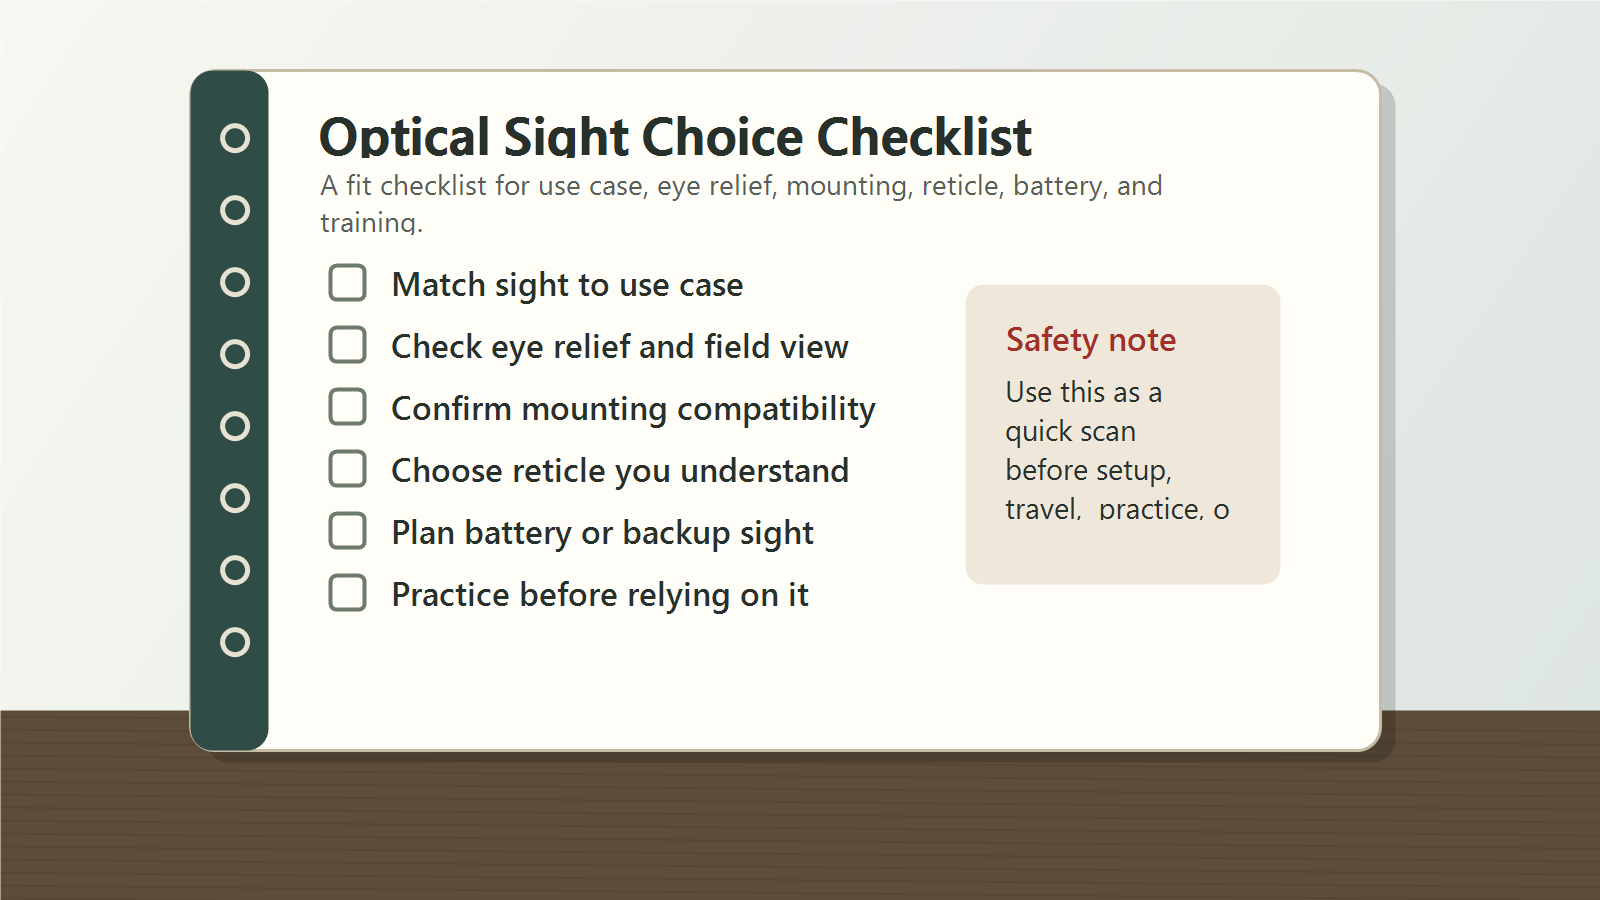
This is a support guide, not a product ranking. Use it to narrow the type of optic you need before comparing specific models. For any firearm setup, keep the core safety rules in place: know your target, know what is beyond it, and never let magnification replace judgment.
Table of Contents
- Quick Answer: How Do You Choose an Optical Sight?
- Start With Your Real Use Case
- Know the Main Optic Types
- Choose Magnification Carefully
- Pick a Reticle You Can Use Fast
- Check Eye Relief and Field of View
- Confirm Mounting, Rings, and Height
- Plan for Zeroing and Adjustments
- Low-Light Limits and Glass Quality
- Safety and Legal Checks
- Optical Sight Checklist
- FAQ
- Final Takeaway
Quick Answer: How Do You Choose an Optical Sight?
Choose an optical sight by matching optic type, magnification, reticle, eye relief, mounting height, and adjustment system to your firearm and realistic shooting distance. For most hunters and range shooters, a simple optic that fits correctly and holds zero is more useful than a complicated optic with features you will not use.
The first decision
Decide whether you need speed, precision, low-light visibility, compact size, or longer-range aiming help. That choice points you toward a red dot, fixed-power scope, variable scope, low-power variable optic, prism sight, or another aiming system.
The mistake to avoid
Do not choose an optic only by maximum magnification. Too much magnification can narrow field of view, slow target acquisition, add weight, and make close shots harder.
Start With Your Real Use Case
An optical sight should solve a real problem. A deer rifle in thick timber, a rimfire trainer, a turkey shotgun, a defensive carbine, and a target rifle all ask different things from an optic.
Hunting in close cover
For close woods, speed and field of view matter. Low magnification, a bold reticle, forgiving eye box, and safe eye relief are usually more useful than high magnification.
Open-country hunting
Open terrain can make moderate magnification and a clear reticle more useful, but only if you also know your ethical range, wind limits, and backstop. Magnification should help identification and aiming, not tempt risky shots.
Range and training use
At the range, repeatable adjustments and clear tracking may matter more than low-light performance. If you are learning fundamentals, a simple optic can make errors easier to diagnose.
Know the Main Optic Types
Different sights handle speed, distance, weight, and precision differently. Knowing the categories prevents you from comparing tools that are built for different jobs.
Telescopic scopes
A telescopic sight uses lenses and a reticle to provide an aiming reference, often with fixed or variable magnification. It is common on hunting rifles and precision-oriented firearms.
Red dot sights
Red dots are built for fast aiming at closer distances. They can be useful when speed matters more than magnified detail, but battery life, dot size, brightness controls, and mounting height still need attention.
Prism sights
Prism sights are compact optics with etched reticles and fixed magnification in many designs. They may help some shooters who struggle with dot distortion, but eye relief and eye box can be less forgiving than a simple red dot.
Low-power variable optics
A low-power variable optic can cover close and moderate distances. It works best when the shooter understands both ends of the magnification range and confirms the reticle at realistic distances.
Choose Magnification Carefully
Magnification should fit distance and target detail. More power is not automatically better. High magnification can make it harder to find a moving animal, track recoil, or shoot from awkward field positions.
Close-range magnification
For close cover, low magnification helps you keep both the target and surrounding area in context. A 1x or low-end variable setting can be faster than a high-power scope in timber or brush.
Moderate-range magnification
For many field rifles, moderate magnification is enough for realistic distances. The goal is a steady sight picture, clear aiming point, and enough field of view to stay aware of the target area.
High magnification tradeoffs
High magnification can help with small targets and precise aiming, but it also adds weight and makes technique more visible. If the image shakes badly or the field of view is too narrow, lower power may lead to better decisions.
Pick a Reticle You Can Use Fast
A reticle should help you aim without making the sight picture confusing. Choose one that you can understand under time pressure, in imperfect light, and from field positions.
Simple duplex reticles
A simple duplex-style reticle is often easy to see and quick to center. It can be a strong choice for hunters who do not dial adjustments or hold for many distances.
Holdover reticles
Holdover reticles can help when they match your firearm, ammunition, zero, and verified trajectory. They can also mislead shooters who never confirm the marks at the range.
Illuminated reticles
Illumination can help the reticle stand out, but it does not turn darkness into a legal or ethical shot. Check battery life, daylight visibility, low-light glare, and local hunting rules.
Check Eye Relief and Field of View
Eye relief is the distance between your eye and the optic where the image appears correctly. It matters for comfort, speed, and recoil safety.
Why eye relief matters
On heavier-recoiling firearms, too little eye relief can put the scope close to your face. Set eye relief from real shooting positions, not just from a bench.
Field of view
Field of view affects how much area you see around the target. Wider field of view can help with moving animals, quick follow-up decisions, and awareness of the background.
Eye box forgiveness
A forgiving eye box lets you see a usable image even if your head position is not perfect. That matters in cold weather, awkward rests, steep terrain, and fast field positions.
Confirm Mounting, Rings, and Height
Mounting is where many good optics become frustrating. The optic, rings, base, rail, firearm, cheek weld, and eye relief all need to work together.
Ring and tube size
Scope rings must match the tube diameter and mount correctly to the base or rail. The scope mount reference explains that mounts and rings attach the optic to the firearm and must fit the firearm interface.
Mounting height
The optic should sit low enough for a stable cheek weld but high enough to clear the barrel, receiver, sights, bolt handle, and objective bell. A poor height can make the rifle feel unnatural.
Torque and alignment
Use the manufacturer’s torque guidance for bases and rings. Overtightening can damage parts, while undertightening can let the optic shift. If you are unsure, use a qualified gunsmith.
Plan for Zeroing and Adjustments
An optic is not ready just because it is mounted. It needs to be zeroed, checked, and understood at the distances you actually use.
Choose a practical zero
Your zero should match your firearm, ammunition, target size, and distance. Do not copy another shooter’s zero without confirming it with your own setup.
Track adjustments
Know whether your optic adjusts in MOA, mils, or another system. Write down your zero, ammunition, date, distance, and any changes. That simple note can save confusion later.
Recheck after bumps and travel
Recheck zero after mounting changes, hard travel, rough hunts, or a noticeable impact. If the rifle starts missing in a pattern, inspect mounts before blaming the optic.
Low-Light Limits and Glass Quality
Optics can help you see detail, but they do not change legal shooting hours, safe backstop requirements, or ethical identification standards. A brighter image is not permission to shoot when you cannot identify the target and background.
Objective size tradeoffs
Larger objective lenses can help with image brightness in some conditions, but they also add size and may require higher rings. Higher rings can weaken cheek weld if the stock does not fit the setup.
Coatings and clarity
Good glass and coatings can improve contrast, glare control, and edge clarity. Compare optics in realistic light if possible, not only under bright store lighting.
Know the legal light limit
Hunting rules for legal shooting hours and artificial light vary by state and species. Check the current regulation booklet before relying on any low-light setup in the field.
Safety and Legal Checks
An optical sight can make a target look closer and clearer, but it does not remove the need for firearm safety. The NSSF firearm safety rules stress muzzle control, correct ammunition, and knowing your target and what is beyond it.
Do not use magnification as identification alone
Use binoculars or a spotting scope for observation when possible. Pointing a firearm-mounted optic at something just to identify it can create an unsafe situation.
Check local hunting rules
Some hunts restrict electronic sights, illuminated reticles, night vision, thermal optics, or magnification in specific seasons. Confirm rules before the hunt, not after buying an optic.
Match the optic to training
If the optic has turrets, hold marks, parallax adjustment, illumination, or a complex reticle, practice until those features are boring. Complicated controls under pressure can cause bad decisions.
Optical Sight Checklist
- Use case is clear: hunting, range, training, rimfire, shotgun, carbine, or long-range work.
- Magnification range matches realistic distances.
- Reticle is easy to understand in field conditions.
- Eye relief is safe from real shooting positions.
- Field of view and eye box are usable at low and high power.
- Tube size, rings, base, and rail are compatible.
- Mounting height supports a stable cheek weld.
- Zero distance and adjustment system are recorded.
- Low-light use stays inside legal and ethical limits.
- Safety rules and local hunting rules are checked.
FAQ
What is the easiest optical sight for beginners?
For close-range training, a simple red dot can be easy to learn. For hunting rifles, a simple low-to-moderate power scope with a clear reticle is often easier than a complex long-range optic.
How much magnification do I need?
Use enough magnification to aim clearly at your real distance, but not so much that field of view, eye box, weight, and speed suffer. Many field shots need less magnification than new buyers expect.
Why is eye relief important?
Eye relief helps you see a full image and keeps the optic a safer distance from your face under recoil. It should be checked from standing, kneeling, prone, and any field position you use.
Should I use my rifle scope to identify animals?
No. Use binoculars, a monocular, or a spotting scope for observation when possible. A firearm-mounted optic should not be pointed at anything you are not prepared to handle safely as a firearm target.
Can an illuminated reticle help in low light?
It can help the reticle stand out, but it does not extend legal shooting hours or replace target identification. Check brightness, glare, battery life, and local hunting rules.
Final Takeaway
The right optical sight is the one that fits your firearm, distance, eyes, mounting system, and safety needs. Start with real use, choose modest magnification when it fits the job, mount the optic correctly, confirm zero, and never let glass replace safe target identification.
Related reading: prism scope on an AR-style rifle.