How to Zero a Scope at 100 Yards
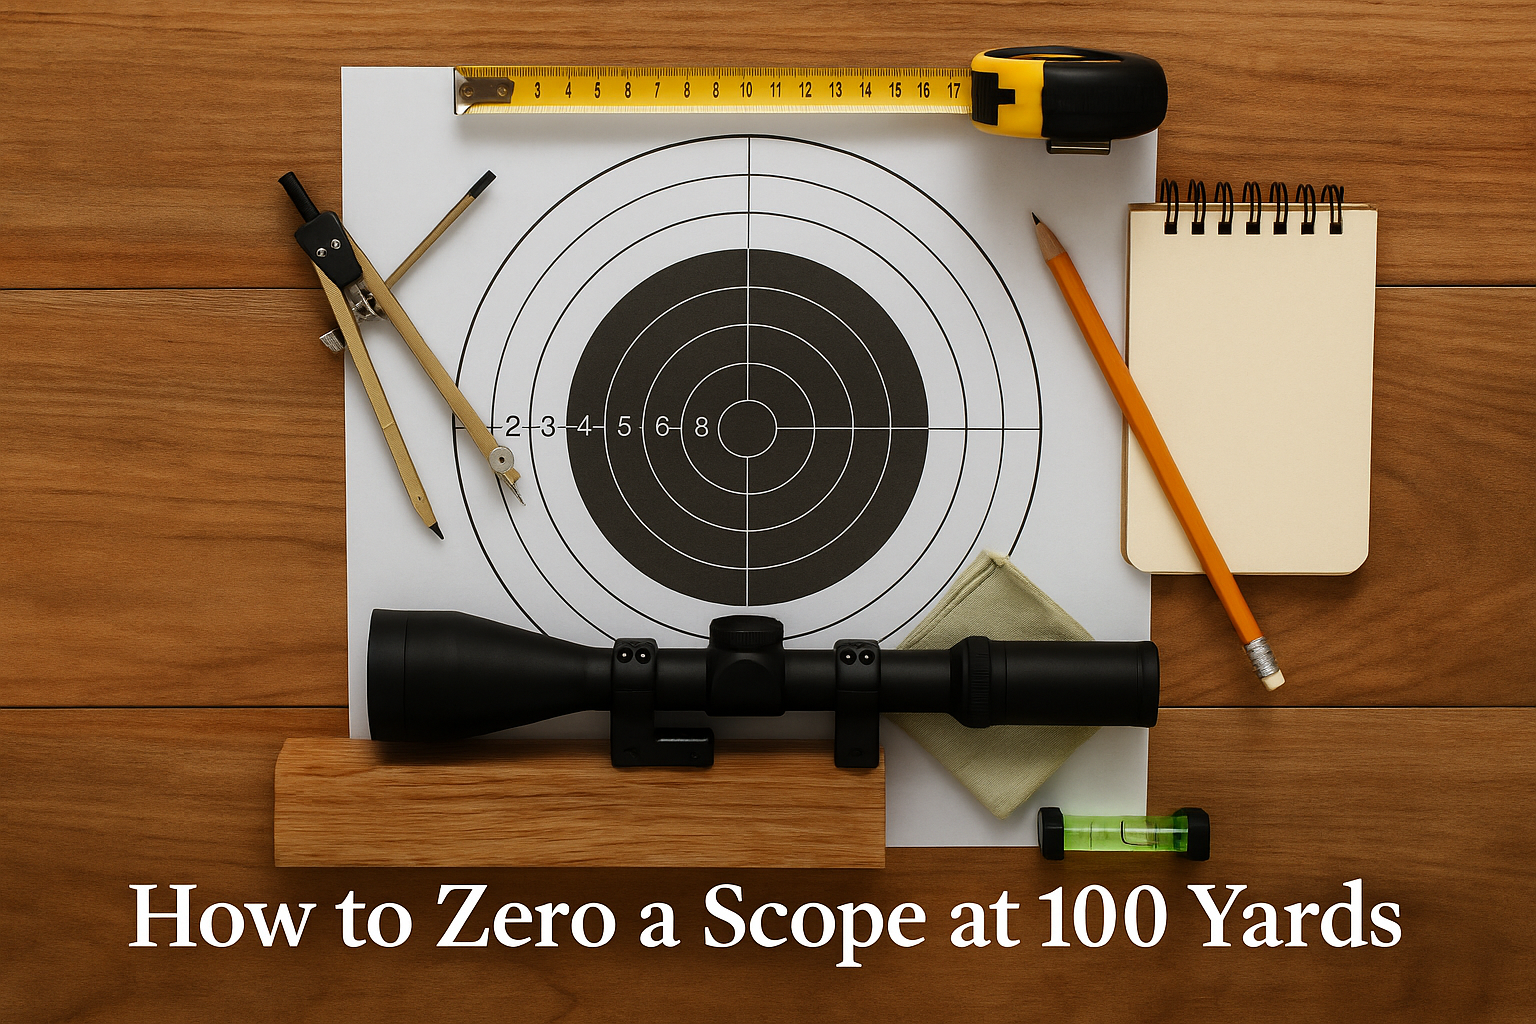
To zero a rifle scope at 100 yards, start with a safe range setup, confirm the rifle and ammunition match, bore-sight if possible, fire careful groups from a stable rest, adjust the scope based on group center, and confirm the final zero with the same ammunition you plan to use. The goal is not a single random hit. The goal is a repeatable point of impact from a safe, controlled position.
Table of contents
Quick Answer
A simple 100-yard zero process is: set up safely, shoot a three-shot group, measure the group center, adjust elevation and windage, shoot another group, and repeat until the group center matches your desired point of impact. Let the barrel cool as needed and avoid chasing one bad shot.
Why 100 Yards Is Popular
A 100-yard zero is easy to confirm, easy to explain, and useful for many hunting and range rifles. It gives you a reliable baseline before learning longer-distance holds or turret adjustments.
What It Does Not Prove
A 100-yard zero does not prove your rifle is ready for every distance, animal, or weather condition. It only confirms where that rifle, optic, and ammunition hit at 100 yards under the conditions you tested.
Safety First
Before zeroing, review safe firearm handling. The NSSF firearm safety rules are a good baseline: keep the muzzle pointed in a safe direction, keep your finger off the trigger until ready to shoot, know your target and what is beyond it, and treat every firearm with care.
Range Setup
Use an approved range or safe shooting area with a safe backstop. Follow all range commands. Keep ammunition organized, keep the muzzle downrange, and do not handle firearms while people are downrange.
Ammunition Check
Use ammunition that matches the firearm markings and manual. If you are unsure about ammunition compatibility, stop and verify. SAAMI publishes safety information on unsafe firearm and ammunition combinations.
What You Need
- Rifle with securely mounted scope.
- Correct ammunition from the same load or lot when possible.
- Stable front and rear support, bags, bipod, or rest.
- Paper target with visible grid or aiming point.
- Eye and ear protection.
- Tools for turret caps or mount checks.
- Notebook or phone note for recording adjustments.
Check Mounts Before Shooting
A loose base, ring, or action screw can make zeroing feel impossible. Check the scope mount according to the manufacturer’s instructions and torque specs. If you are unsure, ask a qualified gunsmith or experienced range officer.
Start Close Before 100 Yards
If the rifle is newly mounted or far from zero, start closer than 100 yards. Many shooters begin at 25 yards to make sure shots are on paper. This saves time, ammunition, and frustration.
Bore-Sighting
Bore-sighting can help get close, but it is not a final zero. It only helps align the bore and optic enough to start live-fire confirmation.
Move to 100 Yards
Once the rifle is on paper and reasonably centered at a closer distance, move the target to 100 yards and begin shooting careful groups.
Shoot Groups, Not Single Shots
One shot can lie. A three-shot or five-shot group tells you more about the rifle, ammunition, and shooter. Use the center of the group for adjustments instead of chasing each hole.
Group Size Matters
If groups are very large, do not keep adjusting the scope. Check fundamentals first: rest stability, trigger control, mount tightness, ammunition, barrel heat, and shooter fatigue.
Let the Barrel Cool
Some rifles shift point of impact as the barrel heats. If groups start walking, slow down and let the barrel cool before making major adjustments.
Adjust the Scope
Most scopes adjust in MOA or MIL clicks. Read your scope manual. A common hunting scope may adjust 1/4 MOA per click, which is roughly 1/4 inch at 100 yards. Do not assume; check the turret markings.
Adjust From Group Center
Measure how far the group center is from the desired point of impact. Adjust windage and elevation in the direction indicated by the turret. Then shoot another group to confirm.
Do Not Overcorrect
Make a calculated adjustment and test it. If the next group moves unexpectedly, check your math and shooting setup before spinning the turrets again.
Confirm the Zero
When the group center matches your chosen point of impact, shoot a final confirmation group. If this is a hunting rifle, confirm with the exact hunting load you plan to carry.
Record the Setup
Write down the rifle, ammunition, bullet weight, zero distance, temperature, scope setting, and date. This helps you notice changes later.
Check Again After Travel
Reconfirm zero after hard travel, a drop, scope work, mount work, or a major ammunition change. A rifle that was zeroed last season should still be checked before an important hunt.
Common Mistakes
- Chasing single shots instead of group center.
- Zeroing with one ammunition load and hunting with another.
- Ignoring loose mounts or poor rest stability.
- Shooting too fast and heating the barrel.
- Forgetting to tighten turret caps or reset the turret reference.
- Assuming a 100-yard zero proves long-range readiness.
Troubleshooting a Wandering Zero
If the point of impact keeps moving, pause before blaming the scope. Check the simple things first: loose rings, loose bases, inconsistent shoulder pressure, unstable rear support, a hot barrel, mixed ammunition, or changing wind. A zeroing session can go sideways quickly when two or three small problems stack together.
When To Stop Adjusting
If groups are not consistent, stop adjusting turrets and diagnose the setup. A scope adjustment only helps when the rifle is grouping predictably. When the group itself is scattered, the better fix is stability, ammunition consistency, mount inspection, or shooter rest.
When To Ask for Help
If the rifle will not hold zero after careful checks, ask a qualified gunsmith, range officer, or experienced instructor to inspect the mount and optic. Continuing to fire without understanding the problem wastes ammunition and can build bad confidence.
Field Notes After Zeroing
After zeroing, learn your holdover or turret data at other distances only on a safe range. Wind, angle, animal movement, and shooting position all matter. For outdoor wind awareness, the National Weather Service wind safety resources are a useful reminder that conditions can change quickly.
Set a Practical Limit
Your ethical range is the distance where you can repeat clean hits from realistic field positions. A benchrest zero is a baseline, not a reason to stretch past what you have proven.
FAQ
How many shots does it take to zero a scope?
It depends on how close the rifle starts and how well it groups. Careful shooters often need several groups. Do not rush; clean confirmation matters more than saving a few rounds.
Should I zero at 25 yards first?
Starting at 25 yards can help get on paper, especially with a newly mounted scope. It is not a substitute for confirming at 100 yards.
Can I zero with different ammo?
You can test different ammunition, but your final zero should match the ammunition you plan to use. Different bullet weights and loads can hit in different places.
Why does my zero keep moving?
Common causes include loose mounts, inconsistent shooting support, barrel heat, ammunition changes, poor scope tracking, or shooter fatigue. Diagnose before making endless turret adjustments.
Final Takeaway
A good 100-yard zero is built from safe range setup, careful groups, measured adjustments, and final confirmation with the right ammunition. Take your time, record your data, and treat zeroing as the start of responsible shooting, not the end of practice.