Physical Fitness for Hunting: 10 Training and Safety Checks
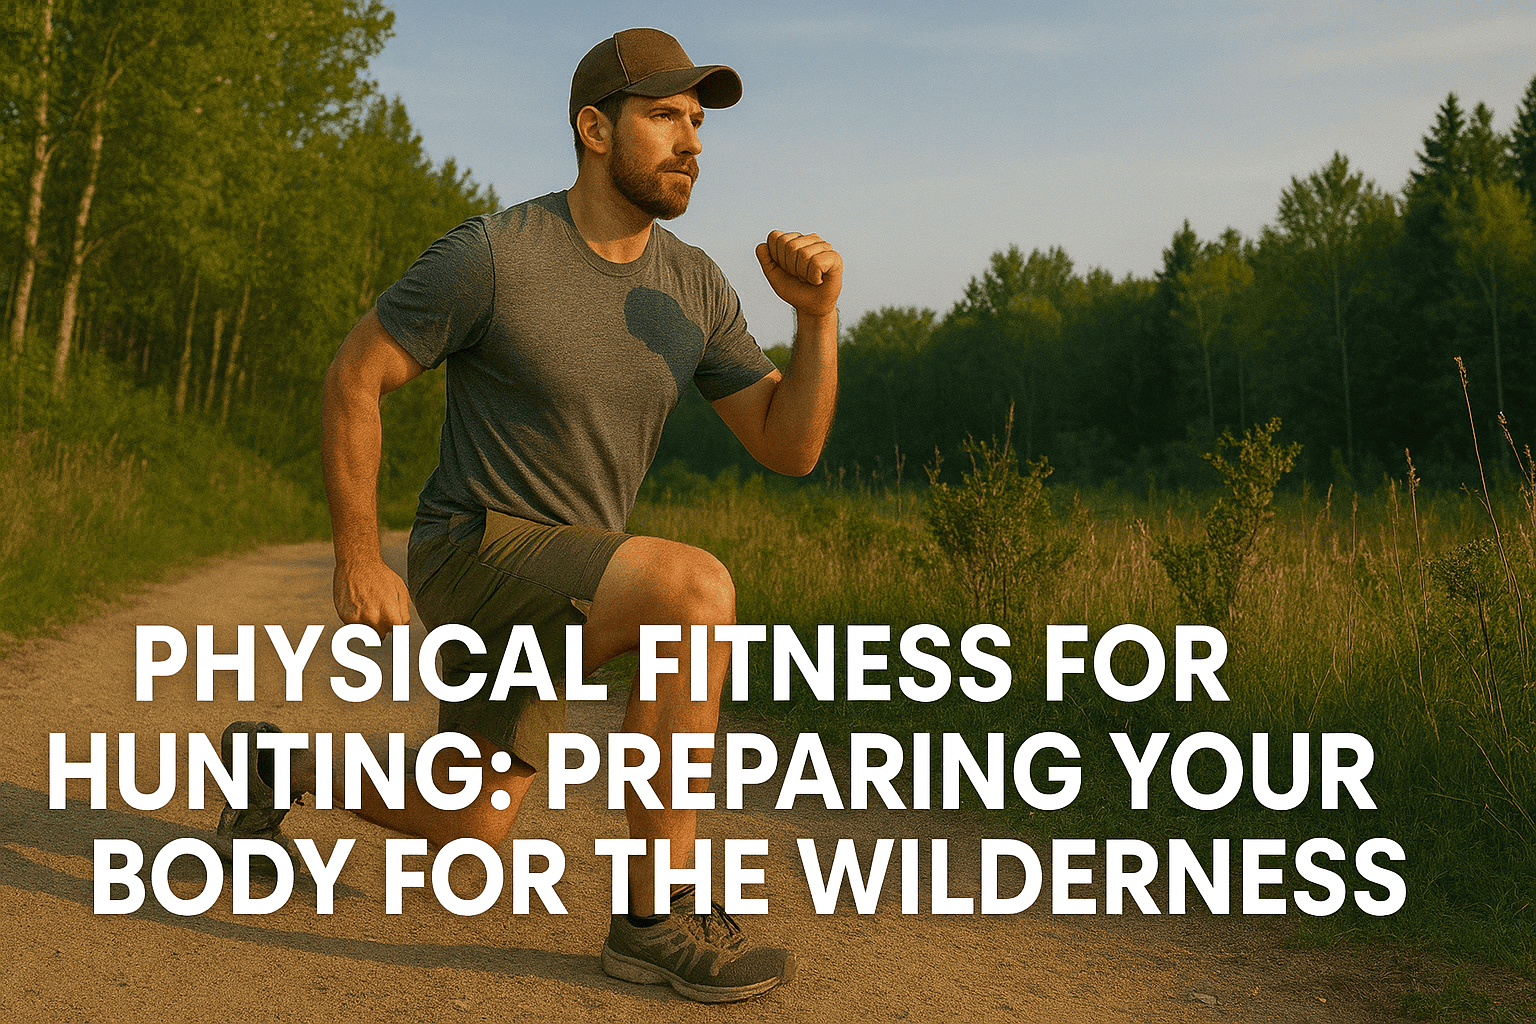
Physical fitness for hunting is not bodybuilding; it is preparing your heart, legs, back, balance, and recovery habits for long walks, uneven ground, pack weight, heat, cold, and safe shot decisions. Train gradually, match workouts to your hunt, and talk with a healthcare professional if you have medical concerns or have been inactive.
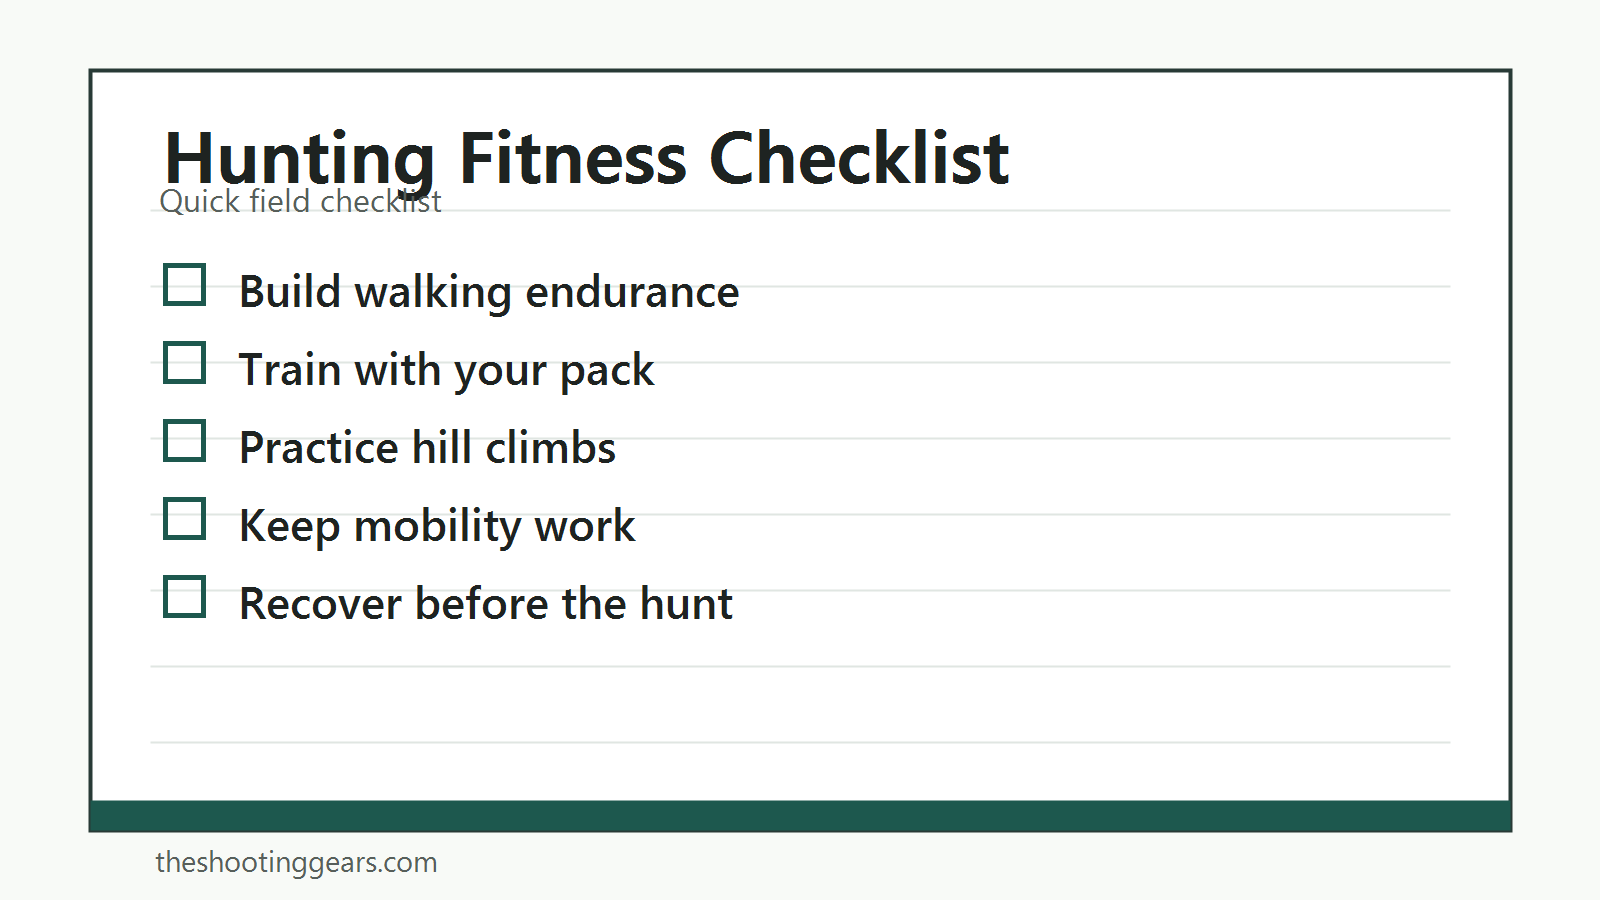
This guide gives hunters a practical conditioning checklist. It is general education, not a personal medical or training plan.
Table of Contents
Quick Answer: What Fitness Matters Most for Hunting?
The most useful hunting fitness is steady walking endurance, leg and hip strength, core stability, balance on uneven ground, pack-carry tolerance, and enough recovery to make safe decisions late in the day.
Train for your actual hunt
A treestand deer hunt, western elk hunt, upland bird hunt, waterfowl marsh hunt, and backcountry hunt stress the body differently. Your plan should match distance, elevation, pack weight, weather, and recovery needs.
Safety beats intensity
Hard workouts are not useful if they injure you before the season. Build slowly and keep enough energy for shooting practice, scouting, sleep, and work.
1. Start With Your Baseline
Before increasing training, be honest about your current activity level, injury history, heart or breathing concerns, medications, heat tolerance, and body weight under a loaded pack. If you have symptoms or risk factors, get medical guidance before hard training.
Check daily walking first
If you rarely walk, start there. A hunter who can walk consistently without pain has a better base than a hunter who jumps into heavy pack workouts too early.
Track simple signs
Record walking time, distance, hills, pack weight, soreness, sleep, and how you feel the next day. Progress should feel repeatable, not desperate.
Set a hunt-specific goal
A clear goal might be: walk three miles with a daypack, climb 1,000 feet without rushing, carry decoys across a marsh, or pack meat downhill safely. Train the job you expect to do.
Know warning signs
Stop training and seek medical help for chest pain, fainting, severe shortness of breath, unusual pressure, confusion, or symptoms that feel different from normal effort. Fitness should make hunting safer, not push you through warning signs.
2. Build Aerobic Capacity
The CDC says adults need at least 150 minutes of moderate-intensity physical activity each week plus 2 days of muscle-strengthening activity. Review the CDC adult physical activity guidance for the baseline. For hunters, brisk walking, hiking, cycling, rowing, stairs, and loaded walking can all support that base when progressed safely.
Use the talk test
Moderate effort usually lets you talk but not sing. That is a useful zone for building a base without wearing yourself out.
Build weekly consistency
Three or four repeatable sessions per week usually beats one punishing session that leaves you sore for days. Consistency also gives you more chances to test boots, socks, pack fit, and pacing.
Add hills gradually
Hills train breathing, calves, quads, glutes, and pacing. Start with short hills before long climbs or weighted hill repeats.
Use heart rate as a guide, not a rule
The American Heart Association’s target heart-rate guidance can help estimate intensity, but fatigue, heat, elevation, caffeine, medication, and stress can change how effort feels.
3. Train Legs, Hips, Back, and Core
Hunting fitness depends on repeated steps, controlled descents, kneeling, standing, climbing, dragging, lifting, and carrying. Strength training should support those tasks without turning every session into a max-effort test.
Lower body
Squats, step-ups, split squats, lunges, deadlifts, and calf raises can help when done with good form and reasonable load.
Core and back
Planks, carries, rows, bird dogs, and anti-rotation exercises help you handle uneven ground and pack movement.
Shoulders and grip
Loaded carries, rows, light presses, and grip work can help with packs, stands, decoys, blinds, and field dressing.
4. Practice Pack Carry Carefully
Pack training is useful, but adding weight too fast can irritate feet, knees, hips, and back. Build walking volume first, then add light pack weight, then add hills.
Start lighter than hunting weight
Begin with a light daypack and short route. Add weight slowly only if your joints and feet recover well.
Use the boots and socks you will hunt in
Fitness includes foot prep. Test boots, socks, lacing, and blister prevention before opening day. Our blister care guide is a useful safety follow-up.
Train descents
Downhill walking can be harder on knees and quads than climbing. Practice controlled descents with shorter steps.
5. Improve Mobility and Balance
Hunters step over logs, kneel, sit, climb into stands, cross creek banks, and move on wet leaves or loose rock. Balance and mobility reduce risk when the ground is not flat.
Ankles and hips
Calf mobility, ankle control, hip hinges, and gentle hip stretches can make uneven walking feel less awkward.
Single-leg balance
Practice easy single-leg balance near support. Progress slowly before doing it loaded or on uneven ground.
Stand and blind movement
Practice getting into kneeling, sitting, standing, and shooting positions without rushing. Movement quality matters when you are cold or tired.
6. Plan Heat, Hydration, and Acclimatization
Early-season hunts and scouting days can create heat stress. CDC/NIOSH recommends water access, rest breaks, heat acclimatization, buddy checks, and reduced workload when heat risk rises.
Acclimate gradually
NIOSH recommends increasing heat exposure gradually over 7 to 14 days for workers. Hunters can apply the same idea by building summer scouting and pack walks slowly.
Drink and rest before symptoms appear
CDC/NIOSH advises cool potable water, rest breaks, and awareness of heat-illness symptoms. Review CDC/NIOSH heat-stress recommendations before hard work in hot weather.
Watch hunting-specific heat load
Boots, packs, waders, heavy clothing, meat hauling, and direct sun all add strain. Reduce pace before heat turns into a medical issue.
7. Train for Terrain and Navigation
Hiking on a treadmill is helpful, but hunting terrain often includes sidehills, mud, brush, snow, creek crossings, and deadfall. Train in safe real-world terrain when possible.
Use the NPS hiking safety mindset
The National Park Service’s Hike Smart guidance emphasizes planning, knowing your limits, checking weather, carrying essentials, and telling someone your plan. Hunters should use the same approach.
Practice with navigation tools
Fitness does not help if you get lost. Pair conditioning walks with map, compass, GPS, and route practice. Our compass guide is a good companion skill.
Train the return trip
The walk out often happens tired, in the dark, with gear or meat. Save enough energy for the return.
Fatigue also affects muzzle control, climbing, creek crossings, knife work, and navigation. Set a conservative turnaround point before judgment starts slipping.
8. Use Recovery and Sleep
Recovery is part of training. Tired legs, poor sleep, dehydration, and sore feet can lead to bad decisions, poor shooting, and falls.
Build rest days
Hard days should be followed by easier days. If soreness changes your walking pattern, reduce load or volume.
Eat enough for the work
Long scouting and hunting days need food planning. Pack food you will actually eat while moving.
Practice with your real schedule
If you will wake up early and walk before daylight, do a few safe practice days with that rhythm before the season.
9. Use an Eight-Week Ramp
An eight-week ramp gives many hunters enough time to improve without panic training. Adjust based on health, experience, terrain, and medical guidance.
Weeks 1-2: base walking
Walk 3 to 5 days per week at an easy to moderate pace. Add light mobility and two short strength sessions.
Weeks 3-5: hills and strength
Add hills, step-ups, carries, and slightly longer walks. Keep one easier week if soreness builds.
Weeks 6-8: hunt simulation
Use your boots, pack, poles if needed, and realistic terrain. Do not test a new maximum effort the week before opening day.
10. Hunting Fitness Checklist
Use this before the season and before demanding hunts.
Conditioning checklist
- Walks completed weekly
- Hills practiced gradually
- Two strength sessions most weeks
- Pack weight added slowly
- Feet and boots tested
Safety checklist
- Medical concerns reviewed
- Heat plan ready
- Hydration and food packed
- Route shared with someone
- Return energy saved
Field checklist
- Navigation tools practiced
- Headlamp and backup power packed
- First-aid and blister kit packed
- Meat-hauling plan realistic
- Stop point set for fatigue or heat
FAQ
How fit do I need to be for hunting?
It depends on the hunt. Start with the distance, terrain, pack weight, and weather you expect, then train for those demands gradually.
Is walking enough training for hunting?
Walking is a strong start, especially with hills. Most hunters also benefit from basic strength work, balance, mobility, and pack practice.
Should I train with a heavy pack?
Only after you have a walking base. Add light weight first, then increase slowly. Heavy pack work too early can cause foot, knee, hip, or back problems.
What if I get winded on hills?
Slow down, shorten your stride, and build hill work gradually. If breathlessness feels unusual, severe, or paired with chest pain, dizziness, or pressure, stop and get medical help.
When should I start training for hunting season?
Eight weeks is a useful minimum for many hunters, but earlier is better. Fitness built year-round is easier to maintain than panic training before opening day.
Final Takeaway
The best physical fitness for hunting is practical: walk more, strengthen the legs and core, practice pack weight gradually, prepare for heat and terrain, and save enough energy to make safe decisions all the way back to the truck.