Extreme Angle Shooting: 8 Safety and Range Checks Before You Shoot
Extreme angle shooting means taking an uphill or downhill shot where the line-of-sight distance is different from the horizontal distance that affects bullet drop. The safe starting point is simple: confirm a legal shooting area, a clear backstop, a verified target, and a practiced angle-compensated hold before pressing the trigger.
This guide is for hunters and range shooters who want a safer way to think through steep terrain. It is not a replacement for firearm training, local laws, a range officer, or the manual for your rifle, optic, rangefinder, or ballistic app.
Table of contents
Extreme Angle Shooting: Quick Answer
For extreme angle shooting, use the horizontal or angle-compensated distance for elevation, not the straight line-of-sight distance by itself. Then check the backstop, target identity, wind, body position, and your practiced limit. If the angle, distance, rest, visibility, or backstop is uncertain, do not take the shot.
Keep safety first
Uphill and downhill shots can send a missed bullet into terrain you cannot fully see. The National Shooting Sports Foundation’s firearm safety rules still apply: keep the muzzle pointed safely, know your target, and know what is beyond it.
Use the right distance
A steep shot may require less elevation correction than the same line-of-sight distance on flat ground. That does not make the shot easy. It only changes the distance input you use for the hold or dial.
Pass on marginal shots
Steep terrain adds unstable footing, awkward body angles, limited target view, and harder follow-through. A clean pass is better than forcing a shot you have not practiced.
What Changes on Uphill and Downhill Shots
The main ballistic issue is distance geometry. Your rangefinder may show the direct line from you to the target, but gravity affects bullet drop across the horizontal part of that distance. Many modern rangefinders and ballistic apps can show an angle-compensated distance for this reason.
Uphill and downhill can behave similarly
Both uphill and downhill shots can require less drop correction than a flat shot at the same line-of-sight distance. The exact change depends on distance, angle, bullet, velocity, sight height, zero, and environmental inputs.
Rifle zero still matters
Your zero distance remains the base of the system. Do not assume angle compensation fixes a poor zero, loose scope mount, unverified ammunition, or a ballistic profile that was never checked on paper.
Close shots may not need much correction
At short hunting distances, the angle correction can be small. At longer distances or steeper slopes, the difference can matter more. Confirm this with your own rifle before relying on it in the field.
Line-of-Sight vs Horizontal Distance
The simplest way to explain angle compensation is this: line-of-sight distance is what the rangefinder sees directly to the target, while horizontal distance is the flatter distance used for drop correction. Many rangefinders label this as angle compensation, true ballistic range, horizontal component distance, or a similar mode.
Do not mix modes by accident
Some rangefinders can display both line-of-sight and angle-compensated readings. Know which number you are looking at before you dial or hold. A wrong display mode can lead to a wrong elevation decision.
Check the manual for your device
Optic and rangefinder brands use different names for angle modes. Read the manual for your exact model and test it at known distances before using it for a hunt or match.
Use ballistic data carefully
Ballistic calculators only help when the inputs are honest. Bullet velocity, ballistic coefficient, zero, sight height, temperature, and actual range all affect the result.
Rangefinder and Angle-Compensation Check
A rangefinder with angle compensation is useful, but it is still a tool that needs verification. Treat the reading as one part of the decision, not permission to shoot beyond your skill.
Verify at known distances
Before using angle compensation in the field, compare readings on a known-distance range or measured hillside target. Confirm which mode displays line-of-sight distance and which mode displays compensated distance.
Know the limits of the device
Rangefinders can struggle with brush, reflective surfaces, bad weather, low battery, and small targets. If the reading jumps or looks wrong, range again or pass.
Keep a simple backup
For normal hunting distances, a written dope card or verified hold chart can help you avoid overthinking in the field. Keep it conservative and based on shots you have practiced.
Safety and Backstop Check
Safety comes before the math. Hunter education guidance on firearm safety rules emphasizes target identification, muzzle control, and knowing what is beyond the target. Angle shots make those checks harder, not optional.
Check the backstop from your position
Do not rely on what the terrain looked like from the trail. From a steep shooting position, the bullet path may clear a ridge, skip past the target area, or point toward land you cannot inspect.
Watch for skyline risk
A target on a ridge, rock face, or skyline can be unsafe if there is no visible backstop. If you cannot identify a safe stop behind the target, do not shoot.
Respect legal and ethical limits
State rules, public-land rules, season rules, and hunter-orange requirements can affect whether a shot is legal. Check current regulations before the hunt, not after you reach the slope.
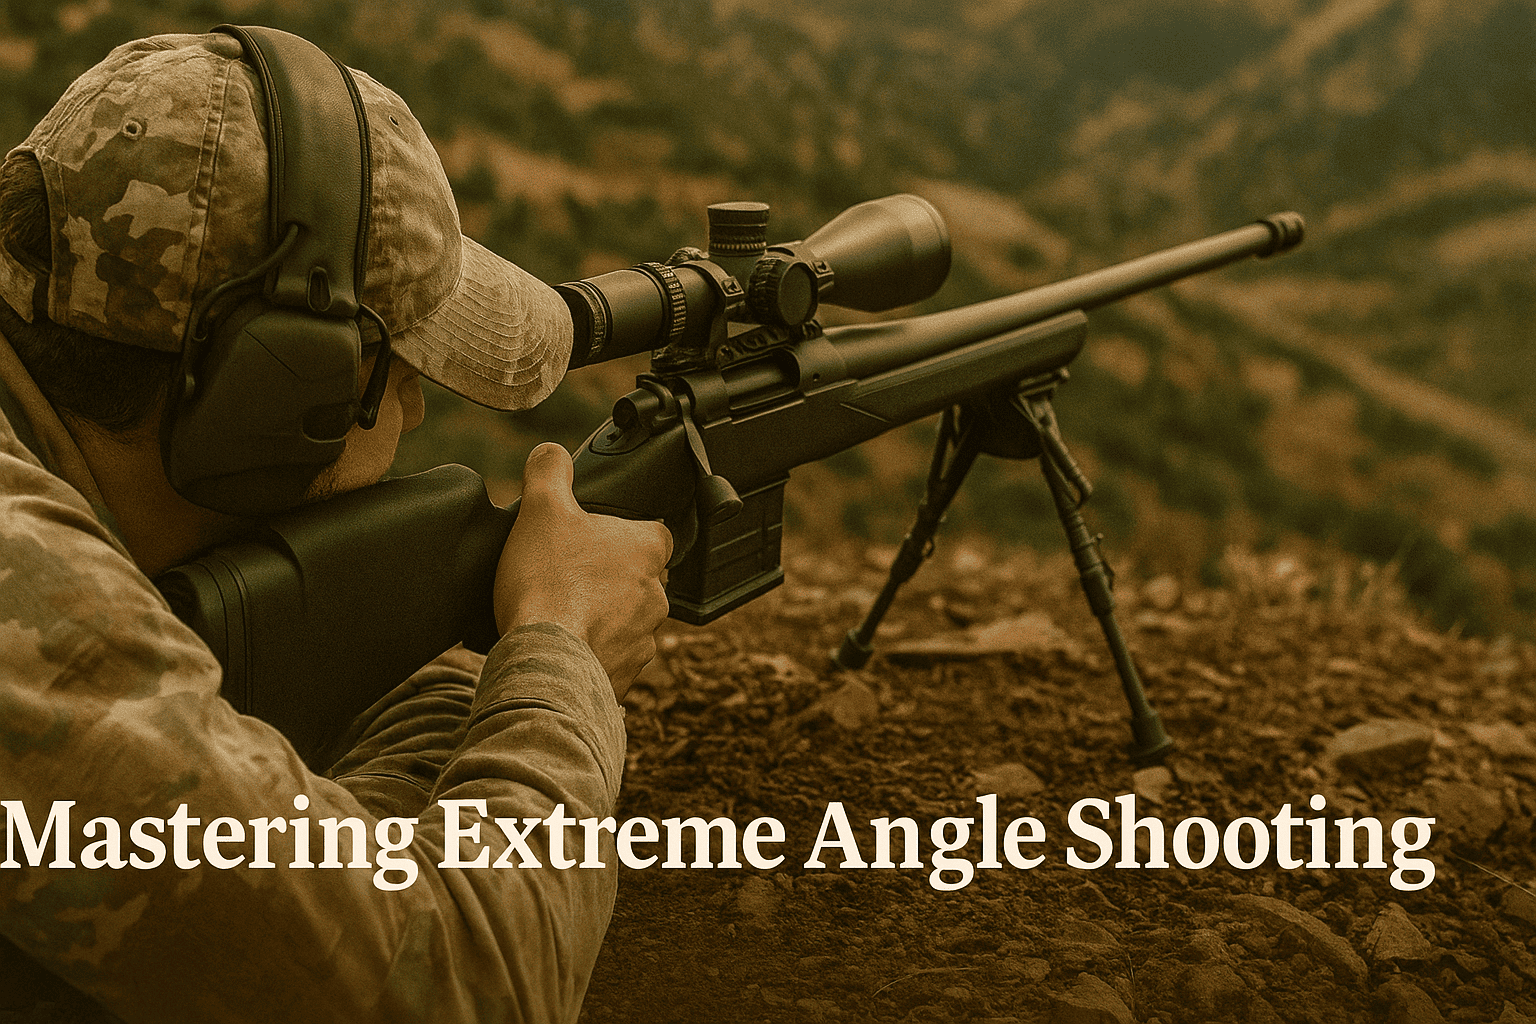
Stable Shooting Position
Steep angles can break a normal shooting position. Your feet may slip, your shoulder pressure can change, and the rifle may recoil differently from a steep rest.
Build the position before loading into the shot
Set your feet, knees, pack, bipod, tripod, or shooting sticks before you settle the reticle. If the position feels strained or unstable, move or pass.
Avoid awkward trigger pressure
Uphill and downhill body angles can pull your trigger finger and shoulder out of alignment. Dry practice only with an unloaded firearm, verified clear, pointed in a safe direction, and with a safe backstop area.
Control follow-through
A steep shot can tempt you to lift your head early. Keep your cheek weld and follow-through steady so you can see impact, spot a miss, and make a safer next decision.
Practice Before Hunting
Extreme angle shooting should be practiced before it is used on game. A flat-range group does not prove you are ready for a steep shot from a hillside, tree stand, canyon, or elevated blind.
Start with safe range drills
Use a legal range or supervised training area that allows angled targets. Follow the range officer’s rules and confirm the impact area before any drill.
Change one variable at a time
Test the same rifle, ammunition, zero, and optic setup before changing angle, distance, wind, or shooting position. Notes matter more than memory.
Set a personal field limit
Your limit should be the distance and angle you can repeat under realistic conditions, not the farthest hit from a bench. Build that limit from verified practice.
Field Decision Checklist
Use this quick checklist before taking an uphill or downhill shot. If any answer is weak, the safer choice is to wait, move, or pass.
Before the shot
- Target is legal and clearly identified.
- Backstop is visible and safe from your exact position.
- Line-of-sight and angle-compensated distance are not confused.
- Wind and light are good enough for the shot.
- Rest, footing, and body position are stable.
- The shot is inside your practiced field limit.
After the shot
Stay behind the rifle long enough to see the result. If hunting, follow your local rules and ethical recovery practices. Do not rush down a steep slope with a loaded firearm or unsafe footing.
When to pass
Pass if the animal is skylined, the backstop is uncertain, the angle is beyond your practice, the target is moving too much, your footing is unstable, or your rangefinder reading is inconsistent.
Common Mistakes
The mistakes below are common because angle shots make normal shooting habits feel slightly different. Slow down and confirm the basics.
Using line-of-sight distance for everything
Line-of-sight distance is useful, but elevation correction often needs the angle-compensated or horizontal distance. Confirm the mode before using the number.
Forgetting the backstop
The safest ballistic answer does not matter if the bullet path is unsafe. Backstop and target identification come first.
Trusting gear without practice
A rangefinder, scope turret, ballistic app, or reticle cannot replace live verification. Use gear to support a shot you have practiced, not to justify one you have not.
Related Guides
For broader range habits, read our shooting range safety rules. For target setup, see how to choose shooting targets. If your angle shooting depends on optics, review how to use a scope for long-range shooting and rifle scope parallax adjustments.
FAQ
Do uphill and downhill shots hit high?
They can hit higher than expected if you use only the line-of-sight distance for a steep shot. Use the angle-compensated or horizontal distance for elevation and verify it with your rifle.
Is a rangefinder required for extreme angle shooting?
No, but a rangefinder with angle compensation can reduce guessing. You still need safe target identification, a visible backstop, and verified practice.
Can I use the same scope zero for angle shots?
Yes, the same zero is normally the starting point, but your hold or dial may change when the angle is steep. Confirm your setup before hunting.
What is the safest rule for steep shots?
If you cannot confirm the target, backstop, angle-compensated distance, stable position, and legal setting, do not shoot. Move to a safer angle or wait for a better opportunity.
Should beginners practice extreme angle shooting?
Beginners should first build safe flat-range habits with a qualified instructor or range officer. Angle work should come later in a controlled and legal setting.