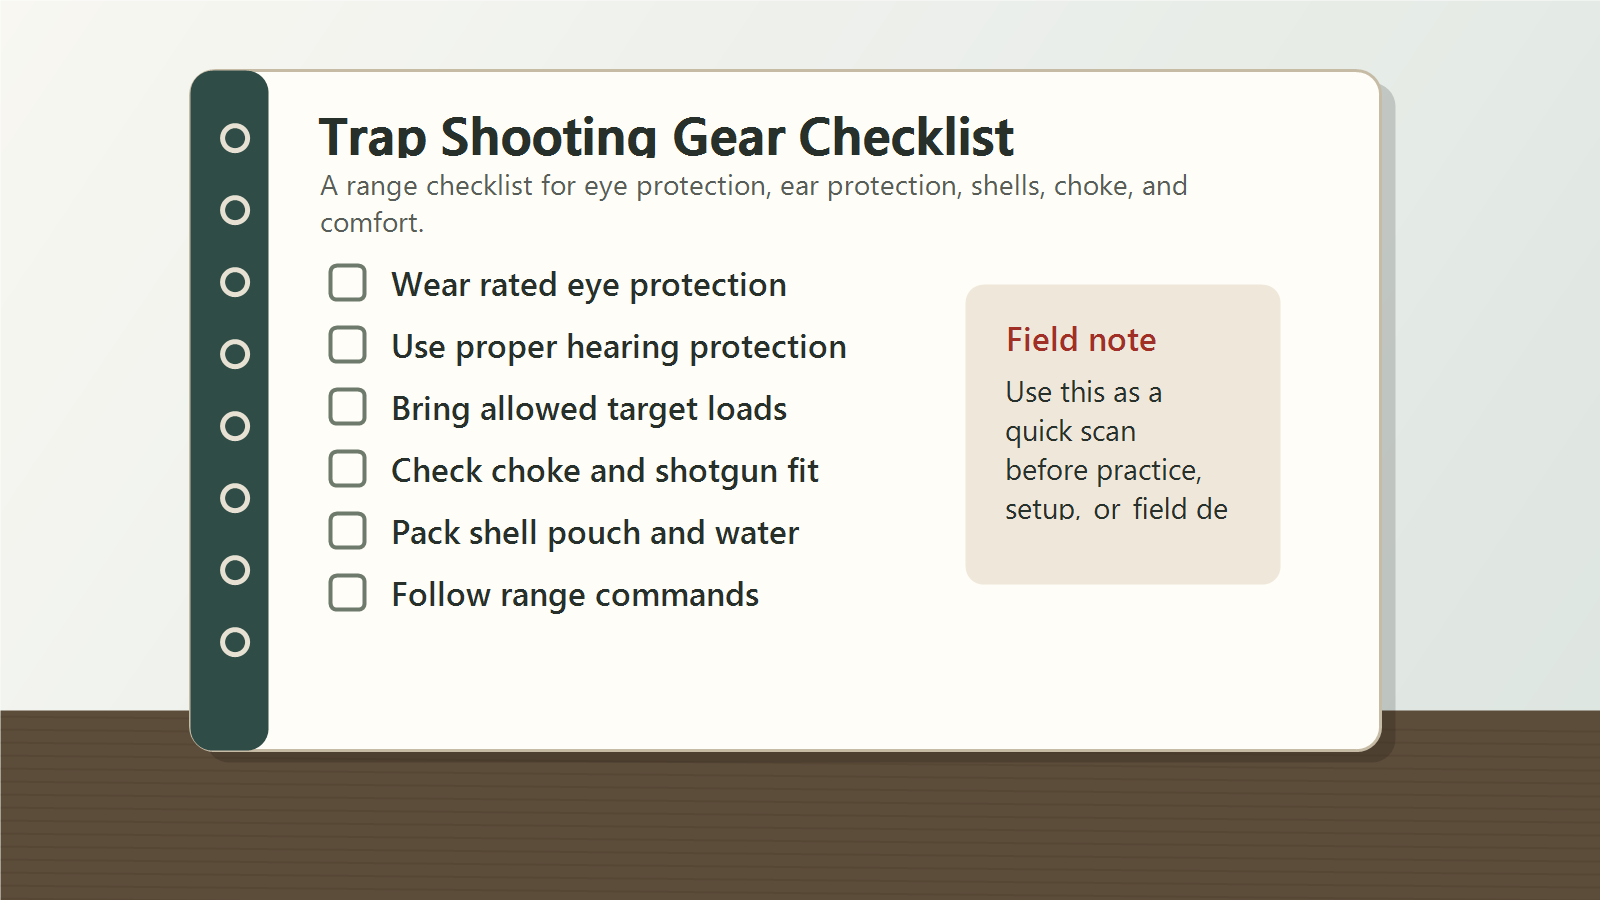
Trap Shooting Gear Checklist: Safety Equipment, Shotgun Fit, and Range Basics

Trap shooting gear is less about extras and more about a clean, safe routine. If you are new to the line, the useful kit is pretty simple: eye protection, ear protection, a shotgun that fits you well, shells that match the gun and the club rules, a way to carry your shells, and a habit of handling the firearm with care every time it is open, loaded, or moved.
This checklist is built for support, not selling. It focuses on safety equipment, fit, range basics, and the small details that make a round go smoothly. For the underlying safety framework, keep the NSSF firearm safety rules close by, and respect the ATA trapshooting rules and event structure at the club you are visiting. For hearing risk, the NIOSH noise guidance is a good reminder that loud sound adds up fast.
Table of Contents
- What This Checklist Covers
- Start With Safety Rules
- Eye and Ear Protection
- Shotgun Fit Basics
- Clothing and Carry Gear
- Ammunition, Chokes, and Shell Handling
- Range Officer Commands and Line Habits
- Station-by-Station Routine
- Building a Practical Shooting Kit
- Common Mistakes to Avoid
- Quick Pre-Round Checklist
- Closing Notes
What This Checklist Covers
Trap shooting has a simple goal
Trap shooting looks straightforward from the outside, but a good first session depends on preparation before you step to the line. You need protection for your eyes and ears, a firearm that mounts comfortably, shells that fit the gun and the venue, and a plan for handling the gun without hesitation or confusion. When those pieces are in place, the rest of the round feels calmer and more manageable.
The line rewards routine
Unlike casual backyard handling, the trap line is a shared space with clear timing, clear commands, and a steady rhythm. The safest shooters are usually the ones who build a repeatable routine: arrive ready, keep the action open until called, move only when allowed, and keep the muzzle in a safe direction at all times. That routine matters more than any single accessory.
Use the club’s rules first
Every club can add its own procedures for shells, gun racks, safety flags, load status, or movement on and off the line. The ATA is the right place to check the broad shape of trapshooting competition, but the club’s local rules still decide the details on that range. If the club says open actions, chamber flags, or specific commands are required, follow that setup without improvising.
Start With Safety Rules
Muzzle discipline is the foundation
Trap shooting safety starts with the muzzle. Keep it pointed in a direction that would not put anyone at risk if the gun were to fire unexpectedly. At the line, that usually means staying oriented downrange and staying aware of the swing of the muzzle during the mount. Off the line, it means the gun stays open and controlled until you are at the proper station and ready to shoot.
Finger off the trigger until the call
Trigger discipline sounds basic because it is basic, and that is exactly why it matters. Keep your finger outside the trigger guard until you are mounted, settled, and ready for the bird. The NSSF safety rules place this kind of discipline at the center of safe gun handling, and trap shooting gives you a good place to practice it every single shot.
Open action means visible safe status
In trap shooting, an open action is the easiest safe-status signal to understand. If the gun is broken open or shown clear with a chamber flag, everyone nearby can see that the gun is not ready to fire. That matters during breaks, squad changes, and any time the shooter steps away. A chamber flag is not a decoration; it is a plain sign that the firearm is empty and controlled.
Know the commands before you step in
Trap fields rely on commands to keep the pace orderly. A shooter who understands the commands is less likely to fumble, rush, or look around uncertainly at the wrong moment. If you are unsure whether a command means load, close, call, or hold, ask before you join the line. Quiet questions away from the firing point are better than confusion on the station.
Eye and Ear Protection
Eye protection should be impact rated
Trap shooting throws broken target fragments, dust, and occasional debris in unpredictable directions. Use glasses that are made for impact protection, fit well, and stay put when you shoulder the gun. Prescription glasses can help with vision, but they should still be impact rated or worn with proper over-glasses protection if the range requires it.
Lens color can help, but fit comes first
Some shooters like clear lenses in flat light and tinted lenses in bright sun. That choice can help with target contrast, but it should come after the basics: good coverage, secure fit, and no slipping when you move. A lens that looks good on a shelf but shifts on your nose is not much use on the line.
Ear protection is not optional
Gunfire is loud enough to damage hearing quickly, and trap shooting keeps that sound close to the head for a full round. NIOSH hearing guidance treats loud sound exposure as a real hazard, not a minor discomfort. Foam plugs, earmuffs, or a combination of both can all work, as long as the fit is correct and the seal is solid.
Double up when the environment calls for it
Some shooters use earplugs under earmuffs, especially on louder ranges or during longer sessions; our shooting eye and ear protection guide explains the broader range-day habit. That extra layer can make sense when the field is noisy, the gun is brisk, or you know you will be there for a while. The main point is simple: protect your hearing before the first shot, not after your ears start ringing.
Shotgun Fit Basics
Fit affects comfort and control
A shotgun that fits poorly makes everything harder. If the length of pull is too long, the gun can feel stretched out and slow to mount. If it is too short, the gun may feel cramped and unstable. Good fit helps you mount the gun naturally, see the target cleanly, and return to the same position shot after shot.
Check comb height and point of impact
Trap shooters often want a gun that prints a bit high, since the target is rising away from the house. That does not mean every shooter needs the same stock setup. Comb height, rib view, and point of impact all work together. If the gun does not line up with your eye, it is worth sorting out before you chase other fixes.
Mount the gun the same way every time
Fit is not only a measurement problem; it is also a repeatable motion problem. A shotgun that fits can still feel awkward if the mount changes from shot to shot. Practice bringing the stock to the same spot on your shoulder and face each time, then confirm that the sight picture stays consistent without strain.
Fit is better than force
New shooters sometimes try to correct a poor fit by leaning harder into the gun or muscling the mount. That usually creates more tension than control. A better approach is to make the stock, comb, or pad work with your body shape so the mount feels natural. When the gun fits, your attention stays on the target and not on fighting the firearm.
Clothing and Carry Gear
Wear clothing that supports the mount
Trap shooting clothing should let the gun mount cleanly without catching on thick seams or stiff layers. A shirt or jacket that is too bulky can change how the stock lands on your shoulder. If you shoot in colder weather, test your outer layer before the round so you do not discover a bad fit on station one.
Choose a shell pouch or vest that stays out of the way
A shell pouch or vest is useful because it keeps shells within easy reach and keeps your hands free. The goal is not style; the goal is to grab a shell quickly without looking down or fumbling. A good carry setup helps you move through a round without losing time or breaking concentration.
Keep small items organized
Even a basic trap bag benefits from order. Put hearing protection, glasses, shells, a marker, a small towel, and spare accessories in separate places so they are easy to find. That way you are not rooting through the bag while other shooters wait on the line. A few minutes of setup before the round saves a lot of awkward searching later.
Weather matters more than people expect
Wind, rain, sun, and cold all change how gear feels in real use. Sunglasses that are comfortable in the parking lot may fog up on the line. Gloves that seem fine in the truck may get in the way when you close the gun. Plan for the actual day, not for a perfect indoor demo condition that does not exist.
Ammunition, Chokes, and Shell Handling
Match the shells to the gun and the club
Trap shooting shells need to match the chamber, gauge, and the club’s rules. Do not assume that any target shell will work the same way in every shotgun. Check the firearm manual, the chamber marking, and the range’s ammo policy before you bring a case of shells to the line.
Keep ammo choices boring and predictable
The best ammo choice for practice is usually the one that is allowed, consistent, and easy to feed. This is not the place for mystery reloads, mixed lots, or shells that you cannot identify at a glance. Simplicity lowers the odds of a mistake and makes it easier to track patterns, recoil, and function.
Use caution with chokes
Choke selection changes how the shot pattern behaves, so it should be treated as part of the setup rather than a side note. Check that the choke is compatible with the barrel and tightened correctly, then leave it alone unless you have a clear reason to change it. If you are not sure what the club expects, ask before you load up.
Watch for shell management mistakes
Loose shells can roll, mix, or get damp, and all of those problems are avoidable. Keep shells in a labeled box, pouch, or pocket until you need them. Never let live ammo drift into a place where it can be confused with spent hulls, keys, snacks, or other gear in your bag.
Keep the action open when the gun is not in use
When the round pauses, the gun should be open and visibly clear. That makes the safe condition obvious to the squad, the scorer, and the range staff. A chamber flag or open action is especially helpful when you step off the station, change positions, or wait for the next round to start.
Range Officer Commands and Line Habits
Listen first, then move
Range officer commands are there to keep the line moving safely. Wait for the command before you load, close, call for the bird, or step out of sequence. The shooter who rushes the command is often the shooter who creates extra work for everybody else.
Keep your body quiet and your hands clear
Once you are on station, avoid extra motion. Do not wave the gun around while you are talking, checking shells, or looking for the next person in the squad. Keep the muzzle settled, keep your hands purposeful, and let the command structure do the heavy lifting.
Do not guess at a pause
If you miss a command, do not guess and do not improvise. Pause, ask, and rejoin the sequence correctly. A brief delay is a lot better than a broken routine that puts everyone off rhythm or leaves the gun in the wrong status.
Know when to step back
If something feels off, step back from the line and clear the issue before continuing. That could mean a shell problem, a fit issue, a strap snag, or just a mental reset. Good range habits leave room for a calm pause. The goal is to finish the round safely, not to force your way through it.
Station-by-Station Routine
Have a repeatable setup at each post
Trap shooting gets easier when each station feels familiar. Set your feet, shoulder the gun, check your posture, and settle your eyes before the call. A repeatable setup reduces the little variations that can throw off timing and confidence.
Track your movement from post to post
Moving from one station to the next is simple, but it is still a place where people lose focus. Keep the gun under control, keep the action open when required, and watch where your shells and gear are while you change positions. The move itself should be calm and routine.
Respect the pace of the squad
Each shooter depends on the others to keep the rhythm steady. If you are the next shooter, be ready. If you are finished, clear the gun and make the condition obvious. That kind of discipline keeps the squad moving and gives the scorer less to manage.
Let the target drive the shot
Trap targets rise fast and disappear fast. Keep your eyes on the bird and let the mount happen around that focus. The more you fuss with the gun before the call, the more likely you are to be late or tense. A clean routine lets the target remain the main event.
Building a Practical Shooting Kit
Start with the core list
The basic kit for trap shooting is straightforward: eye protection, hearing protection, a well-fitting shotgun, the correct shells, a shell pouch or vest, a chamber flag or other clear safe-status method where required, and a simple bag for transport; compare that with our broader essential range gear checklist. That list covers the real needs of most new shooters without turning the session into a packing contest.
Add only what solves a real problem
Extra gear should earn its place by fixing something specific. Maybe you need a better lens tint, maybe you want a sturdier pouch, or maybe you need gloves for the weather. Those are practical additions. Random accessories that do not solve a problem usually just add weight and clutter.
Check the range before you buy more
Some clubs have very specific expectations for shells, choke, vest style, or loading procedure. Ask before you invest in a setup that might not fit the local rules. The range staff can often tell you what matters most at that field, and that information is more useful than a long shopping list.
Keep a small maintenance kit
A small cloth, a brush, lubricant, and basic tools can handle routine cleanup after the round. This is not about deep repair work at the range. It is about being able to wipe down the gun, clear light dirt, and put the kit away in good shape when the day is over.
Common Mistakes to Avoid
Do not use weak eye protection
Regular glasses are not the same thing as proper shooting eyewear. If the glasses are not built for impact, they do not belong in place of real protection. Choose gear that is intended for the job, because trap shooting is not gentle on flimsy lenses.
Do not treat hearing damage as background noise
One round can feel fine and still be too much exposure for the ears if your protection is poor or misplaced. Do not assume discomfort is harmless just because the day is short. A steady habit of hearing protection is easier than trying to recover from avoidable damage later.
Do not force a bad gun fit
If the stock does not line up with your body, do not keep pretending it will sort itself out. Fit problems tend to show up as inconsistent mount, poor comfort, or a face position that never quite feels right. Address the fit rather than building a whole shooting routine around compensation.
Do not mix safe habits with casual handling
Trap fields are social, but they are not casual in the safety sense. A muzzle pointed somewhere random, an open action that is not truly open, or a hand on the trigger too early are all habits worth correcting immediately. The line only works when everyone keeps the same standard.
Quick Pre-Round Checklist
Before you leave home
Confirm that the shotgun is clean, unloaded, and packed according to local law and club rules. Make sure the case, shells, hearing protection, glasses, and shell pouch are together. Check the weather so your clothing matches the day instead of the forecast you hoped for.
When you arrive at the club
Read the posted rules, listen to the staff, and ask about any local differences in commands, ammo, or safe handling areas. Keep the action open until the proper time, and keep the muzzle in the direction the range expects. A quiet check-in at the start makes the rest of the session easier.
Right before the first station
Put on eye and ear protection, confirm shells are correct, and make sure the stock sits where it should on your shoulder. Set your pouch or vest where you can reach it without searching. Then stop fussing and get ready to shoot; the line works best when the setup is already done.
After the round
Open the action, confirm the gun is clear, and store the firearm and ammunition according to the club’s process. Check whether any part of the kit needs cleaning, drying, or replacement. A short cleanup after the round keeps the next trip from starting with preventable problems.
Closing Notes
Good trap gear is mostly about discipline
Trap shooting does not ask for a huge pile of specialized equipment, and the same safety-first routine carries over to our skeet shooting guide. It asks for a clear safety routine, protection for your senses, a shotgun that fits, a way to carry shells neatly, and enough respect for the line to follow commands without drift. If those things are in place, the rest of the gear becomes easier to judge.
Keep the checklist small and honest
The best checklist is the one that reflects the way you actually shoot. Use the club’s rules, the NSSF safety rules, and ATA trapshooting guidance as your baseline, then add only the items that improve safety or make the round smoother. That is the simple version, and it is usually the one that holds up.
Source anchors used for this draft
Official references for this article include the Amateur Trapshooting Association, the NSSF Firearm Safety – 10 Rules of Safe Gun Handling, and the CDC/NIOSH noise topic page.