Mastering the Edge: How to Sharpen a Knife with a Stone

Table of Contents
Introduction
A sharp knife is a safe knife. Sharpening your knife regularly not only makes cutting easier but also reduces the risk of the knife slipping and causing injury. Using a sharpening stone, often referred to as a whetstone, is one of the most effective methods to restore and maintain a sharp edge on your knife. This guide will walk you through the steps to properly sharpen a knife using a stone.
1. Choosing the Right Sharpening Stone
1.1 Types of Stones
- Grit Levels: Sharpening stones come in various grits, which are classified by the size of the abrasive particles they contain. Coarse stones (200-600 grit) are best for repairing damaged edges, medium stones (700-1200 grit) are ideal for general sharpening, and fine stones (2000-3000 grit) are used for honing and polishing the edge.
1.2 Material Types
- Water Stones vs. Oil Stones: Water stones (usually softer) require water to lubricate the surface, which helps keep the stone clean of metal filings. Oil stones are harder and slower-wearing, requiring oil for lubrication. Decide based on the type of maintenance you’re willing to perform and the edge quality you desire.
2. Preparing the Stone
2.1 Soaking or Lubricating
- Water Stones: Soak water stones in water for about 5-10 minutes until no air bubbles emerge from the stone.
- Oil Stones: Apply a light coating of honing oil or mineral oil to the surface of the stone to ensure smooth movement of the knife blade across the stone.
3. Setting Up Your Sharpening Station
3.1 Stability
- Secure Placement: Place your stone on a non-slip base or mat to ensure it does not move while sharpening. Stability is key to maintaining control over the sharpening process.
4. Sharpening Technique
4.1 Finding the Angle
- Knife Angle: The angle between the knife blade and the stone is crucial for effective sharpening. Most kitchen knives work best at a 15-20 degree angle. To find this, visualize the angle in halves: if 90 degrees is perpendicular to the stone, half to 45 degrees, and half again to about 22.5 degrees, then slightly less.
4.2 The Sharpening Process
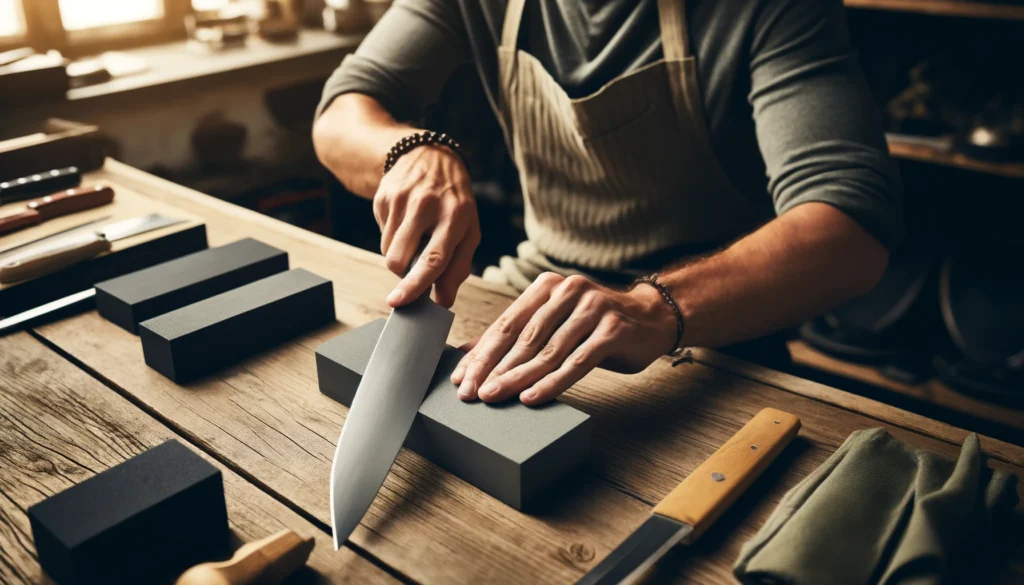
- Method: Hold the knife by the handle and place the edge against the stone at the determined angle. Push the blade away from you as if you were trying to slice a thin layer off the top of the stone. Use gentle pressure, and glide the blade from the tip to the heel in a smooth motion.
4.3 Consistent Strokes
- Repetition and Counting: Ensure you perform an equal number of strokes on each side to maintain balance in the blade’s edge. This consistency is critical for achieving a sharp and symmetrical edge.
5. Checking and Testing Sharpness
5.1 Visual Inspection
- Look for a Burr: A burr is a slight fold of metal on the opposite side of the edge you’ve been sharpening. Feeling a slight burr along the edge indicates that the knife has been sharpened sufficiently on that side.
5.2 Performance Test
- Cutting Test: Test the sharpness by carefully cutting into a piece of paper or a ripe tomato. A sharp knife should cut smoothly with minimal pressure.
6. Finishing Touches
6.1 Honing
- Final Honing: After sharpening, use a honing rod to straighten the edge, removing any remaining burr and aligning the edge for optimal performance.
6.2 Cleaning and Storing
- Care After Sharpening: Clean the knife and stone with warm water, wipe them dry, and store safely. Proper maintenance extends the life of both your tools and ensures they are ready for next use.
7. Advanced Sharpening Tips
7.1 Multiple Stone Progression
- Refining the Edge: For an exceptionally sharp edge, progress through multiple stones from coarse to fine grit. Start with a coarse stone to shape the edge, then move to a medium grit stone for sharpening, and finish with a fine grit stone for honing and polishing. This gradual progression ensures a razor-sharp finish.
7.2 Maintaining Consistent Angles
- Angle Guides: Consider using angle guides, which are tools that help maintain a consistent angle during sharpening. This is particularly useful for beginners or those who struggle to hold a steady angle by hand.
8. Troubleshooting Common Sharpening Issues
8.1 Uneven Edges
- Solution: If the knife edge becomes uneven, it might be due to applying inconsistent pressure or angle during the sharpening process. Practice maintaining even pressure and angle, and check your progress frequently.
8.2 Over-Sharpening
- Solution: Avoid over-sharpening as it can thin out the blade excessively, making it fragile. Learn to recognize when the knife is sufficiently sharp and stop at that point.
9. Incorporating Micro-Bevels
9.1 Added Durability
- Creating a Micro-Bevel: After sharpening the main edge, you can add a slightly steeper angle micro-bevel at the very edge. This small adjustment can enhance the durability of the edge, making it less prone to chipping or rolling.
9.2 How to Add a Micro-Bevel
- Simple Technique: After completing your normal sharpening, increase the angle slightly (by about 2-3 degrees) and perform a few light strokes on each side of the blade. This will form a robust micro-bevel.
10. Caring for Your Sharpening Stones
10.1 Regular Cleaning
- Maintenance: Keep your sharpening stones clean to prevent buildup of metal filings and debris, which can reduce their effectiveness. Use a stone cleaner or a mild detergent and a soft brush to clean the surface.
10.2 Flattening the Stones
- Keeping Stones Flat: Over time, sharpening stones can wear unevenly, leading to a dished or uneven surface. Use a flattening stone or sandpaper on a flat surface to level out your stones periodically.
11. Ethical and Sustainable Practices
11.1 Responsible Sharpening
- Environmentally Friendly Choices: Consider the environmental impact of your sharpening practices. Opt for natural sharpening stones and biodegradable oils, and properly dispose of any waste materials.
11.2 Supporting Quality Craftsmanship
- Choosing High-Quality Tools: Invest in high-quality, durable knives and sharpening equipment. Higher quality tools often last longer, reducing waste and the need for frequent replacements.
Conclusion
Sharpening a knife with a stone can be a meditative and rewarding process. With practice, you’ll refine your technique and gain the satisfaction of maintaining your knives in top condition. Remember, a well-sharpened knife is a joy to use and is an essential tool in any kitchen or workshop.
Frequently Asked Questions (FAQs)
How often should I sharpen my knives?
- The frequency depends on use but generally, sharpening every few months or when you notice a decrease in cutting performance is recommended.
Can I sharpen serrated knives on a stone?
- Serrated knives require a different approach and often a specialized tool like a serrated knife sharpener. It is possible to sharpen them on a stone, but care must be taken to only sharpen the serrated edges without damaging the grooves.
How do I know if I need to replace my sharpening stone?
- Look for signs like excessive wear, deep grooves, or an inability to produce a sharp edge. If flattening and cleaning do not restore its performance, it may be time to consider a replacement.
Can all types of knives be sharpened on a stone?
- Most knives can be sharpened on a stone, but some, like those with coated blades or extremely hard specialty steels, may require specific techniques or tools. Always check the manufacturer’s recommendations for blade care.


