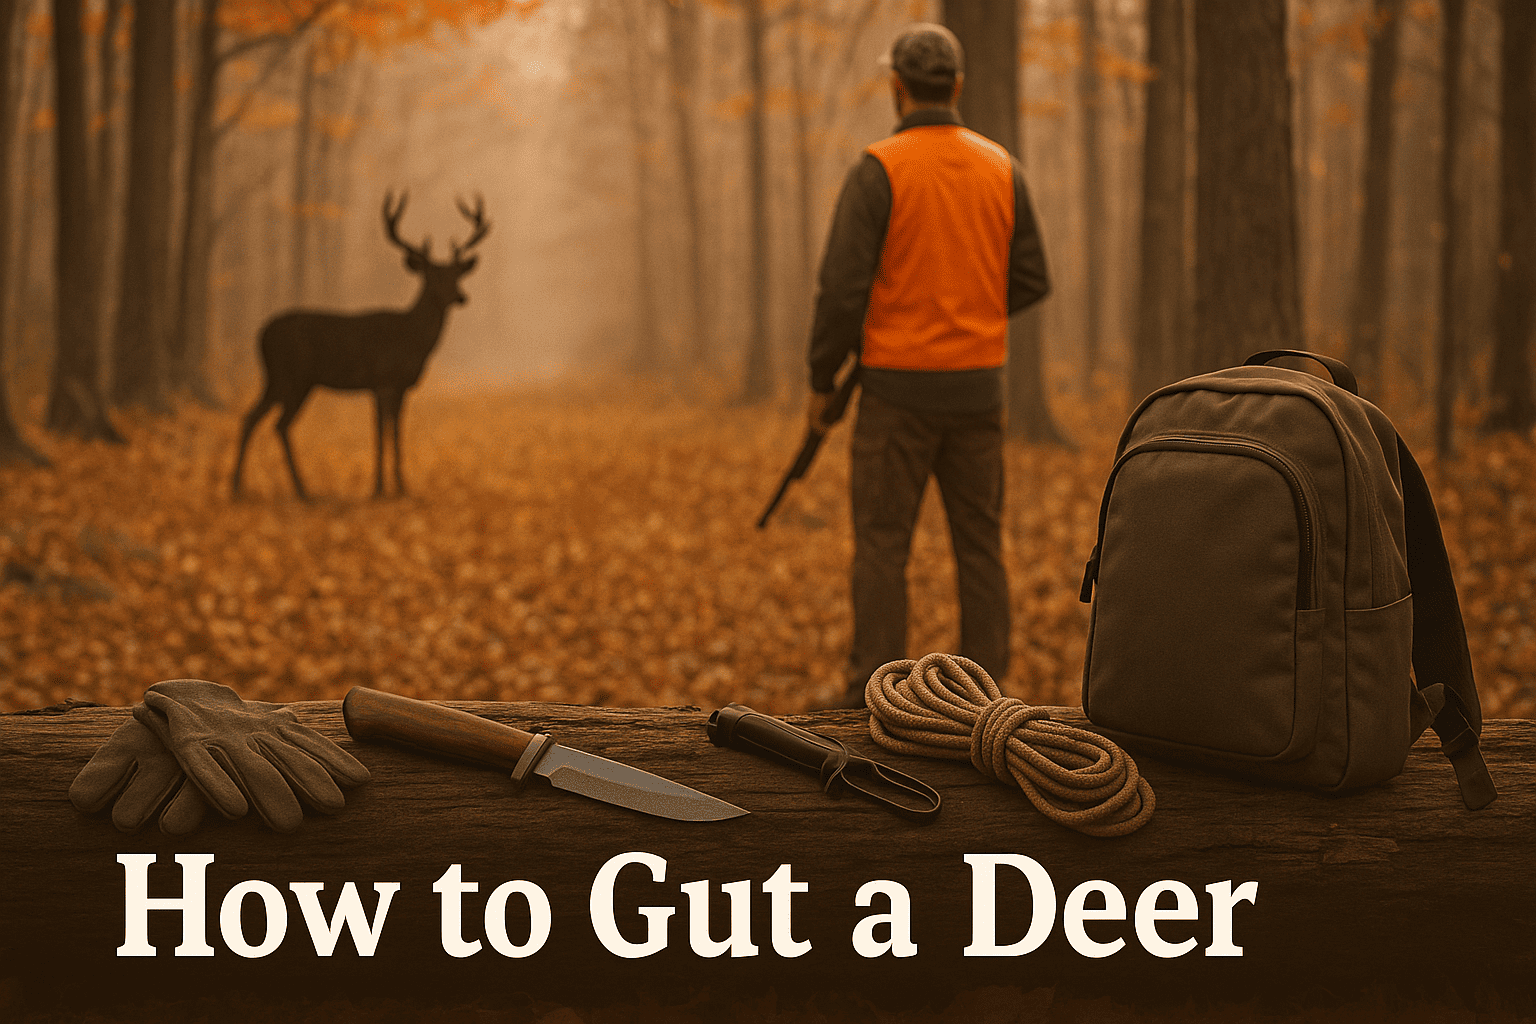
How to Field Dress a Deer Safely: Step-by-Step Gutting Guide
Field dressing a deer safely means tagging it legally, making controlled cuts, avoiding contamination, cooling the meat quickly, and following CWD guidance before you eat it. Work slowly, keep the knife edge under control, and stop if the deer looks sick or the rules for your area are unclear.
This is a general field guide, not a replacement for state wildlife rules, hunter education, or hands-on instruction. Carcass transport, evidence-of-sex, CWD testing, disposal, and reporting rules vary by state and unit.
Table of Contents
Quick Answer: How Do You Field Dress a Deer Safely?
Tag the deer as required, unload or secure your weapon, put on gloves, position the deer safely, open the body cavity without puncturing the stomach or intestines, remove organs carefully, trim contaminated tissue, cool the meat quickly, and follow state CWD, transport, and disposal rules.
Safety comes before speed
Prompt field dressing matters, but rushing with a sharp knife can cause injuries or contaminate meat. Work in a stable position and make short controlled cuts.
When in doubt, stop and verify
If the deer looked sick, the carcass smells wrong, CWD rules apply, or you are unsure about evidence-of-sex requirements, stop and check official guidance before cutting too far.
1. Before You Cut: Legal and Weapon Safety
Before opening the deer, confirm the animal is tagged or reported according to your state’s rules. Also unload, secure, or clearly control the firearm or bow so nobody is handling a loaded weapon during field care.
Confirm the deer is legal
Check sex, antler rules, tag, unit, season, and reporting requirements. Some states require evidence of sex to remain attached until processing or check-in.
Mark the recovery location
Save the location and note where the shot happened. This helps with reporting, recovery, and any follow-up questions from wildlife officers.
Move only when safe and legal
Dragging to a cleaner spot can help, but do not violate tagging, evidence, property, or recovery rules. Our fair chase hunting ethics guide covers the same idea: legal recovery and honest handling matter after the shot.
2. Check CWD and Disease Precautions
Chronic wasting disease affects deer, elk, moose, and similar animals. CDC says CWD has not been shown to infect people, but scientists continue to study whether contact with or eating infected meat could affect people. The safer choice is to follow CDC and state wildlife guidance.
Do not handle sick-acting deer
CDC advises hunters not to shoot, handle, or eat animals that look sick or act strangely, and not to touch or eat meat from animals found dead. Read the CDC’s chronic wasting disease guidance before hunting in a CWD area.
Wear gloves and avoid high-risk tissues
CDC recommends latex or rubber gloves when field dressing and avoiding internal organs, especially brain and spine tissues. Do not use kitchen knives or kitchen tools for field dressing.
Test before eating where recommended
Check state testing rules before hunting. CDC says to strongly consider CWD testing before eating meat from deer or elk in areas with CWD activity, and not to eat meat from an animal that tests positive.
3. Pack the Right Field Dressing Tools
A clean, sharp, simple kit is better than a crowded pack. The goal is control, cleanliness, cooling, and safe transport.
Knife and sharpener
Use a sharp fixed blade or replaceable-blade knife you can control. A dull knife forces pressure and increases injury risk.
Gloves and wipes
Carry disposable gloves, clean wipes, and bags for trash. Change gloves if they tear or become heavily contaminated.
Game bags and cooling gear
Use breathable game bags, rope, a headlamp, and a plan for ice or refrigeration. Avoid plastic trash bags for warm meat unless you are using them briefly to keep quarters clean during transport.
4. Position the Deer Safely
Put the deer on its back or slightly on one side where you have stable footing. Keep the knife pointed away from your legs and your partner.
Choose clean ground
Avoid mud, manure, standing water, heavy leaf litter, or road gravel when possible. A cleaner work area reduces contamination.
Open the body cavity uphill if possible
A slight slope can help fluids drain away from meat. Do not let the carcass slide or roll while you cut.
Use help for large deer
A partner can hold a leg, manage light, or steady the carcass. Agree on knife location and hand placement before cutting.
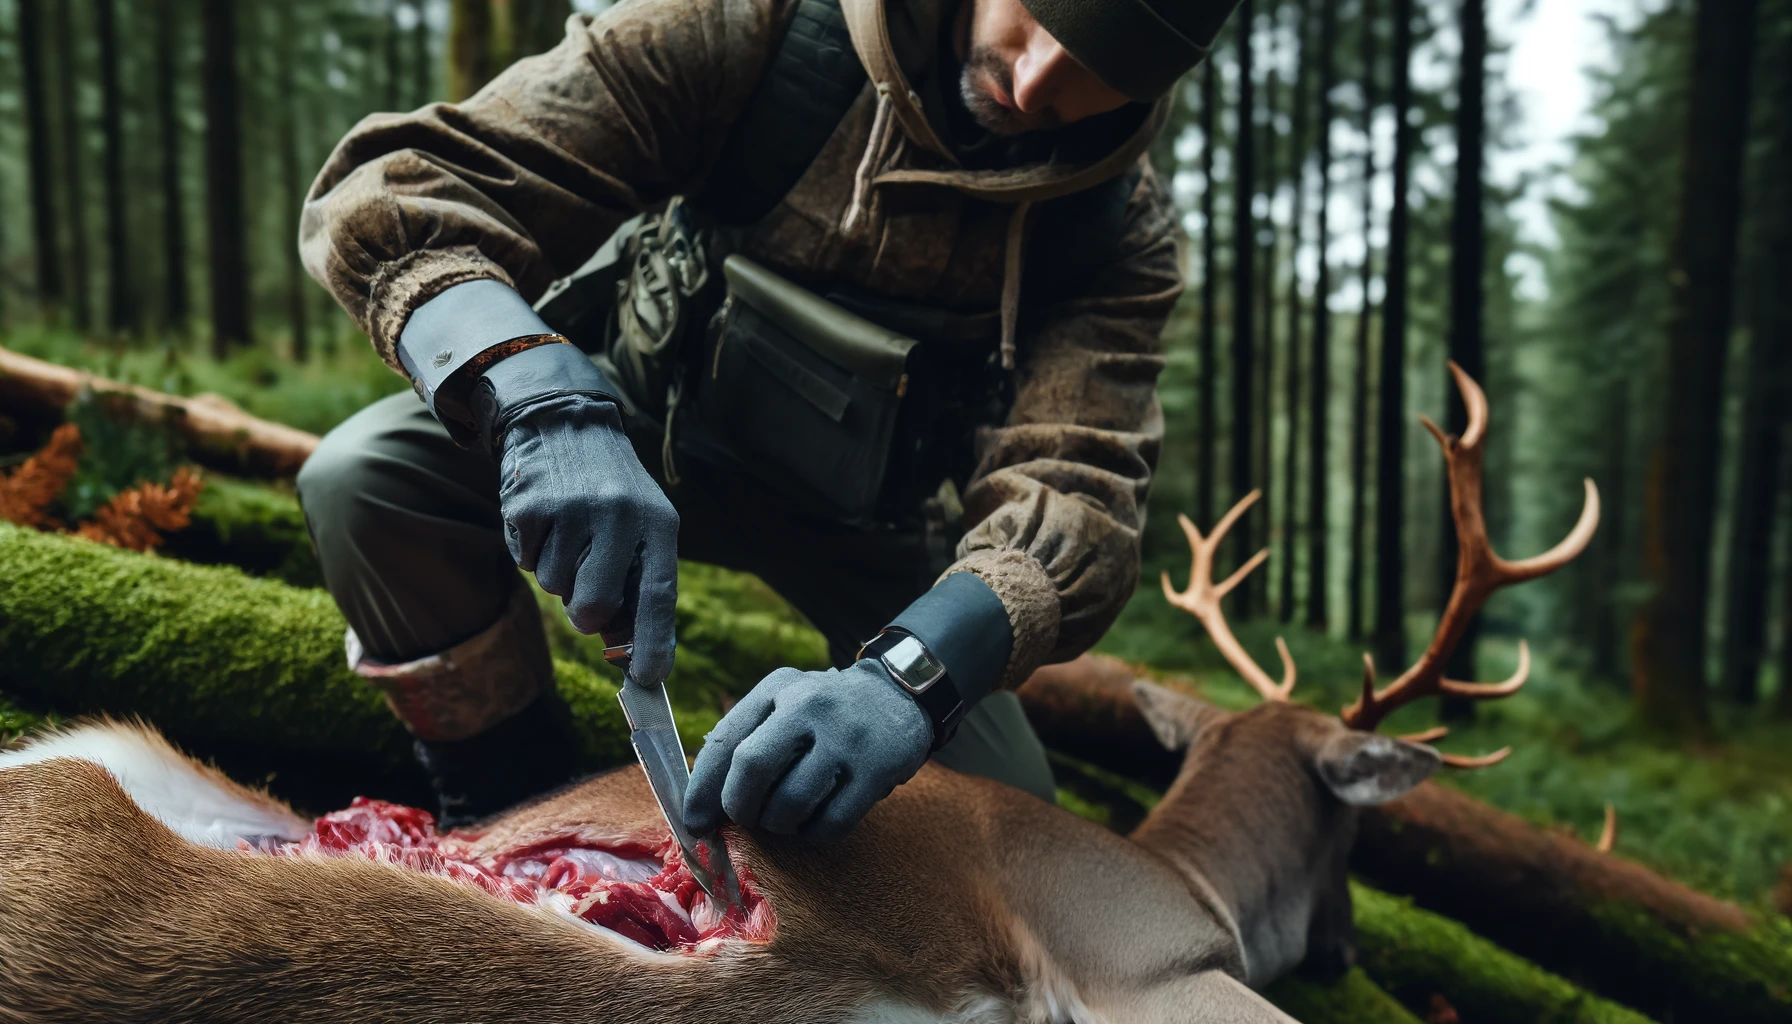
5. Make the First Cut Without Puncturing the Gut
Start with shallow cuts. Lift the hide and abdominal wall away from the organs, then cut with the blade edge facing out or use a gut hook carefully if you are trained with one.
Open from pelvis toward chest
Work slowly up the midline. Keep fingers under the skin and muscle layer to guide the blade and protect the stomach and intestines.
Avoid bladder and intestines
Puncturing the bladder, stomach, or intestines can contaminate meat. If it happens, slow down and handle the area as contaminated.
Do not cut blindly
If you cannot see, stop and improve your light. A headlamp is safer than cutting by feel.
6. Remove Organs Carefully
Once the cavity is open, free the organs without slicing into them. Cut connective tissue as needed and keep the knife edge away from edible meat when possible.
Work around the diaphragm
Cut the diaphragm carefully to reach the chest cavity. Avoid careless deep cuts toward the spine or stomach.
Remove heart and lungs
Reach forward carefully, cut the windpipe as high as practical, and pull the organs out as one mass if possible.
Inspect before keeping organs
Do not keep organs from a sick-acting deer, a CWD-positive deer, or a deer with unusual odor, abscesses, discoloration, or contamination. When unsure, contact your wildlife agency or meat processor.
7. Handle Gut, Urine, or Feces Contamination
Contamination can happen. Do not treat water as a cure-all. Trim visibly contaminated tissue, keep contaminated tools away from clean meat, and cool the carcass quickly.
Trim, do not soak
If stomach contents, feces, urine, or dirt contacts meat, trim affected tissue where practical. Use clean potable water only when needed, then dry and chill the meat promptly.
Separate clean and dirty tools
Wipe or wash the knife before cutting clean meat after a contamination event. Change gloves if they are soiled.
Know when to ask for help
Heavy contamination, bad odor, pus, green discharge, or a sick-looking animal should be treated seriously. Ask a state agency, processor, or qualified mentor before keeping meat.
8. Cool Venison Quickly
Cooling is the main food-safety goal after field dressing. Open the cavity, allow heat to escape, keep meat clean, and move toward shade, airflow, ice, or refrigeration.
Keep meat cold
FoodSafety.gov frames refrigerator storage at 40 degrees F or below. Use that as a practical target for chilling meat as soon as you can after field care.
Use airflow
Prop the cavity open where safe and legal, use breathable game bags, and avoid trapping heat in plastic for long periods.
Cook venison safely
FoodSafety.gov lists wild or farm-raised venison at 160 degrees F in its safe minimum internal temperature chart. Use a food thermometer instead of guessing.
9. Transport and Process the Deer Legally
Transport rules can be detailed. Some states restrict moving carcass parts from CWD zones, require proof of sex, or require check stations before processing. Check rules before quartering or crossing county or state lines.
Keep tag and evidence with the deer
Follow the state rule for keeping tag, head, sex evidence, or antlers with meat. Do not separate required evidence too early.
Use clean containers
Use clean coolers, game bags, and ice. Keep meat above melted ice water when possible so it chills without soaking.
Choose a processor carefully
If using a processor, ask how they separate animals, handle CWD testing holds, and keep meat cold. CDC suggests asking commercial processors to process your animal individually when CWD testing matters.
10. Field Dressing Checklist
Use this checklist before you cut and again before you leave the site.
Before cutting
- Weapon unloaded or controlled
- Tag/reporting rule checked
- Gloves on
- Deer checked for sick behavior or unusual signs
- CWD testing rules checked
During field dressing
- Short controlled cuts
- Gut and bladder avoided
- Knife kept away from hands and legs
- Contaminated tissue trimmed
- Clean and dirty tools separated
Before transport
- Meat cooling plan started
- Tag and evidence kept legal
- Carcass disposal rule checked
- Tools cleaned or bagged
- Hands washed or sanitized
FAQ
How fast should I field dress a deer?
Field dress it promptly and cool the meat as soon as practical, but do not rush unsafe knife work. Heat, weather, shot placement, and distance from the truck all matter.
Should I rinse the deer cavity with water?
Use clean potable water only when needed. Avoid soaking meat. Trim contamination first, then dry and chill promptly.
Can I eat meat from a CWD-positive deer?
No. CDC says not to eat meat from an animal that tests positive for CWD.
Do I need gloves to gut a deer?
Yes. Gloves protect you from blood, tissue, and disease exposure and help keep meat cleaner.
Can I quarter the deer before check-in?
Only if your state rules allow it and you keep required tag, evidence-of-sex, and CWD transport requirements intact. Check before cutting.
Final Takeaway
Good field dressing protects the meat and the hunter. Tag the deer legally, wear gloves, avoid high-risk tissues, control contamination, cool venison fast, and follow CWD and transport rules before the meat reaches your kitchen.