How to Bird Watch: Beginner Birdwatching Guide
Birdwatching is simple to start: choose a quiet place, move slowly, listen first, then use binoculars or your eyes to notice shape, color, behavior, song, and habitat. You do not need expensive gear to begin, but a little structure makes the experience much better.
This beginner guide covers where to go, what to bring, how to identify birds, and how to watch respectfully without disturbing wildlife or other people.
Table of Contents
Quick Answer
To birdwatch, go to a park, yard, trail, wetland, or field edge, stay quiet, scan slowly, and identify birds by size, shape, colors, sound, movement, and habitat. Keep notes, use a field guide or birding app, and avoid getting too close to nests or stressed birds.
Where to Birdwatch
Start close to home. Backyards, neighborhood parks, ponds, river edges, open fields, city green spaces, and wooded trails can all be good birding spots. Early morning is often productive because birds are active and human noise is lower.
For beginner-friendly guidance, Audubon has a useful overview on how to start birding. You can also use eBird to learn where people report birds and to keep your own checklists.
Good Beginner Locations
- Local parks with trees, open grass, and water.
- Quiet backyard or balcony feeding areas where allowed.
- Pond edges, marsh boardwalks, and river trails.
- Field edges where birds move between cover and food.
- Nature preserves with marked trails and observation areas.
Beginner Birdwatching Gear
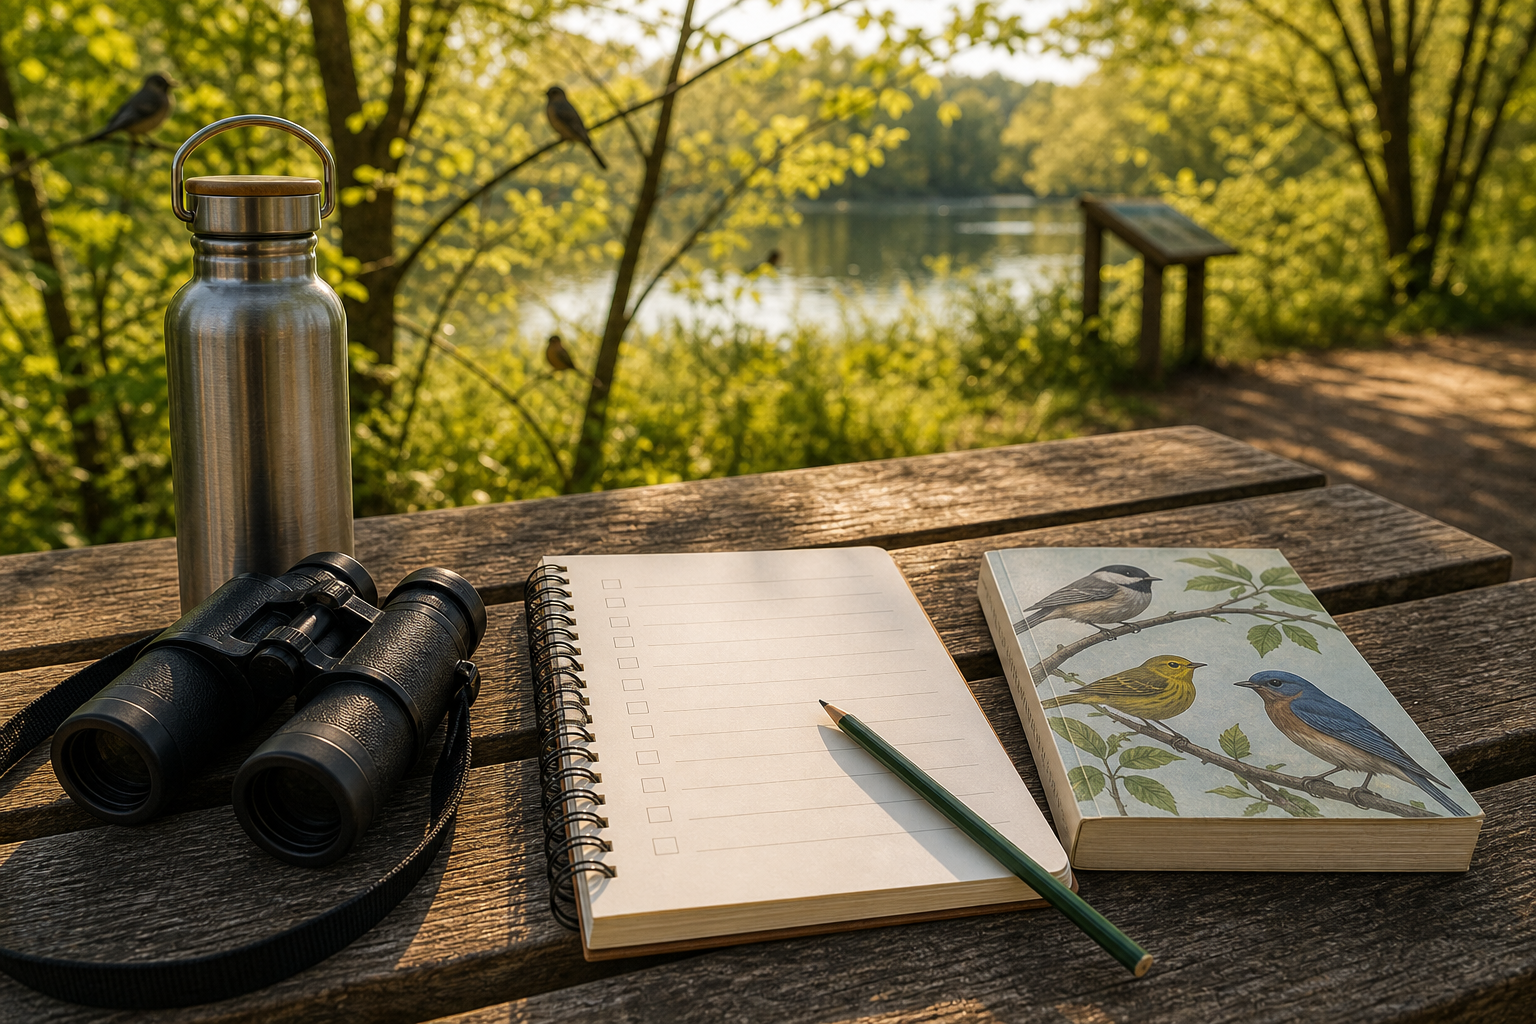
You can birdwatch without gear, but binoculars and a notebook help. Start with comfortable binoculars, weather-appropriate clothing, water, and a field guide or app. Avoid carrying so much that you stop paying attention to the birds.
Binoculars
Choose binoculars that are comfortable to hold and easy to focus. Beginners usually benefit more from a steady, bright image than from chasing maximum magnification. If binoculars feel shaky or heavy, you will use them less.
Notebook or App
Write down where you were, the date, habitat, bird size, colors, behavior, and sound. Notes teach you to notice details that a quick photo may miss.
How to Identify Birds
Identification is easier when you look for patterns instead of one color. Ask: How big is the bird? What is the beak shape? Is the tail long or short? Does it hop, walk, cling, swim, soar, or dive? What habitat is it using?
Use the Four-Part Method
- Size and shape.
- Color pattern.
- Behavior.
- Habitat and location.
Bird songs and calls also help, but do not worry if sound identification feels hard at first. Start with common local birds and build slowly.
How to Observe Without Missing Birds
Many beginners walk too fast. Pick a spot, stand still for a few minutes, and let the area settle. Watch the edges of trees, brush, water, and open ground. Birds often appear after the first noisy moment passes.
Use your ears before your binoculars. A chirp, wingbeat, splash, or rustle can point you toward movement. Once you locate the bird with your eyes, then raise the binoculars slowly and focus carefully.
Think About Season and Habitat
Birdwatching changes through the year. Migration, nesting, winter feeding, rain, drought, and food sources all affect what you see. A park that feels quiet one month may be excellent in another season.
Habitat is the shortcut. Water attracts ducks, herons, swallows, and shorebirds. Dense shrubs may hold sparrows and wrens. Open skies are better for watching hawks, vultures, and swifts. Learn the habitat and identification becomes easier.
Birdwatching Etiquette
Good birdwatching should not disturb the birds. Stay on trails where required, keep distance from nests, avoid flushing birds repeatedly, and never trespass for a better view. If a bird changes behavior because of you, back away.
Be considerate around other people too. Keep noise low, share viewing areas, follow park rules, and be careful with location sharing for sensitive species.
Keep Simple Birding Records
Good notes make birdwatching more rewarding. Record the date, place, weather, habitat, bird behavior, and any field marks you noticed. Over time, your notes show migration patterns, seasonal changes, and which locations are worth revisiting.
Do not worry about perfect identification every time. If you are unsure, write down what you know and look it up later. Honest uncertainty is better than forcing a wrong ID.
Beginner Checklist
- Pick one nearby birding location.
- Go during a quieter time of day.
- Bring binoculars, water, and a notebook or app.
- Move slowly and listen before scanning.
- Identify birds by size, shape, behavior, sound, and habitat.
- Record what you saw and where you saw it.
- Respect wildlife, private property, and other visitors.
Common Mistakes
- Buying too much gear before learning basic observation.
- Moving too quickly through good habitat.
- Looking only for bright colors and ignoring shape or behavior.
- Getting too close to nests or stressed birds.
- Forgetting to write down location and habitat notes.
Frequently Asked Questions
Do I need binoculars to start birdwatching?
No. Binoculars help, but you can begin by watching common birds in your yard, park, or neighborhood and learning their shapes, sounds, and behavior.
What is the best time to birdwatch?
Early morning is often best because many birds are active and human disturbance is lower. Evening can also be good, especially near water or feeding areas.
How do beginners identify birds?
Start with size, shape, color pattern, behavior, habitat, and location. Do not rely on one color alone, because light, age, season, and sex can change how a bird appears.
Is birdwatching good for hunters?
Yes. Birdwatching can improve patience, observation, habitat reading, and ethical wildlife awareness. It is also a quiet way to learn more about the places you hunt or hike.
Final Recommendation
Start birdwatching close to home, keep your gear simple, and focus on patient observation. The more you notice shape, sound, behavior, and habitat, the faster your bird identification skills will grow.