Bow Hunting for Beginners: Safety, Gear, and First Steps
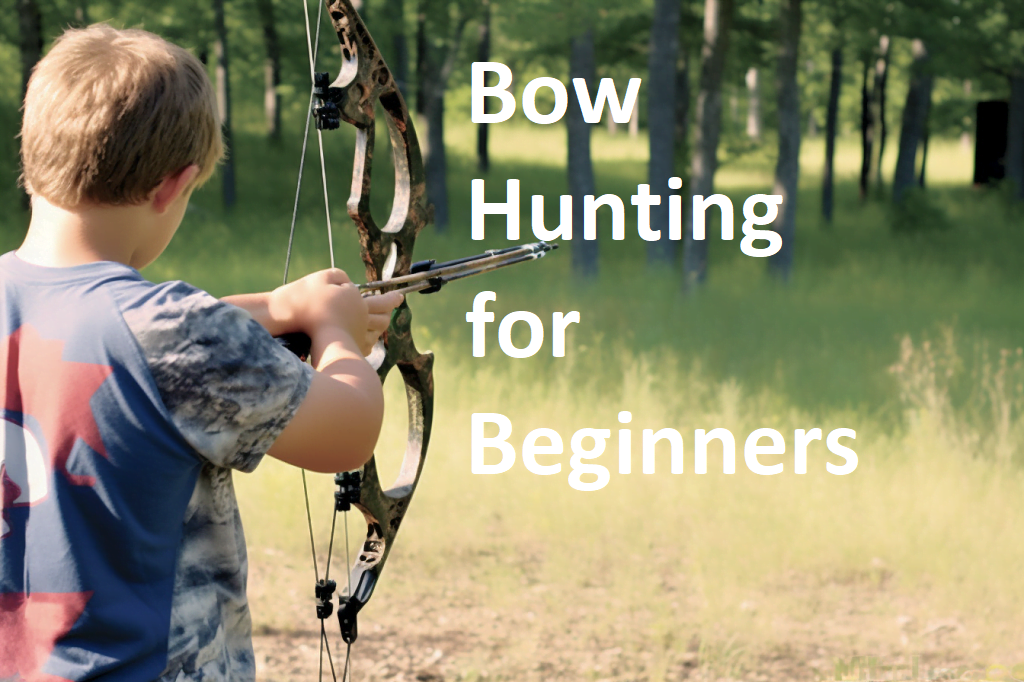
Bow hunting for beginners starts with three things: legal permission, safe bow handling, and enough practice to make a close, controlled shot under real field conditions. Before you hunt, take a hunter education or bowhunter education course where required, learn your state regulations, tune your bow, practice from hunting positions, and set a personal maximum range that you can hit cleanly every time.
This guide is not about buying the most gear or rushing into the woods because archery season opened. It is a step-by-step starting point for new bowhunters who want to build skill, stay safe around other people, and make ethical choices when an animal is in range. Treat it as a progression: learn the law, learn the bow, practice honestly, scout carefully, and only take shots you have already earned on the range.
Table of Contents
Quick Answer
To start bowhunting, confirm your state license, tags, archery season dates, legal equipment rules, and hunter education requirements. Then use a bow that fits your draw length and strength, practice with the same arrows and broadhead weight you will hunt with, and limit yourself to close shots until your groups are consistent from kneeling, standing, sitting, and elevated or ground-blind positions.
Most beginners should think in yards, not ego. A clean 15- or 20-yard shot you have practiced is better than a long shot you hope will work. Bowhunting leaves less room for error than many other hunting methods, so patience is part of the skill.
If you will hunt public land, start with the rules for that property. The U.S. Forest Service hunting guidance reminds hunters to follow state laws, check local restrictions, use maps carefully, and stay aware of roads, recreation sites, private land, and other people using the same woods.
Before You Hunt
The first job is not picking camouflage or hanging a stand. It is becoming legal and competent. Regulations vary by state, species, season, weapon type, and sometimes by county or public-land parcel. A setup that is legal for whitetail deer in one state may not be legal for turkey, elk, bear, or another state.
- License and tags: buy the correct license, tag, stamp, or permit for the species and area.
- Education: complete hunter education or bowhunter education if your state requires it. Even where it is optional, it is useful for safety, ethics, and legal basics.
- Legal equipment: check minimum draw weight, broadhead rules, crossbow rules, lighted nock rules, mechanical broadhead rules, and blaze-orange requirements.
- Access: confirm public boundaries, private permission, parking, gates, road closures, and check-in rules.
- Hunt plan: tell someone where you are going, when you expect to return, and what to do if you miss that time.
Do not rely on memory from last season or advice from a stranger online. Use your state wildlife agency as the final source for seasons, tags, legal weapons, and reporting requirements. Rules change, and beginner mistakes often come from assuming one archery rule applies everywhere.
Learn the animal before chasing the animal
Beginners often focus on the bow and forget the animal. Learn basic behavior, feeding times, bedding cover, travel routes, wind sensitivity, and what sign looks like for the species you plan to hunt. For deer, that may mean tracks, droppings, rubs, scrapes, trails, browse, acorns, water, and bedding edges. For turkeys, it may mean roost sites, tracks, scratching, dusting areas, and daily movement between food and cover.
Choose and Set Up a Bow
A beginner bowhunting setup should fit your body and be simple enough that you can shoot it well. Compound bows are common because they are adjustable and hold less weight at full draw. Recurve and longbows can be rewarding, but they usually demand more practice and closer shot distances. Crossbows are legal in many places and restricted in others, so check your state rules before planning around one.
| Setup point | What it means | Beginner check |
|---|---|---|
| Draw length | The distance the bow is set to draw for your body | You should reach anchor without stretching, leaning back, or collapsing your form |
| Draw weight | How much force is required to draw the bow | You should draw smoothly while seated, cold, and wearing hunting layers |
| Arrows | Shafts matched to your bow, draw length, and point weight | Use properly spined arrows cut to safe length and inspected for cracks |
| Broadheads | Hunting points designed for legal game | Match local law and practice with field points plus broadhead-confirmed impact |
| Sight and rest | Aiming and arrow support system | Keep adjustments simple and confirm zero before the season |
The most important fit test is control. If you have to sky-draw, shake through the cycle, or point the bow in an unsafe direction just to get it back, the draw weight is too high for hunting. Lower weight with clean form beats high weight with bad control.
Tune enough to trust your arrows
You do not need to become a professional bow technician before your first season, but your bow should be inspected, timed if needed, sighted in, and tested with the arrows you will carry. Broadheads can hit differently than field points. Confirm them before hunting, using a safe target made for broadheads and a range where broadhead use is allowed.
Beginner Bowhunting Gear
Beginner bowhunting gear should solve field problems without turning the hunt into a packing contest. Think in categories: legal documents, bow equipment, safety, navigation, weather, recovery, and game care. Brand names matter far less than fit, condition, legality, and knowing how each item works.
- Bow and arrows: bow, arrows, broadheads, field points, release or finger tab, arm guard if needed, and a quiver.
- Bow maintenance: wax, small tool kit, extra release if you depend on one, and a safe way to carry broadheads.
- Safety: first-aid kit, whistle, headlamp, spare batteries, emergency blanket, fire starter, and required hunter orange.
- Navigation: paper map, compass, offline map app, GPS if used, and enough battery power for the day.
- Weather: quiet layers, rain shell, gloves, hat, spare socks, and clothing matched to sitting still.
- Recovery and game care: knife, disposable gloves, flagging tape, game bags, cord, and any required harvest reporting tool.
For a first season, do not carry items you have never tested. A rangefinder, blind, treestand, saddle, call, decoy, or scent-control item can be useful, but only if it fits the hunt and you know how to use it quietly. The best beginner kit is the one you can carry, find in the dark, and operate without a long pause when the moment matters.
Treestand and elevated hunting gear
If you hunt from a treestand, use a full-body fall-arrest harness, lifeline, haul rope, and stand system that is rated, inspected, and installed correctly. Never climb with a bow in your hand. Raise and lower the bow with a rope after you are secured. Practice from elevation before hunting because shot angle changes body position and aiming reference points.
Practice Milestones Before the Season
Practice should prove what you can do, not what you wish you could do. Start close, build clean form, and track your groups. A beginner who can calmly place arrows in a small vital-zone target at 15 to 20 yards from real hunting positions is in a much better place than a beginner who occasionally hits well at longer distances.
| Milestone | What to practice | Move on when |
|---|---|---|
| Basic control | Safe drawing, anchor, release, follow-through, and letting down | You can draw without pointing high, rushing, or losing balance |
| Close groups | Repeatable shots at 10 to 20 yards | Your arrows stay inside a practical vital-zone circle every session |
| Hunting positions | Sitting, kneeling, standing, twisted torso, and wearing layers | Your groups remain steady without perfect range posture |
| Angle practice | Elevated stand, ground blind window, uphill, and downhill shots where safe | You know how angle changes your anchor and aim |
| Pressure practice | One cold arrow at the start of practice | Your first arrow is reliable, not just your tenth |
| Broadhead check | Broadhead impact, arrow flight, and target removal | Broadheads hit predictably and all arrows are inspected afterward |
A useful rule is to make your personal hunting range shorter than your best range-day range. If you can sometimes shoot well at 35 yards but always shoot well at 20, your hunting limit is 20 until the “always” moves farther out. Wind, nerves, awkward footing, brush, animal movement, and cold fingers all shrink real-world accuracy.
Practice letting down
Letting down safely is a beginner skill that gets ignored. Animals step behind brush, turn sharply, face you, or move out of range. Practice coming to full draw, holding, deciding not to shoot, and letting the bow down under control. A responsible bowhunter needs a smooth “no shot” just as much as a smooth release.
Safety Rules That Come First
Bowhunting safety starts before the arrow leaves the string. Know where people, roads, trails, houses, livestock, and other hunters may be. Identify the animal clearly and know what is beyond it. A bow is not a firearm, but it is still a weapon, and unsafe direction, poor target identification, or careless broadhead handling can injure someone quickly.
- Keep broadheads covered: treat them like exposed blades, not simple arrow points.
- Use a safe backstop during practice: never shoot where a miss or pass-through can leave the range.
- Do not nock early around people: wait until you are in a safe hunting position.
- Check arrows before shooting: flex carbon arrows carefully and discard damaged shafts.
- Know your partners’ locations: agree on lanes, stand sites, and communication before separating.
- Prepare for weather: carry layers and survival basics, especially if you may sit through rain, wind, or cold.
Cold and wet conditions deserve respect. The CDC winter weather guidance notes that hypothermia can happen when the body loses heat, especially with cold, wind, water, sweat, or inadequate clothing. Bowhunters sit still for long stretches, so pack for the coldest realistic part of the day, not just the walk in.
Scouting and First-Hunt Planning
Scouting gives your practice a place to work. Look for fresh sign, food, cover, water, travel routes, and wind that lets you approach without blowing scent into the area you expect animals to use. For beginners, a simple plan often works best: choose one or two stand or blind locations, mark entry routes, and avoid wandering through the core area right before the hunt.
Plan for wind and access
Wind matters more than fancy hiding. If the wind carries your scent into bedding cover, trails, or feeding areas, animals may leave before you ever see them. Plan an entry route for the wind you expect, then have a backup spot for a different wind. If the wind is wrong and you only have one location, it is often smarter to wait for another day.
Keep the first hunt simple
A first bowhunt does not need to be deep, remote, or complicated. Pick a legal area with clear boundaries, safe shooting lanes, and an exit route you can follow in the dark. Bring enough light, mark the way back, and stop hunting before fatigue makes you sloppy. The goal is not just to fill a tag. It is to come home safe and learn what real bowhunting feels like.
Ethical Shot Selection
Ethical bowhunting means passing shots that are legal but not responsible. Wait for the animal to be calm, close, broadside or slightly quartering away, and clear of brush. Do not shoot at running animals, animals facing you, animals sharply quartering toward you, or animals beyond your practiced range. Brush, small twigs, and tall grass can deflect an arrow.
- Know the vital zone: study anatomy for the species you hunt, not just a generic target outline.
- Pick a spot: aim at a precise point, not the whole animal.
- Wait for stillness: movement at release can turn a good aim into a poor hit.
- Watch the angle: aim for the path through the vitals, not just the visible side of the animal.
- Pass if unsure: uncertainty is enough reason to let the animal walk.
For broadside deer-sized game, beginners are usually trying to send the arrow through the heart and lungs. That does not mean every animal will react the same way. Angle, alertness, arrow setup, and exact hit location all matter. Keep your standards tight and remember that not shooting is often the most skilled decision of the day.
After the Shot and Recovery
Recovery begins the moment the arrow hits or misses. Watch and listen. Mark where the animal stood, the direction it ran, and the last place you saw or heard it. Do not climb down or rush forward immediately unless safety requires it. Many poor recoveries happen because the hunter hurries and pushes an injured animal farther away.
- Replay the shot: note distance, angle, animal position, impact sound, reaction, and arrow location.
- Wait appropriately: when in doubt, give the animal more time and follow local best practices or call an experienced mentor.
- Start at the hit site: look for hair, blood, tracks, disturbed leaves, and the arrow if it passed through.
- Mark sign: use flagging, map pins, or photos so you can see the line of travel.
- Move slowly: one careful step at a time beats wandering ahead and losing the trail.
- Know local rules: some states regulate tracking dogs, night recovery, property crossing, and reporting.
If you lose the trail, stop and back out to the last confirmed sign. Search in circles from that point, check downhill routes, water, thick cover, and natural travel corridors, but avoid trampling the area. When private property is involved, get permission before crossing a boundary. A recovered animal matters, but so do the law and landowner trust.
Common Beginner Mistakes
Most beginner mistakes are ordinary and preventable. The fix is usually more patience, more honest practice, and less gear clutter.
- Starting with too much draw weight: if you cannot draw smoothly from a seated position, lower the weight.
- Practicing only in perfect posture: hunt shots rarely feel like a flat range with warm hands and no jacket.
- Skipping broadhead confirmation: field-point groups do not guarantee broadhead impact.
- Ignoring the wind: a beautiful setup can fail if your scent blows into the trail.
- Taking marginal shots: distance, brush, angle, and animal mood all matter.
- Climbing unsafely: elevated hunting requires a harness, lifeline, and a slow routine every time.
- Rushing recovery: patience after the shot can be the difference between recovery and loss.
Related Guides to Add Internally
When this repair is placed into WordPress, add internal links where they fit naturally. Useful placeholders include archery safety rules, how to choose arrow spine, deer hunting tips for beginners, bow maintenance tips, and hunting gear checklist. Keep them editorial, not promotional.
FAQ
How far should a beginner shoot at an animal with a bow?
A beginner should use a personal limit based on consistent practice, not a number from someone else. For many new bowhunters, that may be 15 to 20 yards at first. Only extend that range after you can keep calm, repeatable groups from real hunting positions and after broadheads hit predictably.
Do I need a compound bow to start bowhunting?
No. Compound bows, recurves, longbows, and crossbows can all be used where legal, but each has different practice demands and rules. Compounds are common for beginners because the let-off helps at full draw and the setup can often be adjusted as the shooter improves.
How much should I practice before bow season?
Practice until your first arrow of the day is reliable. Short, frequent sessions are usually better than one long session now and then. Include hunting clothes, seated shots, kneeling shots, awkward angles, range estimation, and safe let-downs.
Should beginners hunt from a stand or the ground?
Both can work. Ground setups avoid climbing risk but require careful cover, wind, and movement control. Treestands can improve visibility and scent advantage, but they add serious fall risk. If you hunt elevated, use a proper harness and lifeline every time.
What is the most important bowhunting skill for beginners?
Judgment. Shooting matters, but judgment decides when to hunt, where to sit, when to draw, when to pass, and how to recover. A beginner with good judgment and modest range limits is already on the right track.
Bottom Line
Bow hunting for beginners should be slow, legal, safe, and honest. Start close. Practice more than you think you need. Learn the animal and the wind. Use simple gear you understand. Take only clean shots inside your proven range, then recover carefully and respectfully. That is the foundation every good bowhunter keeps coming back to.