Scouting a New Hunting Area: Access, Maps, Sign, Wind, and Safety
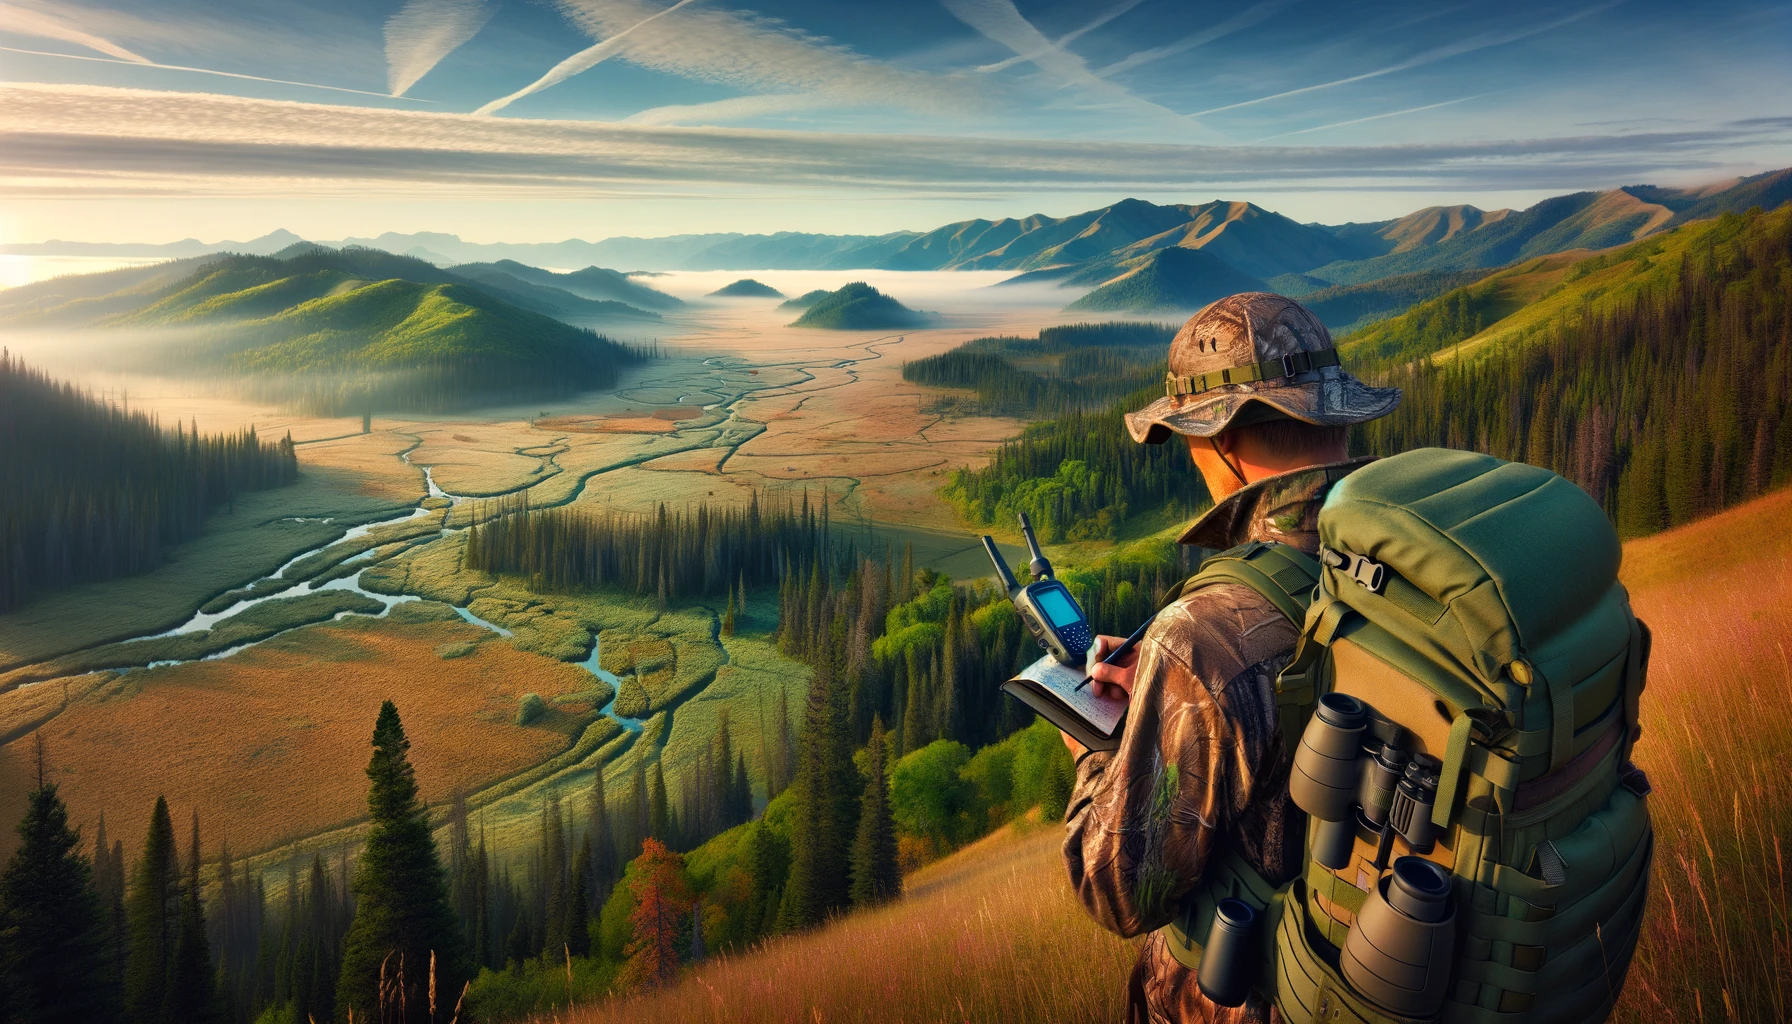
Scouting a new hunting area is mostly a process of reducing unknowns. Before you think about stand trees, calling setups, or opening morning, you need to know where you can legally go, how the terrain works, where animals meet food, water, and cover, and how to enter without disturbing the place you are trying to understand.
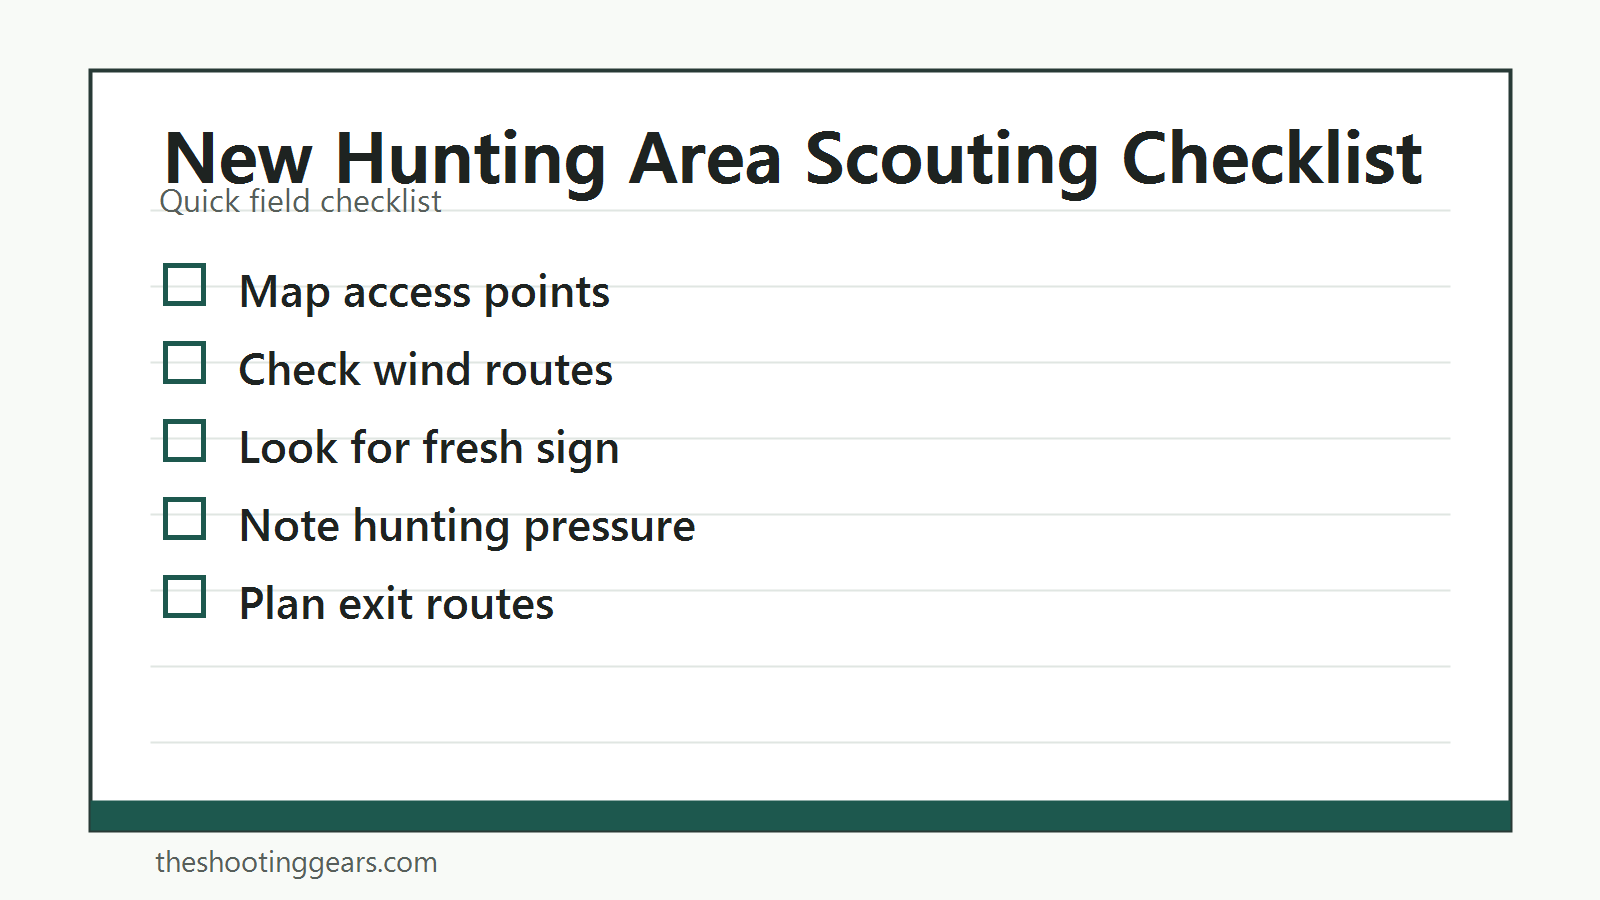
A good scouting trip should leave you with a better map, cleaner access plan, and a short list of spots worth checking again. It should not leave deep tracks through bedding cover, fresh scent across every trail, or a pile of guesses dressed up as confidence. The goal is to learn enough to hunt smarter while keeping pressure low.
Table of Contents
Start With Legal Access
Verify the land before the sign
The first scouting question is not where the deer, turkey, or elk might be. It is whether you can legally be there. Check property boundaries, public access rules, parking areas, seasonal closures, weapon restrictions, and any permit or draw requirements before you scout. A place that looks open on a satellite image may have a closure, private inholding, access easement, or local rule that changes the plan.
Use the state agency as the first authority
Start with the state wildlife agency page for the area you plan to hunt. Then check the land manager if it is a national forest, wildlife management area, refuge, state forest, county tract, or private lease. If the rules are unclear, call before you go, and use our guide to asking for hunting permission when private land access is part of the plan. A clean scouting trip should not create a trespass problem, parking complaint, or avoidable conflict with other users.
Read the Map Before Walking In
Use maps to narrow the walk
Maps save pressure. A topographic map can show ridges, benches, saddles, creek crossings, draws, and steep ground before your boots touch the property. Aerial imagery can show fields, timber edges, burns, cuts, wetlands, and travel corridors. Use the map to choose a short, specific route instead of wandering through the best cover just to see what happens.
Mark likely travel features
On a new area, mark places where terrain naturally guides movement: pinch points, inside corners, saddles, benches, creek crossings, fence gaps, field edges, and narrow strips of cover between food and bedding. These features do not guarantee animal use, but they give you a smarter starting list for field checks.
The USGS National Map and state mapping tools can help you compare terrain, roads, water, and public boundaries. Do not rely on one app layer alone. Use more than one source when boundaries or access points matter.
Confirm Sign on the Ground
Look for fresh sign first
Tracks, droppings, rubs, scrapes, feathers, dusting areas, beds, trails, browse lines, and water crossings can all help, but freshness matters. Old sign proves an animal used the area at some point. Fresh sign helps you understand what is happening now. Match sign to weather, season, food availability, and pressure before giving it too much weight.
Read sign with the terrain
Sign means more when it makes sense with the map. A trail through random open ground may not matter much. A trail that connects bedding cover, a quiet water source, and a feeding edge with the wind in the animal’s favor is worth attention. The best scouting is not just finding sign. It is asking why that sign is there.
Food, Water, and Cover
Find the daily needs
Most useful hunting patterns connect food, water, and cover. For deer, that might mean browse, mast, crop edges, bedding thickets, and a shaded water source. For turkeys, it might mean roost trees, openings, feeding areas, bugging cover, and safe travel. For western big game, it may involve elevation, glassing points, water, escape cover, and weather-driven movement.
Do not scout only the obvious food
Obvious food sources draw attention from animals and hunters. On a new area, also look for the quiet routes to and from those spots. A hidden crossing, secondary trail, shaded bench, or overlooked water source may matter more than the biggest field. Good scouting often finds the edge of the pattern rather than the center of the crowd.
Wind and Entry Routes
Plan the approach around wind
Wind determines whether scouting stays useful or turns into pressure. Before walking into a new area, check the forecast and think about terrain effects such as thermals, slopes, creek bottoms, and open fields. A route that looks short on the map may be poor if it carries your scent into bedding cover or across the travel corridor you hope to hunt later.
Leave the core area alone when possible
Use edges, old roads, creek beds, and open routes when they let you learn without stepping into the middle of the best cover. If you need to check a sensitive spot, do it with a purpose, then leave. Repeated random scouting can teach animals to avoid the exact area you are trying to use.
Human Pressure and Timing
Scout the people too
Human pressure is part of the habitat. Look for parking pull-offs, boot tracks, old stands, trail-camera straps, cut branches, litter, ATV tracks, and easy routes from roads. A spot with perfect sign may still hunt poorly if every person on the property walks through it. A less obvious route with lower pressure may be more useful.
Choose scouting times carefully
Midday scouting often creates less conflict with animal movement than first light or last light, especially in pressured areas. Weather can also help. A light rain can quiet your walk and refresh tracks, while heavy wind can make sign and sound harder to read. Use the conditions, but do not force a trip when safety is poor.
Safety and Navigation
Know how to get out
A new area can feel simple on the way in and confusing on the way out. Carry a map, compass, light, water, first-aid basics, and a charged phone or GPS when possible; our compass-reading guide is a useful backup skill before walking unfamiliar ground. Mark the truck, trailhead, and any important turns. Tell someone where you are going and when you expect to return.
Respect weather and terrain
Check the National Weather Service forecast before you go. Fog, heat, cold, lightning, high wind, and rising water can change a scouting trip quickly. Do not cross unsafe water, climb unstable slopes, or push into thick cover after dark just to confirm one more trail.
Notes That Actually Help Later
Record conditions with every find
Useful notes include date, time, wind, temperature, recent rain, access route, sign type, freshness, nearby food, nearby cover, and where human pressure showed up. A photo of a track without context is easy to forget. A note that says why the track mattered is useful weeks later.
Turn notes into a short plan
After scouting, sort the area into three groups: spots worth hunting soon, spots worth checking again, and spots to leave alone. Pick an entry route, wind condition, and backup plan for each useful location. The final product of scouting should be a decision, not just a collection of pins; newer hunters can pair this with our deer hunting tips for beginners to build a full first-season plan.