Proper Shot Sequence in Hunting: Target ID, Backstop, Range, Angle, and Recovery
A proper shot sequence in hunting is a safety routine first and a shooting routine second. It helps you slow down long enough to identify the animal, confirm the legal target, check what is beyond it, judge the angle, control your body, and decide whether the shot should happen at all. A clean sequence protects people, respects wildlife, and reduces wounded-game risk.
The best hunters do not use a shot sequence to talk themselves into a risky shot. They use it to decide. If one step fails, the shot waits. That habit matters more than distance, gear, or confidence.
Table of Contents
Quick Answer
Use the sequence to decide, not rush
A safe hunting shot sequence is: identify the animal, confirm legality, check the backstop and beyond, range the target, judge the angle, settle your position, control breathing, press the trigger or release smoothly, follow through, then mark the animal’s reaction and recovery path. If any step is uncertain, do not shoot.
Ethical shots have limits
Your real limit is the distance and position where you can make a clean shot under field conditions, not your best group on a perfect range day. Wind, brush, steep angle, animal movement, low light, fatigue, and poor rest should all shorten that limit.
Identify the Animal
Confirm species and legal details
Do not shoot at movement, sound, color, or a partial outline. Confirm the species, sex, antler or horn requirement, season, tag, and any local rule that applies. In poor light or thick cover, this step may take longer than you want. That is fine. A legal and ethical shot starts with certainty.
Watch for other animals and people
Look around the target, not just at it. Other animals may be behind or beside the one you are watching. Partners, hikers, livestock, dogs, vehicles, roads, buildings, and property boundaries may also be in the area. Tunnel vision creates bad decisions.
Check the Backstop and Beyond
Know where the projectile can go
Before any firearm shot, know what is behind and beyond the target. A miss or pass-through can travel farther than the animal. Hillside, dirt bank, safe ground, or other known stopping area matters. Skyline shots, brush shots, and shots toward roads or buildings should be rejected.
Archery still needs a safe lane
Arrows do not travel like rifle bullets, but they still need a safe path. Check for branches, grass, brush, rocks, fences, other animals, and people. If the arrow path is not clear, hold the shot.
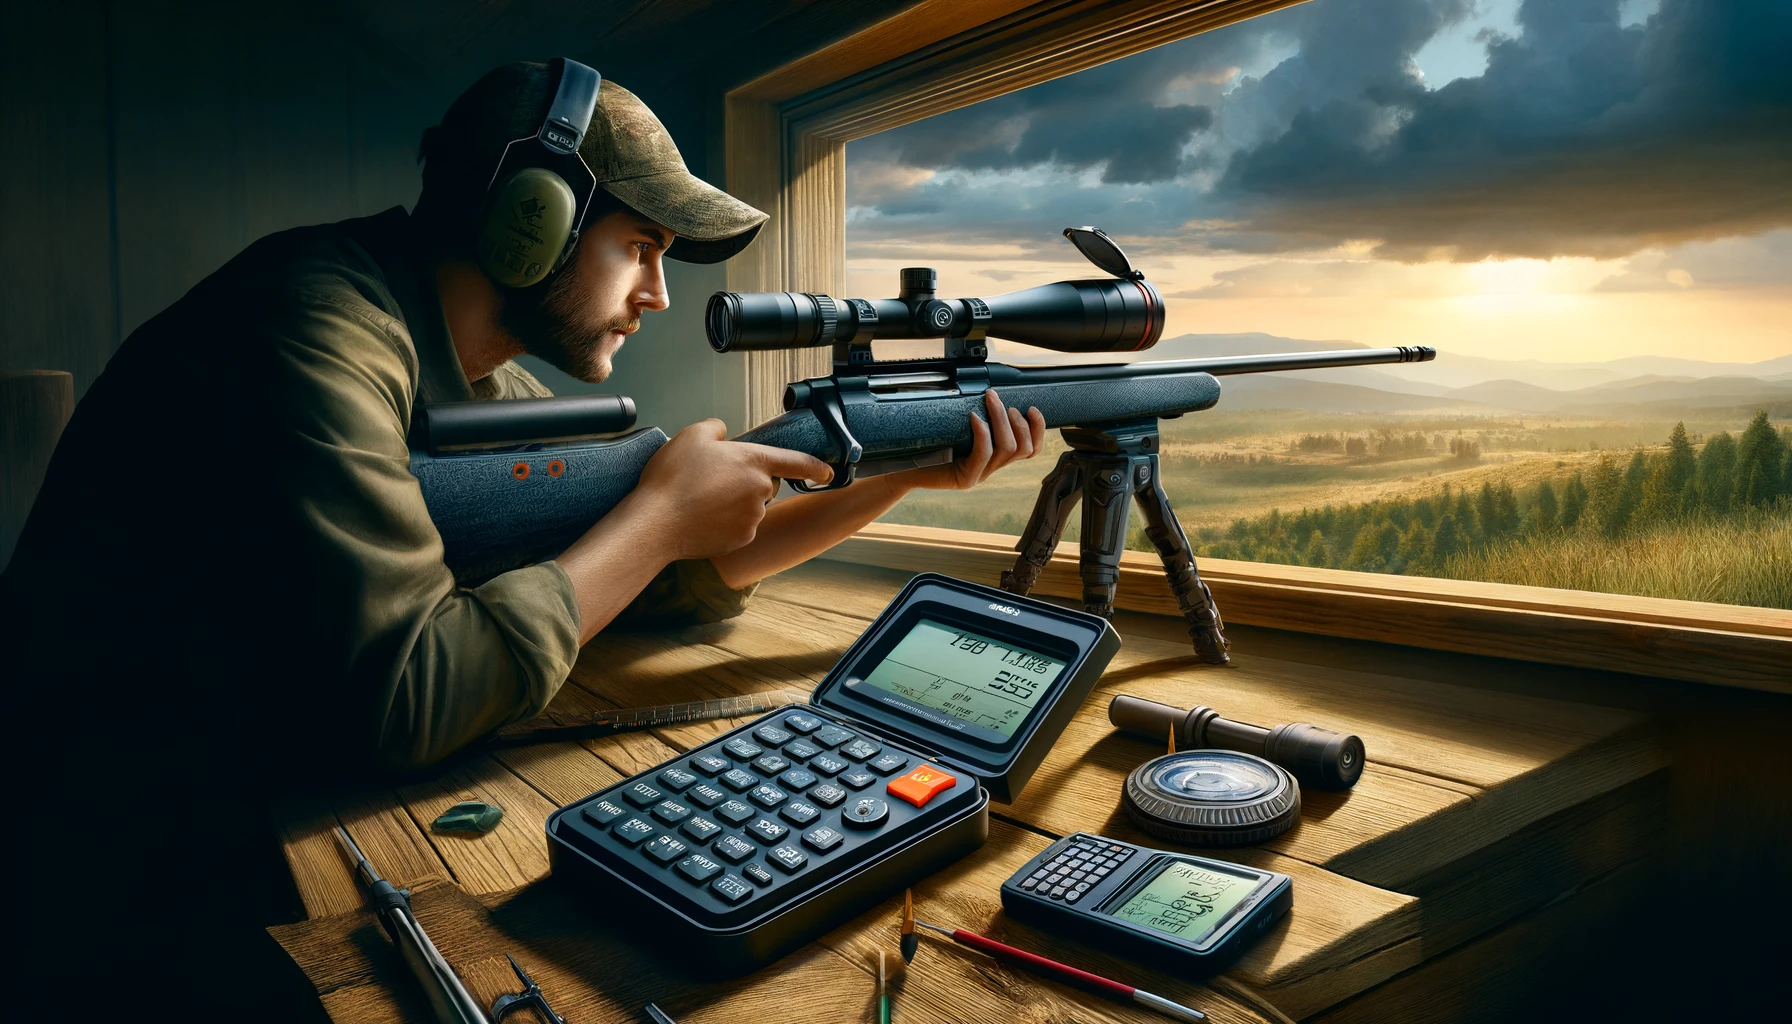
Confirm Range and Limits
Use a range you trust
Guessing distance is one of the easiest ways to turn a good opportunity into a bad hit. Use a rangefinder where legal and practical, or learn fixed landmarks before the animal appears. If you cannot confirm range, shorten your limit.
Stay inside your field limit
Your field limit should be based on realistic practice from hunting positions. Sitting, kneeling, standing, shooting uphill, shooting downhill, wearing cold-weather clothing, and breathing hard all change the shot. A distance that works from a bench may not belong in the field.
Judge Shot Angle
Wait for the right presentation
Broadside and slight quartering-away angles are usually easier to judge than steep quartering-to, frontal, rear, or hard-moving angles. The exact decision depends on weapon, distance, animal, and skill, but the principle is stable: the shot should reach the vital area cleanly without relying on luck.
Let bad angles pass
Do not force a shot because the animal is about to leave. A passed shot may feel painful for a moment. A wounded animal feels worse for much longer. If the angle is wrong, wait.
Settle Your Body
Build the steadiest position available
Use a rest, pack, tree, shooting sticks, sling, knee, or stable stance when available and safe. For archery, settle your feet, posture, grip, anchor, and peep or sight picture. For firearms, settle the stock, cheek weld, sight picture, and trigger hand. A stable body gives the shot a chance.
Control breathing without freezing
Breathe normally as you prepare, then press or release during a natural pause. Do not hold your breath so long that your vision and muscles start to shake. If the sight picture is not settling, let down or lower the firearm and reset.
Press or Release Without Snatching
Make the shot clean
With a firearm, press the trigger smoothly straight to the rear. With a bow, execute the release without punching or collapsing. The shot should not be a flinch, slap, or panic move. If you feel yourself rushing, stop.
Do not let excitement run the sequence
Adrenaline is normal. It does not get to make the decision. Keep the sequence simple and repeatable so excitement has less room to take over. If the animal moves before the shot breaks, reassess instead of forcing the old sight picture.
Follow Through
Stay in the shot
Follow-through means holding the sight picture, keeping your head down, and watching the animal after the shot. Do not immediately lift your head, cycle the action carelessly, or celebrate. The information after the shot matters.
Be ready for a safe second shot
If a follow-up shot is legal, safe, and needed, be ready. If it is not safe, do not take it. A second shot still requires target ID, backstop, range, and angle. The sequence does not disappear because the first shot was fired.
Mark the Hit and Plan Recovery
Watch the animal’s reaction
Mark where the animal stood, where it ran, and what you saw at impact. Listen for direction and distance. Pick landmarks before moving. Rushing to the impact site without a plan can erase sign and make recovery harder.
Recover with patience
Wait time depends on the hit, weapon, weather, terrain, and sign. If you are unsure, slow down and get help from an experienced tracker or legal tracking dog where allowed. Recovery is part of the shot sequence, not a separate chore.