How to Organize Your Hunting Backpack: Pack Zones, Weight, Safety, and Checklist
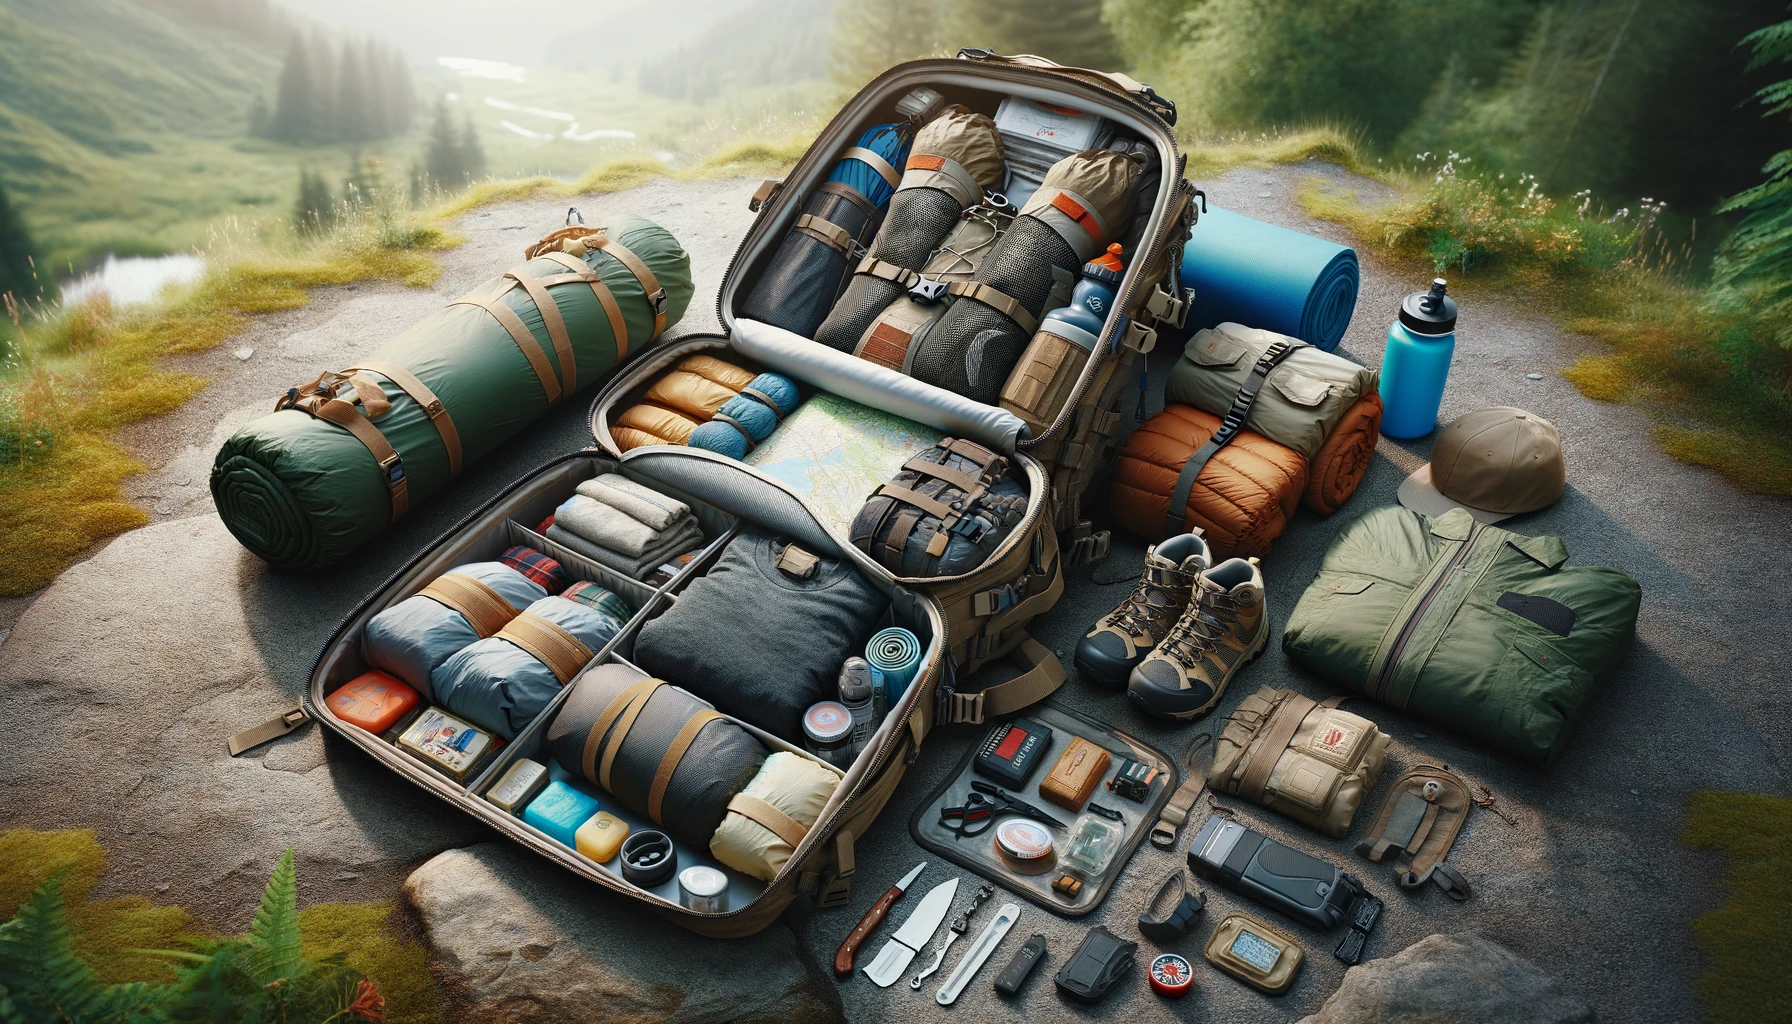
A good hunting backpack is organized by access, weight, and safety. Keep emergency items and navigation tools easy to reach, put heavier gear close to your back, protect food and scent-sensitive items in sealed bags, and leave the items you need first in outside pockets or the top of the pack.
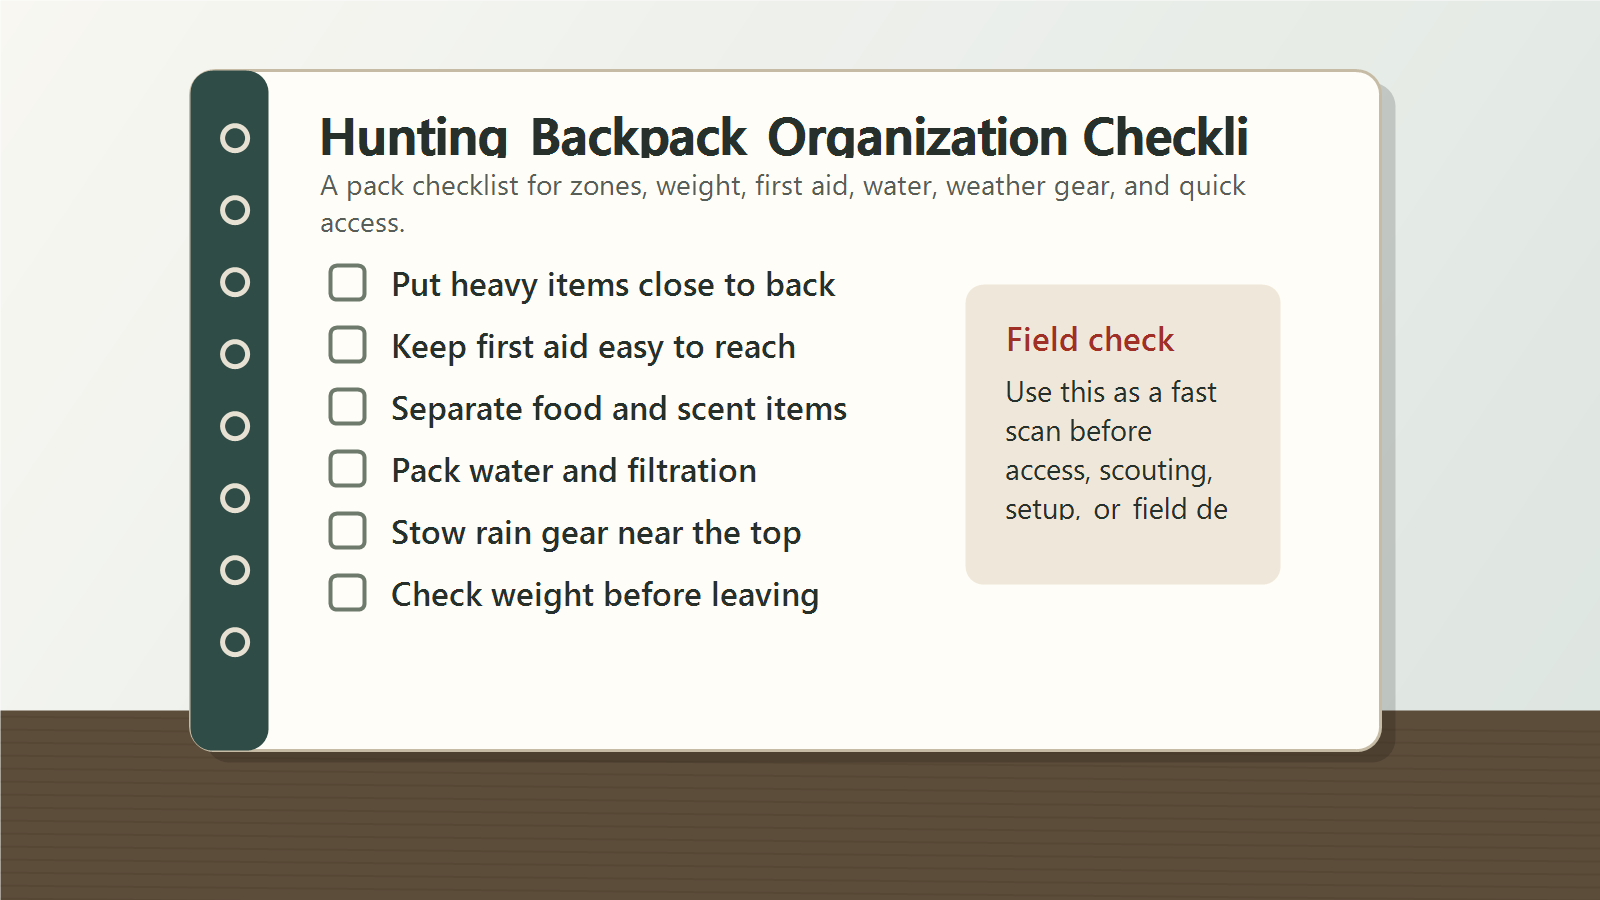
Table of contents
Quick Pack Plan
If you only have a few minutes before a hunt, use this simple layout: safety and navigation in the fastest pocket, water and food near the middle, layers near the top, field tools in a sealed pouch, and heavy items close to your spine. That setup keeps the pack stable while still letting you reach the things you may need in a hurry.
Fast-access pocket
Use the top pocket, hip-belt pocket, or outside admin pocket for items you may need without digging. That usually means a headlamp, small first-aid kit, license, wind checker, rangefinder, extra batteries, whistle, fire starter, and a map or phone backup. The exact list depends on where you hunt, but the point is the same: urgent gear should not be buried under clothing.
Main compartment
The main compartment should hold the bulk of the load: clothing layers, water, food, kill kit or game bags where legal and needed, rain gear, and extra gloves or socks. Use small pouches or dry bags so the pack does not become one loose pile. Labeling is not required, but using the same pouch colors each time makes it easier to find gear in low light.
Outside pockets and straps
Use outside pockets for gear that can handle weather and brush. A water bottle, trekking pole, compact tripod, or wet rain shell may belong outside. Avoid hanging loose metal tools or dangling straps. They catch on limbs, make noise, and can pull your balance off when you climb over deadfall or move through thick cover.
Before You Pack
Backpack organization starts before the first item goes inside. Empty the pack, spread your gear on the floor, and remove anything that does not serve the hunt. A lighter pack is easier to carry, quieter to handle, and less likely to hide the item you actually need.
Match the load to the hunt
A short morning sit near the truck does not need the same loadout as an all-day public-land hunt. For a short hunt, you may only need safety gear, water, a layer, snacks, license, field tools, and weather protection. For a longer hunt, add more water, calories, insulation, navigation backups, and a clear plan for packing out meat if that applies.
Check local rules and land guidance
Some public lands have rules for fires, game retrieval, tagging, bait, access hours, and vehicle use. Before packing tools or planning a route, check the land manager and your state wildlife agency. The U.S. Forest Service has a helpful hunting safety and planning overview for public-land users.
Pack by use, not by category alone
It is easy to group all clothing together, all tools together, and all food together. That can work at home, but in the field you need access by timing. Rain gear belongs near the top if storms are possible. A knife may be buried during the hike in, then moved to a reachable pouch after a shot. Your organization should match the order of the day.
Use Backpack Zones
The easiest way to organize your hunting backpack is to divide it into zones. Each zone has a job: bottom for low-use soft items, middle for dense weight, top for quick layers, outside for fast access, and sealed pouches for small gear.
Bottom zone: soft and low-use items
Put items you will not need until later near the bottom. On a hunting day, that may be a puffy layer, spare socks, light gloves, or a compact seat pad. If the pack has a separate lower compartment, use it for soft gear rather than heavy tools. Soft items create a cushion and help the pack sit better against your back.
Middle zone: dense items close to your back
Water, food, optics support gear, and other dense items should ride near the center of the pack and close to your spine. This keeps the load from pulling backward. If heavy gear sits too far away from your back, the pack feels heavier than it is and can make downhill walking less stable.
Top zone: first-use items
Use the top of the pack for items you may need soon: rain shell, extra hat, gloves, snacks, or a lightweight layer. If you stop to glass, still-hunt, or wait out weather, this zone lets you adjust without unloading the whole pack.
Pouches: small gear and quiet access
Small items disappear fast in a dark pack. Use separate pouches for first aid, fire, repair, field dressing, electronics, and licenses. Soft pouches are quieter than loose plastic boxes. Keep sharp or messy tools in sleeves or sealed bags so they do not damage clothing or food.
Balance Weight and Comfort
Comfort is not only about pack weight. It is also about where that weight sits. A well-balanced pack carries better, moves less, and lets you walk more quietly.
Keep heavy items high enough, but not top-heavy
For most day hunts, dense items should sit around the middle of your back, not deep at the bottom and not stacked high above your shoulders. A heavy bottom makes the pack sag. A heavy top can shift when you lean, duck, or cross uneven ground.
Use the hip belt and sternum strap
If your backpack has a hip belt, tighten it so part of the load rides on your hips instead of only on your shoulders. Then adjust the shoulder straps and sternum strap until the pack sits close without restricting breathing. A pack that swings away from your body is noisy and tiring.
Test the pack before the hunt
Walk around with the full pack before leaving home. Bend, kneel, shoulder your firearm or bow only in a safe direction, and check whether anything clanks, shifts, or digs into your back. This short test catches problems while they are still easy to fix.
Keep Safety Gear Easy to Reach
Safety gear should be simple to find under stress, bad weather, and low light. Do not bury it under clothing or food. The National Shooting Sports Foundation lists core firearm safety rules that are worth reviewing before any hunt involving a firearm.
First aid and emergency items
Carry a small first-aid kit where you can reach it with either hand. Add a whistle, headlamp, fire starter, emergency blanket, and a way to call or signal for help. If you hunt alone or in remote terrain, tell someone your plan and expected return time.
Navigation backup
A phone app is useful, but batteries fail and service can disappear. Carry a backup map, compass, or GPS unit if the area calls for it. Keep spare batteries or a small power bank in a dry pouch. If you use digital maps, download them before leaving service.
Weather and exposure gear
Cold rain, wind, and sudden temperature drops can turn a simple hunt into a problem. Keep a rain shell, insulating layer, gloves, and hat where you can reach them before you are soaked or chilled. For long days, pack extra calories and water treatment if needed.
Control Noise, Scent, and Weather
A hunting pack should be quiet, dry, and easy to open without spreading scent across everything inside. These details matter most when you are close to game or hunting in wet weather.
Quiet the pack
Remove loose zipper pulls, tape noisy buckles if needed, and keep metal tools from touching each other. Wrap small tools in cloth or store them in separate sleeves. Before a hunt, shake the pack lightly. If it rattles at home, it will be louder in the woods.
Separate food, field tools, and clothing
Food smells, fuel, field-dressing tools, and wet clothing should not share the same loose space. Use sealed bags or pouches. This keeps the pack cleaner and makes it easier to find gear without handling everything. For low-impact habits in the field, review the Leave No Trace 7 Principles.
Keep the inside dry
A pack cover helps, but water can still run down straps and seams. Put clothing, first aid, electronics, and fire items in dry bags or freezer bags. If you hunt in snow or rain often, keep one empty waterproof bag for wet gloves or a soaked layer.
Day Hunt Backpack Checklist
This checklist is a starting point, not a rule for every hunter. Adjust it for your state laws, season, weather, terrain, distance from the truck, and whether you are hunting alone.
Safety and navigation
- License, tags, and required documents
- Map, compass, GPS, or downloaded offline map
- Headlamp plus spare batteries
- Small first-aid kit
- Whistle, fire starter, and emergency blanket
- Phone or satellite communicator if needed
Food, water, and clothing
- Water bottle or bladder
- High-calorie snacks or lunch
- Rain shell or wind layer
- Insulating layer for long sits
- Spare gloves, hat, or socks when weather calls for them
Hunting and field items
- Optics, rangefinder, or calls if used
- Wind checker
- Field-dressing tools and game bags where legal and needed
- Trash bag or extra dry bag
- Small repair kit with tape, cord, and a multitool
Common Packing Mistakes
Most backpack problems come from carrying too much, burying important gear, or failing to repack after the first stop. A few habits can prevent most of that.
Carrying gear because it always lived in the pack
Old snacks, extra tools, dead batteries, and duplicate clothing build up over time. Empty the pack after each hunt and reload it for the next trip. That one habit keeps the load honest.
Burying safety gear
First aid, navigation, headlamp, and fire items should not sit under lunch, clothing, and field tools. Put them in a marked pouch or the same pocket every time. In poor light or bad weather, muscle memory helps.
Forgetting the pack-out plan
If there is any chance you will need to carry meat, plan space and weight for that before the hunt. A pack that is stuffed full on the hike in may be hard to use after success. Carry only what earns its place.
Related Guides
If you are building a complete hunt plan, start with our first-time hunting guide, then use the beginner hunting trip planning guide to map out scouting, weather, timing, and backup plans. For a lighter setup, see our guide to simple hunting gear.
FAQ
What should go in the top of a hunting backpack?
Put items you may need soon in the top of the pack: rain shell, gloves, snacks, headlamp, wind checker, and a small first-aid kit. Anything urgent should be reachable without emptying the main compartment.
Where should heavy items sit in a backpack?
Heavy items usually carry best near the middle of your back and close to your spine. This helps keep the load stable and reduces the backward pull that makes a pack feel heavier.
How do I keep my hunting backpack quiet?
Stop metal tools from touching, shorten loose straps, quiet zipper pulls, and use soft pouches for small items. After packing, shake the bag gently at home and fix anything that rattles.
Should food and field tools be packed together?
No. Keep food, field tools, wet clothing, and fuel or strong-smelling items in separate sealed bags. This keeps the pack cleaner and makes gear easier to find.
How often should I reorganize my backpack?
Empty and reload it after each hunt. Remove trash, dry wet gear, replace used supplies, check batteries, and adjust the load for the next hunt instead of carrying the same pack all season.