How To Clean A Handgun Properly: Safe Basic Maintenance
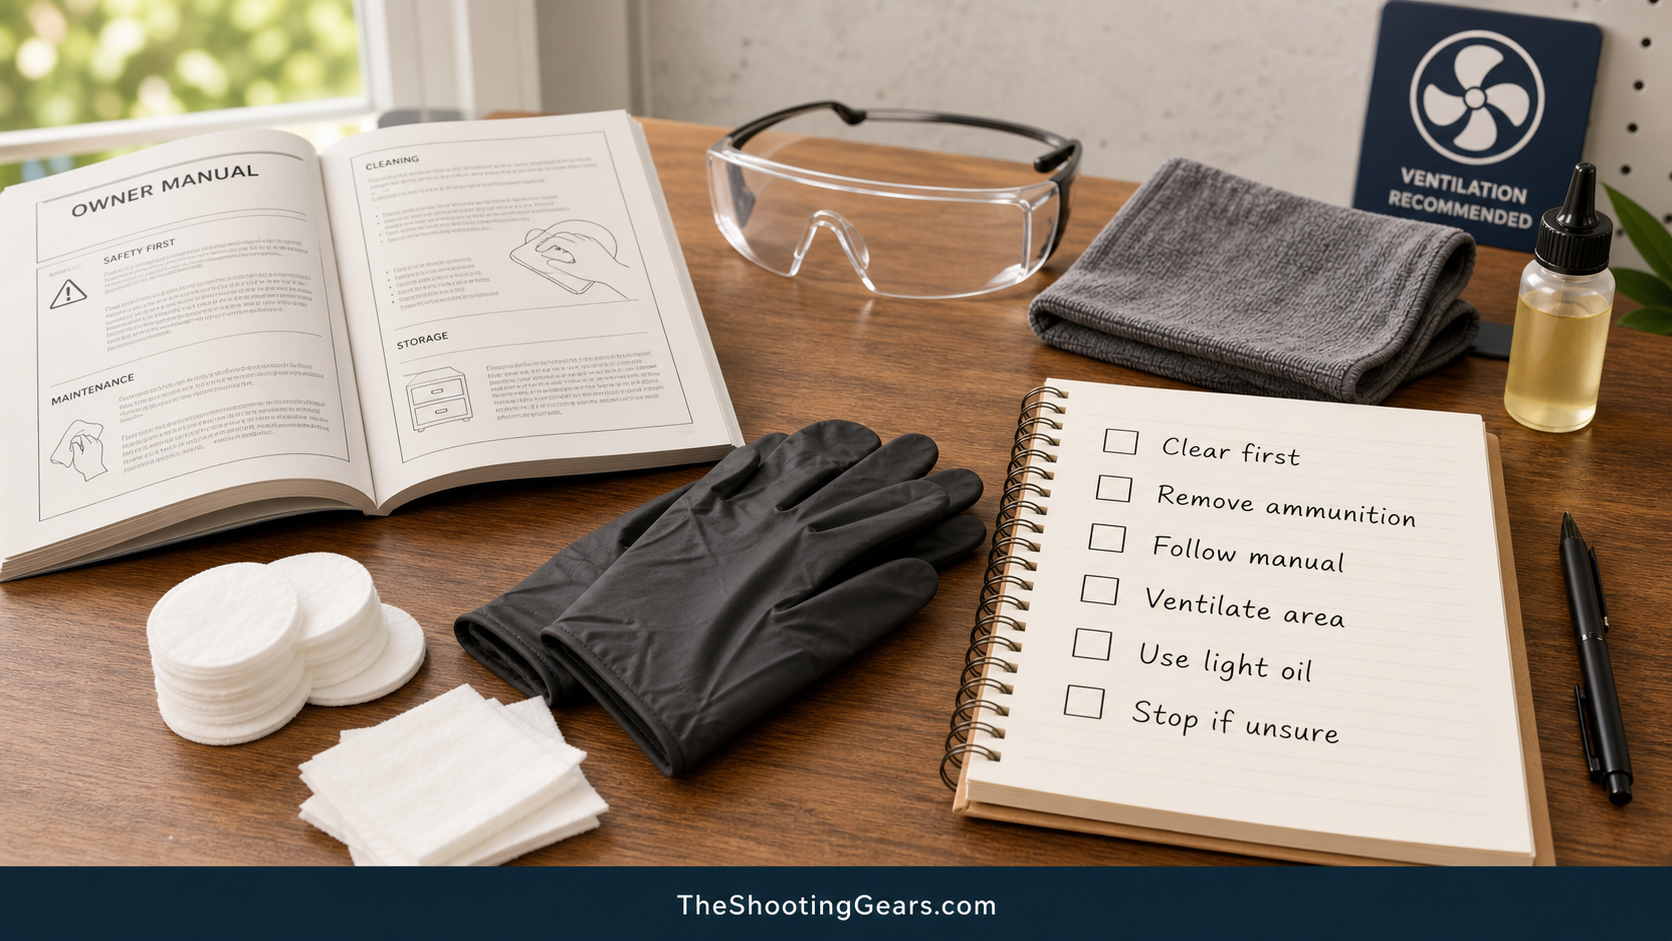
To clean a handgun properly, start by unloading it, verifying it is clear, and removing all ammunition from the workspace. Then follow the owner manual for your exact handgun. The manual controls how far to field strip it, which surfaces to clean, where lubricant belongs, and how to reassemble it.
This guide covers safe, manual-led basics only. It does not provide model-specific takedown steps, gunsmithing, trigger work, modifications, or repair instructions. If anything is unclear or a part looks damaged, stop and consult the manual, the manufacturer, a qualified instructor, or a gunsmith.
Table of Contents
Safety Checks Before Cleaning A Handgun
Every cleaning session begins with confirming the firearm is unloaded and safe. Treat the handgun as if it is loaded until you have personally verified otherwise.
- Point the muzzle in a safe direction at all times.
- Remove the magazine, then visually and physically check the chamber to confirm it is empty.
- Remove all ammunition from the cleaning area so live rounds and cleaning are never mixed.
- Keep your finger off the trigger and follow basic firearm safety rules throughout.
The National Shooting Sports Foundation’s firearm safety rules are a useful baseline before, during, and after cleaning. Confirming a clear condition is the most important step, and it is worth repeating if you are interrupted.
Tools And Supplies You Need
Basic handgun cleaning uses a small set of general supplies. Match sizes and products to your owner manual and to the cleaning-product labels.
- Cleaning patches and a patch holder or jag.
- A correctly sized bore brush.
- A cleaning rod or cable.
- Bore solvent and a light firearm oil or lubricant.
- A cleaning mat to protect the surface and catch debris.
- Disposable gloves and eye protection.
Use solvents and oils according to their labels and safety data sheets. This is not a product ranking, so choose supplies that match your handgun, your manual, and your workspace.
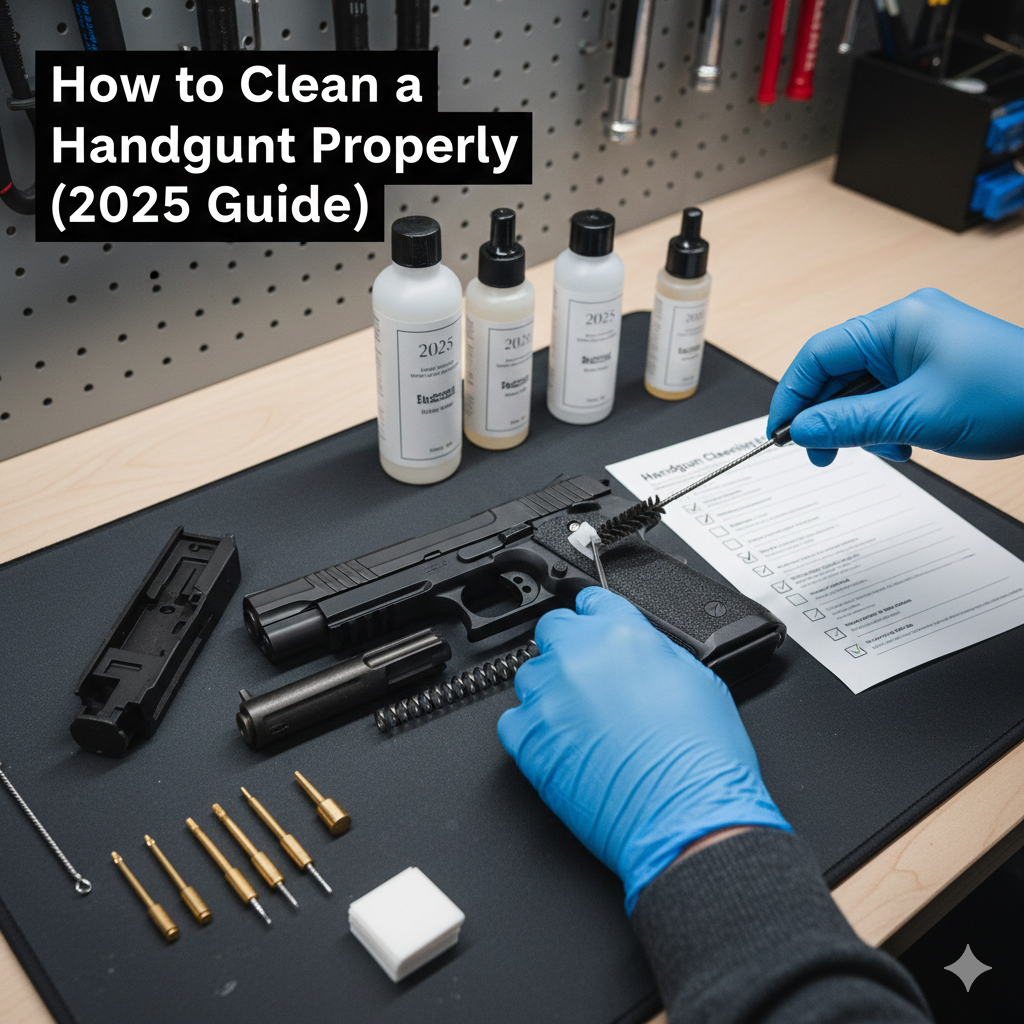
Basic Handgun Cleaning Process
The basic order is simple: confirm the gun is clear, field strip per the manual, clean the major parts, then lubricate and reassemble. Keep the work at a routine-maintenance level unless a qualified gunsmith or the manufacturer tells you otherwise.
Clear The Firearm And Remove Ammunition From The Workspace
Before any disassembly, confirm again that the magazine is out and the chamber is empty. Keep all ammunition in a separate location. This separation prevents the most serious cleaning mistakes.
Follow The Manual For Field Stripping
Field stripping differs by handgun, so your owner manual is the authority. Follow the manual for slide removal, recoil spring handling, barrel removal, and reassembly. Do not force parts, and do not disassemble farther than the manual describes for routine cleaning.
Clean The Barrel, Slide, Frame, And Magazines At A High Level
With the handgun field stripped per the manual, clean the major surfaces. Use a solvent-dampened patch and an appropriately sized brush as the manual recommends, then follow with clean patches. Wipe the slide, frame rails, and contact surfaces according to the manual. Wipe magazines only as the manual allows, and avoid soaking them with solvent or oil.
Lubrication And Reassembly
Lubrication and reassembly should follow the exact points and amounts your manual lists. Apply a light film of oil only where the manual indicates, since too much oil can attract debris. Reassemble in the manual’s order, then perform any function check the manual describes with the firearm unloaded and pointed in a safe direction. If reassembly does not feel right, stop and recheck the manual.
Solvent, Lead, And Workspace Safety
Cleaning solvents and oils are chemicals, so handle them according to their labels and safety data sheets. Work in a ventilated area, wear gloves and eye protection when appropriate, and keep solvents away from food, drink, and children. OSHA hazard communication resources explain why labels and SDS information matter when chemicals are used.
Firing-range and cleaning residue can include lead, so basic hygiene matters. Avoid eating or drinking while cleaning, and wash your hands afterward. CDC/NIOSH firing range guidance provides background on range-related lead awareness. This is general safety context, not medical advice.
Common Handgun Cleaning Mistakes
The most common mistakes are skipping the safety check, over-lubricating, and going beyond the manual’s instructions. Other frequent problems include using the wrong brush size, forcing tools through the bore, mixing solvents, using unlabeled chemicals, and trying to repair a damaged part during a routine cleaning session.
If a part is worn, damaged, or behaving abnormally, do not try to modify it yourself. Take the handgun to a qualified gunsmith or contact the manufacturer.
Frequently Asked Questions
How often should I clean my handgun?
Cleaning frequency depends on how often you shoot, ammunition type, conditions, storage, and your manual’s guidance. Many owners clean after range sessions and inspect periodically during storage, but your owner manual should guide the routine.
Can I use any solvent or oil on my handgun?
Use products labeled for firearm cleaning, follow the product label and SDS, and check your manual for product cautions. Avoid improvised chemical mixes and do not combine solvents.
Do I need to fully disassemble my handgun to clean it?
No. Routine cleaning usually only requires field stripping to the level described in your owner manual. Going farther than the manual covers can create reassembly problems and is better left to a qualified gunsmith.
What should I do if a part looks damaged?
Stop and do not fire or force the firearm. Note the issue and take the handgun to a qualified gunsmith or contact the manufacturer. Cleaning is routine maintenance, not repair.