Cleaning Your Rifle Barrel: Safe Basic Bore Care
Cleaning your rifle barrel safely starts before any patch or brush touches the bore. Unload the rifle, verify the chamber and magazine are clear, move ammunition away from the bench, and follow the owner manual for your exact firearm. Basic bore care is patient maintenance, not gunsmithing.
This guide covers safe, manual-led barrel cleaning basics: what to check first, what supplies are commonly used, how a gentle cleaning workflow works, how often cleaning may be needed, and when to stop and ask a gunsmith. It does not cover model-specific takedown, aggressive rust removal, stuck-obstruction removal, crown repair, chamber work, or accuracy guarantees.
Table of contents
Safety Checks Before Cleaning A Rifle Barrel
Every barrel-cleaning session starts with safety. Treat the rifle as loaded until you have personally verified otherwise. Keep the muzzle pointed in a safe direction, remove the magazine or clear the internal magazine, open the action, and visually and physically check the chamber. If you are interrupted, repeat the clear check before continuing.
Move all ammunition away from the workbench. Live rounds, solvents, tools, and cleaning movement do not belong in the same workspace. The NSSF firearm safety rules are a useful baseline for handling discipline during cleaning, storage, and range work.
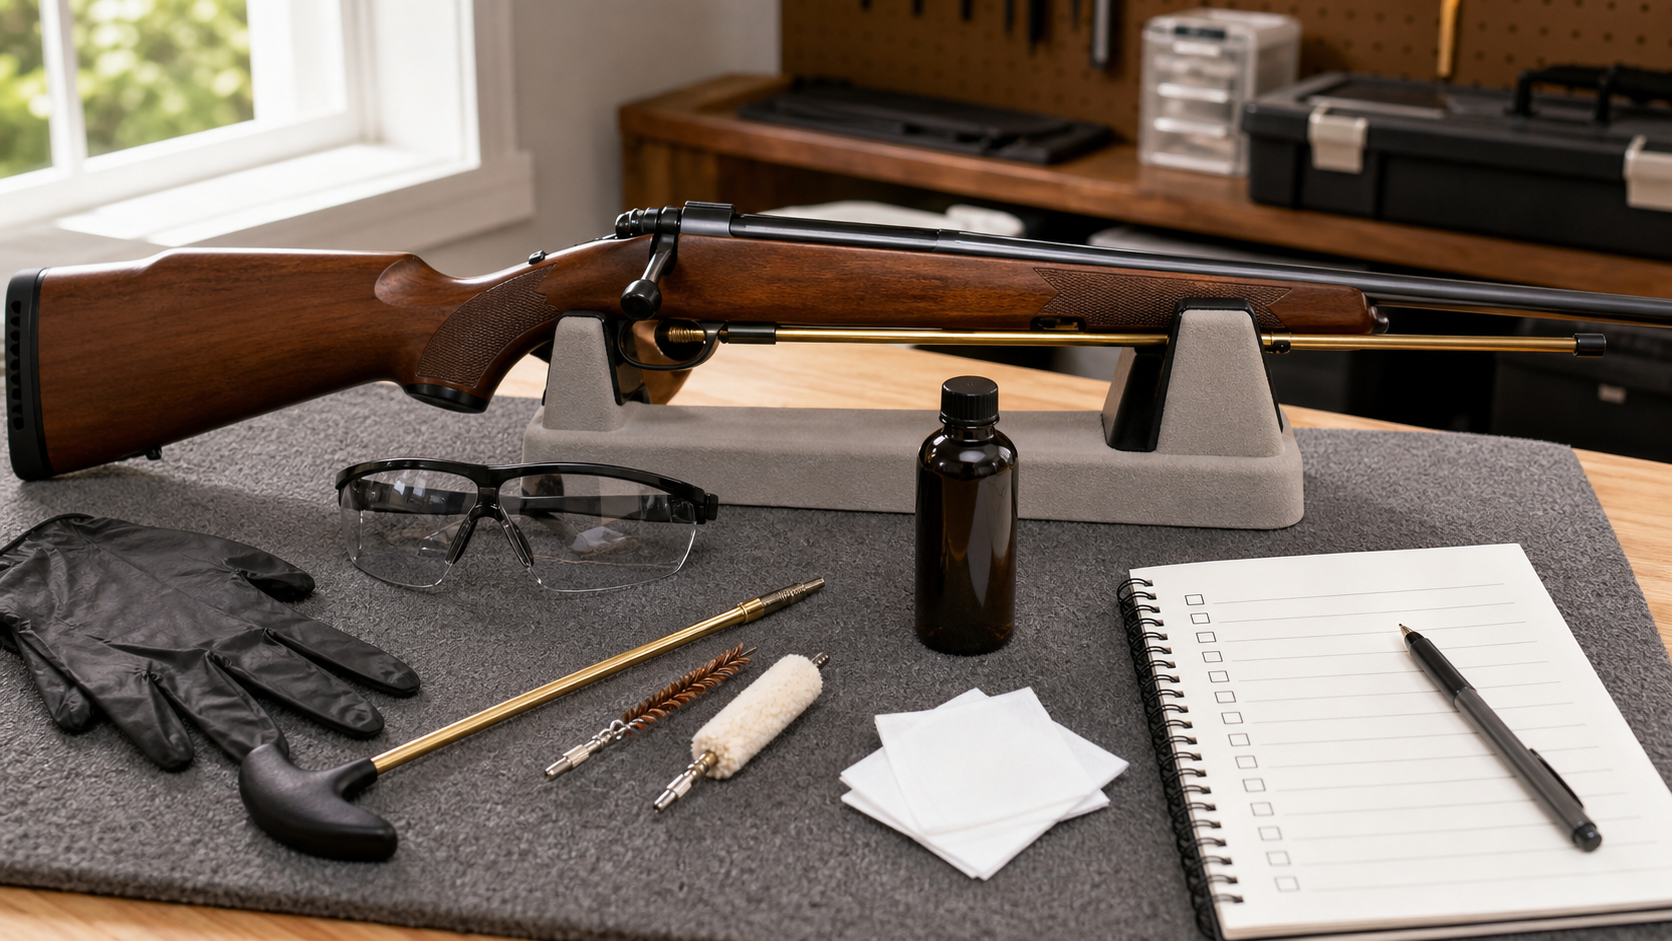
Set up the bench before opening solvent or pushing a rod through the bore. Use a stable mat, keep small parts contained, and place the rifle so it cannot roll or slide while you work. Good setup reduces rushed movement, protects the firearm finish, and makes it easier to notice if a patch, brush, or tool does not feel right.
Tools And Solvents For Rifle Barrel Cleaning
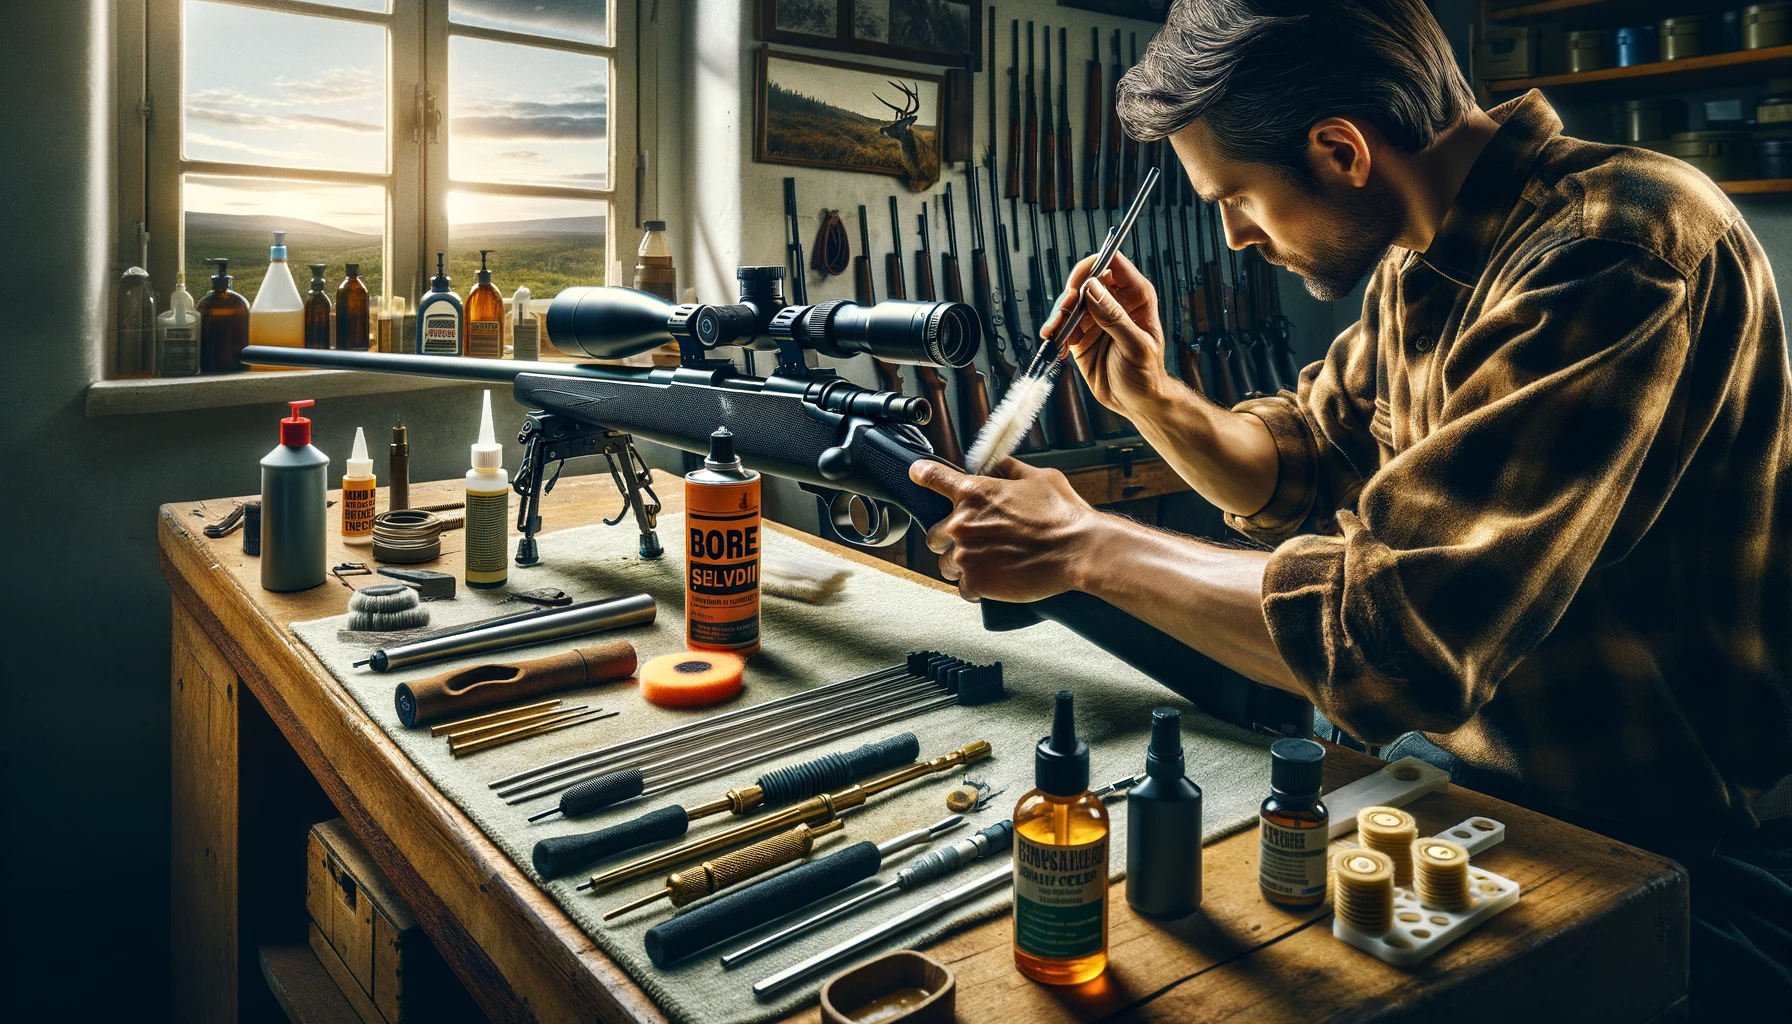
Basic bore care usually uses a cleaning rod or coated cable, caliber-matched patches, a jag or slotted tip, a bore brush, bore solvent, a light oil or protectant, a mat, gloves, and eye protection. A bore guide may help keep the rod aligned on rifles where it is appropriate.
Use solvent and oil only according to the label and your manual. Work in a ventilated area, avoid mixing chemicals, and keep products away from children, heat, and food surfaces. OSHA’s hazard communication resources are a good reminder that chemical labels and safety data sheets matter, even for routine maintenance products.
Step-By-Step Barrel Cleaning Workflow
The safe general workflow is: confirm the rifle is clear, prepare the bench, set up a bore guide if your rifle and manual support it, run solvent through the bore gently, brush only as appropriate, patch until clean, dry the bore, and apply a light protective film only if your manual or storage conditions call for it.
Bore Guide And Cleaning Rod Use
A bore guide helps keep the rod centered and can reduce careless contact with the chamber area or bore. Clean from the chamber end toward the muzzle when your rifle design and owner manual allow. Move the rod smoothly. Do not scrape, slam, or lever the rod against the muzzle crown.
Patch, Brush, And Solvent Sequence
Start with a solvent-dampened patch, then use an appropriately sized brush only when the manual and product instructions support it. Let solvent work according to the label instead of forcing the process. Avoid reversing a brush direction while it is still inside the bore, and do not use oversize tools that require force.
Dry Patch And Light Protection
Finish with dry patches to remove residue and remaining solvent. If the rifle will be stored, a light protective film may be appropriate, but excess oil should not pool in the bore. Before the next range trip or hunt, run a clean dry patch if your manual recommends removing storage oil.
How Often To Clean A Rifle Barrel
There is no single cleaning interval for every rifle. Frequency depends on the firearm, ammunition, weather, fouling, storage, and how much you shoot. Some rifles are cleaned after every outing. Others may be inspected and cleaned on a use-based schedule. The safest rule is to follow your manual, inspect the bore, and adapt to conditions rather than copying a universal number.
For broader timing guidance, see our guide on how often to clean your gun. For field-season context, our hunting rifle maintenance checklist covers the wider rifle-care routine beyond just the barrel.
Mistakes That Can Damage Accuracy Or Equipment
The most common mistakes are rushing the safety check, using the wrong-size tools, damaging the crown with a poorly aligned rod, forcing a stuck patch or brush, over-brushing, mixing solvents, leaving excess oil in the bore, and treating cleaning as a repair job. If a part is stuck, rust is severe, or the crown looks damaged, stop.
For solvent-specific basics, read our guide to proper gun cleaning solvents and oils. For beginners who need the broader process, our rifle cleaning tips for beginners article covers the wider routine.
When To Stop And Ask A Gunsmith
Stop and ask a qualified gunsmith if you find a bore obstruction, severe rust, crown damage, abnormal function, a stuck patch or brush, unexplained pressure signs, or anything that makes you unsure. These are not routine cleaning problems. They require professional tools, judgment, and sometimes manufacturer guidance.
Cleaning should leave the rifle safer and more reliable, not create new damage. For related handling and storage safety, see our gun storage safety tips and shooting range safety rules.
Rifle Barrel Cleaning Checklist
| Step | What To Confirm | Stop If |
|---|---|---|
| Clear the rifle | Magazine removed or cleared, chamber checked, ammo off bench | You are interrupted or unsure |
| Read the manual | Correct direction, tools, solvent cautions, and takedown limits | The process requires model-specific service |
| Set up tools | Correct caliber rod, patches, brush, bore guide, gloves, eye protection | Tools do not fit smoothly |
| Use solvent carefully | Label followed, ventilation present, no chemical mixing | Solvent label conflicts with firearm materials |
| Patch and dry | Gentle passes, no forcing, dry patches after solvent | Patch, brush, or rod gets stuck |
| Store safely | Light protection only if appropriate, excess oil removed | You see rust, damage, or obstruction |
Related Firearm Maintenance Guides
- Rifle cleaning tips for beginners
- Hunting rifle maintenance checklist
- How often to clean your gun
- Proper gun cleaning solvents and oils
- Gun storage safety tips
Frequently Asked Questions
Should I clean my rifle barrel from the chamber or the muzzle?
Clean from the chamber end toward the muzzle when your rifle design and owner manual allow. This helps protect the muzzle crown. If your rifle requires a different method, follow the manual rather than a general rule.
How often should I clean my rifle barrel?
It depends on the rifle, ammunition, weather, storage, and use. There is no universal interval. Follow the owner manual, inspect the bore, and clean based on condition and use.
Can I use any solvent on my rifle barrel?
No. Use products intended for firearm bore cleaning, follow the label, and check the owner manual for material cautions. Avoid household mixtures and never combine solvents.
What should I do if a patch or brush gets stuck in the bore?
Stop and do not force it. A stuck patch, brush, or rod can create damage if handled aggressively. Take the rifle to a qualified gunsmith.