When you’ve successfully harvested a deer, the work is far from over. One of the most critical skills every hunter must master is how to field dress a deer the process of removing the internal organs as soon as possible after the kill. Proper field dressing ensures meat quality, prevents spoilage, and makes transporting the deer much easier.
In this step-by-step guide, we’ll walk through everything you need to know: from preparing your tools and setting up the deer to the exact cutting process, common mistakes to avoid, and tips for transporting your harvest. Whether you’re a beginner hunter or looking to refine your technique, this guide will help you field dress efficiently and safely.
Why Field Dressing Matters
Before diving into the steps, it’s important to understand why field dressing is a non-negotiable part of deer hunting:
- Preserves Meat Quality: Removing internal organs quickly helps meat cool down and prevents bacterial growth.
- Prevents Spoilage: The sooner the carcass is opened, the faster heat escapes, reducing the risk of souring.
- Reduces Weight: A dressed deer is lighter and easier to transport out of the woods.
- Cleaner Butchering Later: A properly dressed deer makes skinning and processing much smoother.
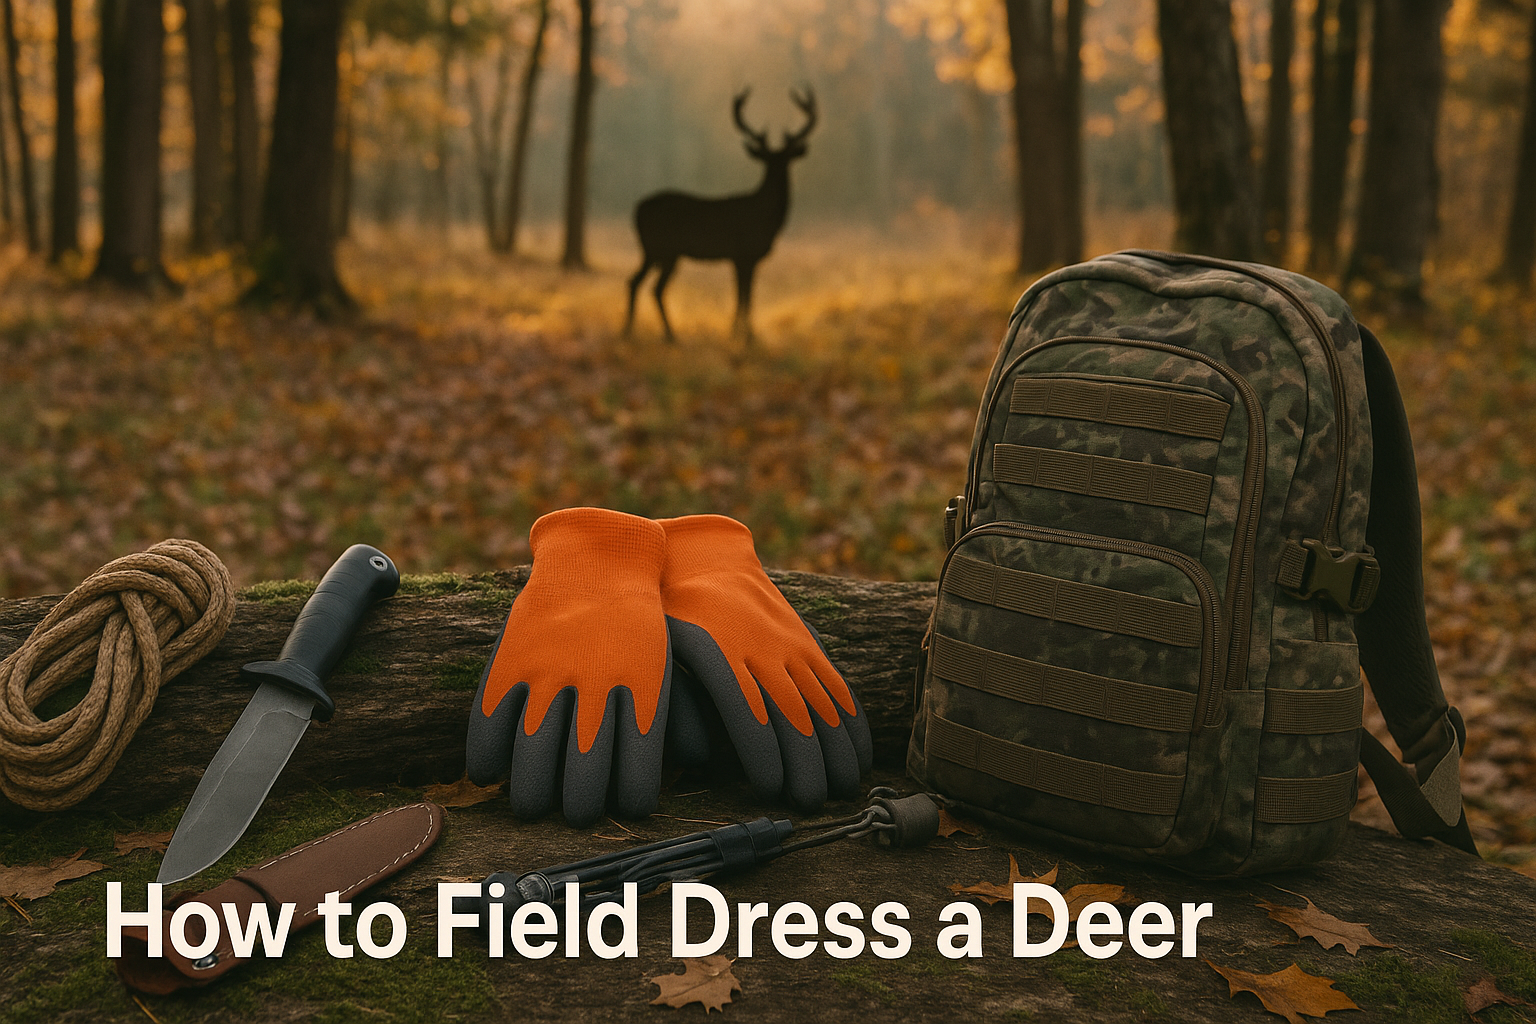
Essential Tools for Field Dressing
Having the right tools makes the job quicker, cleaner, and safer. Here’s a checklist:
- Sharp Hunting Knife: Preferably with a fixed blade (3–5 inches) and a non-slip handle.
- Bone Saw or Hatchet: For splitting the pelvic bone or sternum (optional but helpful).
- Latex or Nitrile Gloves: For hygiene and protection from bloodborne pathogens.
- Game Bags or Trash Bags: To transport meat or organs cleanly.
- Rope or Paracord: Useful for positioning or hanging the deer.
- Headlamp or Flashlight: If field dressing in low light conditions.
Pro Tip: Keep a dedicated knife just for field dressing—sharpness is everything when precision cutting is required.
Preparing for the Process
Step 1: Confirm the Deer is Dead
Approach the animal cautiously from behind. Touch the eye with a stick or the tip of your knife; if there’s no blink reflex, the deer is dead. This ensures your safety and prevents unnecessary suffering.
Step 2: Position the Deer
Lay the deer on its back with its head uphill if possible. Spread the hind legs apart to expose the belly. If you’re on a slope, orient the deer so gravity helps drain blood and fluids downhill.
Step 3: Clear Your Workspace
Remove leaves, branches, or debris from around the carcass. Having a clean work area minimizes contamination.
Step-by-Step Guide to Field Dressing a Deer
Step 1: Make the Initial Cut
- Start just below the breastbone (sternum).
- Pinch the hide and lift it slightly to avoid puncturing the stomach or intestines.
- Use your knife to make a small incision through the skin and muscle layers.
Step 2: Open the Body Cavity
- Insert two fingers under the hide to guide the blade.
- Carefully cut down the midline toward the pelvis in one smooth motion.
- Keep the blade edge facing up and away from the organs to avoid punctures.
Step 3: Cut Around the Anus and Urinary Tract
- Turn the deer slightly on its side.
- Cut a circle around the anus, loosening it from the surrounding tissue.
- Tie off the rectum with string or zip-tie to prevent fecal matter from leaking.
Step 4: Free the Diaphragm
- The diaphragm is a thin membrane separating the chest cavity from the abdomen.
- Cut through the diaphragm on both sides to expose the heart and lungs.
Step 5: Remove the Organs
- Reach up into the chest cavity, grasp the windpipe and esophagus, and cut them free.
- Pull downward, removing heart, lungs, liver, and intestines in one motion.
- Roll the organs out of the body cavity carefully.
Step 6: Drain Blood and Inspect
- Tilt the carcass on its side or head-down to allow blood and fluids to drain.
- Inspect the organs for signs of disease (liver spots, abscesses, abnormal coloring). If anything looks suspicious, consult local wildlife authorities before consuming the meat.
Step 7: Split the Pelvis (Optional)
- Some hunters split the pelvic bone with a saw or hatchet to widen the cavity and remove the bladder more easily.
- Others prefer to leave it intact to avoid bone shards. This step is optional and based on personal preference.
Step 8: Cool the Carcass
- Prop the body cavity open with a stick or hang the deer by its hind legs.
- Cooling the meat quickly is essential, especially in warm climates.
Safety Precautions While Field Dressing
- Always cut away from your body to avoid accidents.
- Wear gloves to protect against potential diseases (e.g., chronic wasting disease).
- Sanitize knives and tools after each use.
- Be mindful of ticks, flies, and other insects when handling carcasses.
Tips for Minimizing Contamination
- Avoid Gut Punctures: The stomach and intestines contain bacteria that can spoil meat if ruptured.
- Keep Hair Off Meat: Use small, deliberate cuts to prevent hair from shedding into the cavity.
- Use Clean Game Bags: Especially if transporting meat long distances.
- Work Quickly but Carefully: The longer the process takes, the more exposure the meat has to contaminants.
Common Mistakes to Avoid
- Rushing the Process: Leads to punctured organs and contaminated meat.
- Using a Dull Knife: Increases risk of accidents and messy cuts.
- Improper Positioning: Makes draining blood and cooling slower.
- Leaving the Deer Too Long: Waiting hours before dressing can ruin an otherwise perfect harvest.
Transporting the Deer After Dressing
Once the deer is field dressed, the next step is moving it out of the woods:
- Dragging: The most basic method; always drag head-first downhill to prevent debris from entering the cavity.
- Game Cart: Ideal for long distances, especially on public land with no vehicle access.
- ATV/UTV: Useful for private land or rough terrain.
- Quartering in the Field: If the deer is large or terrain is tough, consider quartering and packing out in game bags.
Field Dressing vs. Gutless Method
Some hunters use the gutless method, which involves removing quarters and backstraps without opening the body cavity. While faster, it leaves some meat behind (like tenderloins) and is less common for whitetail deer. Traditional field dressing remains the gold standard for preserving all edible cuts.
What to Do with Organs
- Heart and Liver: Considered delicacies by many hunters; rich in nutrients and flavor.
- Kidneys and Tongue: Edible, though less commonly eaten.
- Intestines and Other Offal: Usually discarded, though some traditional hunters use them for sausage casings.
Always check local regulations—some areas require leaving certain remains in the field for disease control purposes.
Legal and Ethical Considerations
- Tagging Requirements: Before field dressing, ensure you’ve tagged your deer according to state laws.
- Disposal of Carcass Waste: Leave remains in a respectful, legal manner—far from water sources and trails.
- Chronic Wasting Disease (CWD) Zones: Follow regulations carefully, as transporting certain parts may be prohibited.
Final Cleaning and Preparing for Butchering
- Wipe the cavity with clean cloths or snow to remove blood and debris.
- Avoid rinsing with water unless necessary—moisture can promote bacteria growth.
- Once back home, hang the deer in a cool, dry place for aging or begin the butchering process.
Frequently Asked Questions
How long after killing a deer should you field dress it?
Ideally, within 30 minutes to 1 hour. The sooner you start, the better the meat quality.
Do you always have to split the pelvis?
Not always. Many hunters prefer not to split it, while others find it makes bladder removal easier. It’s personal preference.
Can you eat deer organs?
Yes—heart and liver are the most popular. Always inspect for abnormalities and cook thoroughly.
What if I puncture the stomach by mistake?
Remove contaminated meat immediately and wash the cavity thoroughly. It may affect flavor, but the deer isn’t necessarily ruined.
Conclusion
Field dressing a deer is one of the most vital hunting skills to learn. It preserves the quality of your harvest, ensures food safety, and respects the animal by making full use of its meat. By following these step-by-step instructions preparing the right tools, making careful cuts, and cooling the carcass quickly—you’ll be able to handle your harvest with confidence.
The first time may feel intimidating, but with practice, field dressing becomes second nature. Next time you’re out in the woods, you’ll know exactly how to handle the moment after the shot.