How to Properly Adjust Your Scope’s Parallax: A Step-by-Step Guide

Introduction
When it comes to shooting accurately at long distances, having a clear and precise sight picture is crucial. One of the most common issues that can negatively affect your accuracy is parallax error. In this article, we’ll explain what parallax is, why it’s essential to adjust your scope’s parallax, and provide a step-by-step guide on how to properly adjust it for optimal performance. Let’s get started!
Understanding Parallax and Its Effects
What is Parallax?
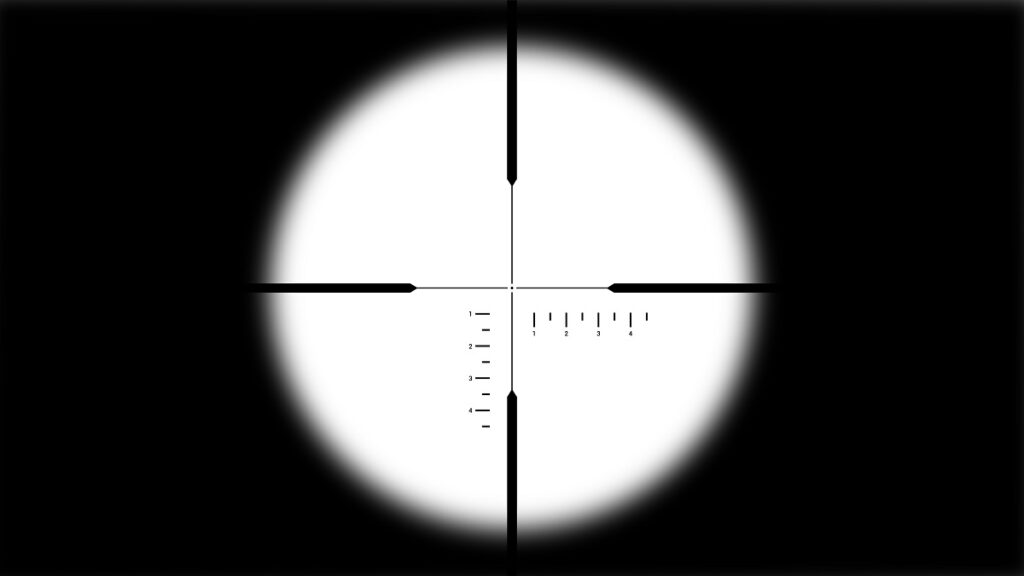
Parallax is an optical phenomenon that occurs when the target and the reticle of your scope are not on the same focal plane. This can cause the reticle to appear to shift its position relative to the target when you move your head slightly, leading to inaccurate shots. The main goal of adjusting your scope’s parallax is to bring the target and the reticle into the same focal plane, eliminating the apparent shift and ensuring a more accurate shot.
The Importance of Adjusting Parallax
Properly adjusting your scope’s parallax can significantly improve your shooting accuracy at longer distances. By eliminating the parallax error, you can be more confident in your shot placement, ensuring that your bullets hit their intended target. It’s especially important for precision shooting, such as long-range hunting or competitive shooting, where even a slight error can make a significant difference in the outcome.
How to Properly Adjust Your Scope’s Parallax
Step 1: Locate Your Scope’s Parallax Adjustment
First, you’ll need to identify the parallax adjustment on your scope. There are typically two types of parallax adjustments on modern scopes: a side focus knob, located on the left side of the scope, or an adjustable objective (AO), located at the front of the scope. Check your scope’s manual or look for labels indicating the parallax adjustment.
Step 2: Set Up Your Shooting Position
Find a comfortable shooting position, either on a bench or in the prone position, depending on your preference. Ensure you have a clear view of your target and that your scope is properly mounted and aligned.
Step 3: Adjust the Parallax
Once you’re in position, look through the scope and observe the target. Slowly adjust the parallax knob or AO until the target is in sharp focus. Make sure to keep your eye centered in the scope while making adjustments to avoid inducing parallax error. As you adjust the parallax, the reticle should become sharper, and any apparent shift should disappear.
Step 4: Verify the Adjustment
To verify that the parallax has been properly adjusted, move your head slightly while looking through the scope. If the reticle remains stationary relative to the target, you have successfully eliminated parallax error. If you still notice a shift, make small adjustments to the parallax setting until the reticle stays in place.
Step 5: Practice and Fine-Tune
After adjusting your scope’s parallax, spend some time practicing shooting at various distances. As you shoot, pay attention to your accuracy and make any necessary fine-tuning adjustments to the parallax setting. Remember that parallax settings may need to be adjusted as you change shooting distances, so it’s essential to practice regularly and become familiar with your scope’s adjustments.
Conclusion
Properly adjusting your scope’s parallax is crucial for achieving accurate and precise shooting at long distances. By understanding what parallax is and following this step-by-step guide, you can eliminate parallax error and enhance your overall shooting performance. Remember, practice makes perfect – spend time getting familiar with your scope’s parallax adjustments and fine-tuning them as needed. Additionally, ensure your rifle scope is correctly installed to further improve your shooting accuracy and precision.