Gutting a deer is an essential skill for hunters, crucial for preserving the quality of the meat and preventing spoilage. This guide provides a step-by-step approach to efficiently and safely gut a deer immediately after a successful hunt.
1. Preparation and Safety
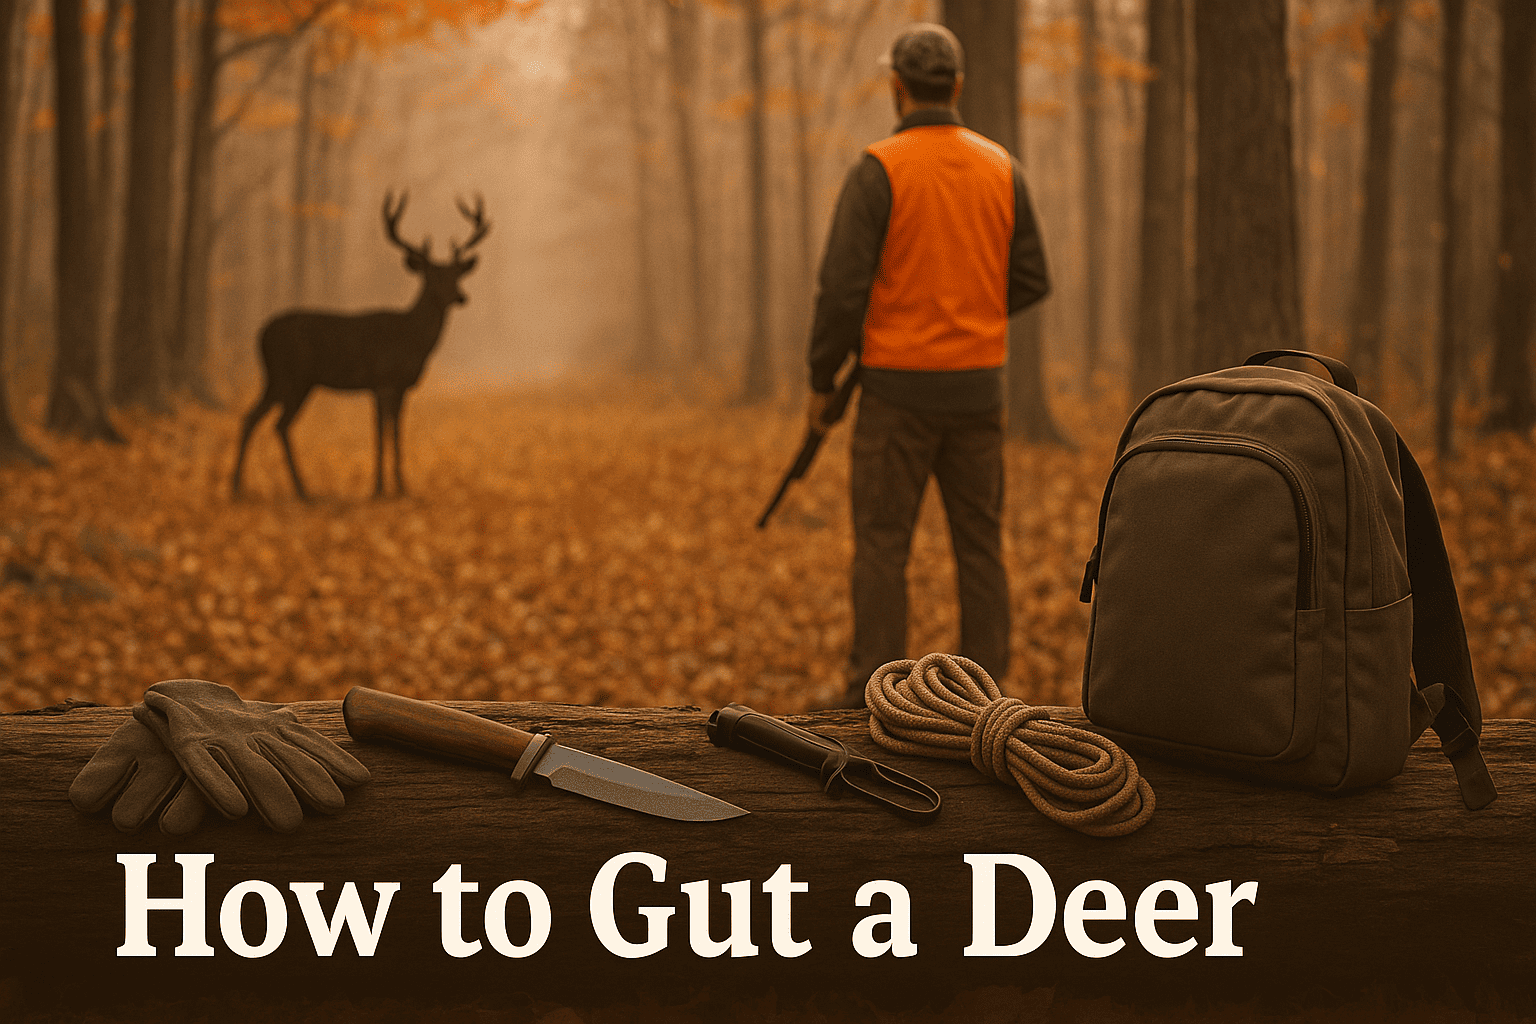
1.1 Necessary Tools
Sharp Knife: A sturdy, sharp hunting knife or a gut hook.
Latex Gloves: To maintain hygiene and protect against possible infections.
Rope or Pulley: Useful for hanging the deer to aid in draining blood.
1.2 Safety Precautions
Wear Gloves: Always wear gloves to prevent direct contact with blood and potential pathogens.
Be Aware of Sharp Tools: Handle your knife with care to avoid injuries.
2. Positioning the Deer
2.1 Laying the Deer
Flat Surface: Place the deer on its back on a slight incline if possible, to help with blood drainage.
Spread the Hind Legs: Use stakes or ties to spread and secure the hind legs, providing better access to the abdominal area.
3. Making the Initial Cuts
3.1 Incision
Pelvic Area to Breastbone: Start your cut at the pelvic area, being careful not to cut too deeply and puncture the intestines. Extend the cut up to the breastbone.
3.2 Cutting Around the Genitals
Careful Separation: For bucks, carefully cut around the genitals and tie off the penis to prevent urine from contaminating the meat. For does, avoid puncturing the bladder.
4. Removing the Organs
4.1 Detaching the Diaphragm
Chest Cavity Access: Cut around the diaphragm to separate it from the chest cavity, allowing access to the heart and lungs.
4.2 Extracting the Guts
Gentle Pulling: Carefully pull the intestines and stomach out, making sure not to rupture them. This might require additional cuts near the pelvis.
5. Removing the Heart and Lungs
5.1 Accessing the Thoracic Cavity
Further Incisions: If necessary, make additional cuts to open the chest cavity further to reach the heart and lungs.
5.2 Extraction
Careful Removal: Remove the heart and lungs, ensuring all blood is drained from the chest cavity.
6. Draining Blood and Cooling Down
6.1 Elevating the Deer
Hanging the Deer: If possible, hang the deer by its hind legs to facilitate blood drainage and cooling of the carcass.
6.2 Cooling
Environment: Ensure the deer is positioned in a cool, shaded area or is promptly transported to a refrigerated space to prevent spoilage.
7. Final Cleaning
7.1 Washing
Internal Cavities: Rinse the body cavity with cold water to remove any remaining blood or debris, being cautious not to soak the meat.
7.2 Inspection
Check for Leftovers: Make sure all organs have been removed and inspect the cavity for any abnormalities or signs of disease.
8. Transporting the Deer
8.1 Preparation for Transport
Proper Handling: After gutting, prepare the deer for transport by securing it to a game cart or sled. Ensure it is properly tagged according to local wildlife regulations.
8.2 Keeping it Cool
Temperature Management: Use ice packs or bags of ice in the chest cavity if the weather is warm, to help keep the meat cool during transportation.
9. Skinning and Butchering
9.1 Skinning
Efficient Technique: Begin skinning the deer as soon as possible after gutting to facilitate easier removal of the hide and to cool the meat quickly.
9.2 Butchering
Breaking it Down: After skinning, butcher the deer into larger cuts at your campsite or bring it to a professional processor. Knowledge of deer anatomy is crucial for maximizing yield and quality of meat.
10. Cleaning and Maintenance of Equipment
10.1 Knife Care
Post-Use Cleaning: Thoroughly clean and disinfect your knife and any other tools used. Sharpen the knife regularly to maintain its effectiveness for future use.
10.2 Storage
Proper Storage: Store your hunting tools in a dry and secure place to prevent rust and deterioration.
11. Learning from Each Experience
11.1 Reflect on the Process
Personal Improvement: Each time you gut a deer, take the time to reflect on what went well and what could be improved. Learning from each experience will make the process more efficient and effective over time.
11.2 Seeking Feedback
Advice from Experienced Hunters: Don’t hesitate to ask for feedback from more experienced hunters or mentors. They can provide valuable insights and tips to enhance your skills.
12. Ethical Considerations and Respect for Wildlife
12.1 Ethical Hunting Practices
Respect for the Animal: Treat the deer with respect throughout the process, from hunting to gutting to consuming. This respect reflects well on the hunting community and ensures sustainable hunting practices.
12.2 Utilization of the Whole Animal
Waste Minimization: Aim to use as much of the animal as possible, not only the choice cuts. This includes using the bones for broth, the hide for leather, and even the organs for cooking, if safe and practical.
Conclusion
Properly gutting a deer is a fundamental part of hunting that ensures the quality of your harvest. By following these detailed steps, you can efficiently process your game, ensuring that the meat is safe and delicious for consumption.
Frequently Asked Questions (FAQs)
How long do I have to gut a deer after shooting it?
Immediate Action: It’s best to gut the deer as soon as possible to prevent bacteria growth and meat spoilage, ideally within an hour after the hunt.
What should I do if I puncture the intestines?
Containment: If the intestines are accidentally punctured, clean the area thoroughly to prevent contamination of the meat. Rinse the cavity with water immediately.
How do I dispose of the deer remnants after gutting?
Responsible Disposal: Follow local guidelines for the disposal of animal remains. In many areas, this might involve burying them away from water sources or in designated disposal areas to prevent attracting predators or spreading disease.
Can I gut a deer alone, or do I need help?
Solo vs. Team Effort: While it is possible to gut a deer alone, having assistance can make the process quicker and safer, especially for novice hunters. As you gain more experience, you may feel more comfortable handling the task by yourself.