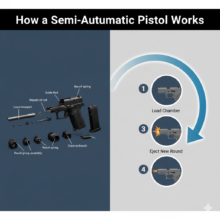
How to Clean and Maintain a Firearm Safely
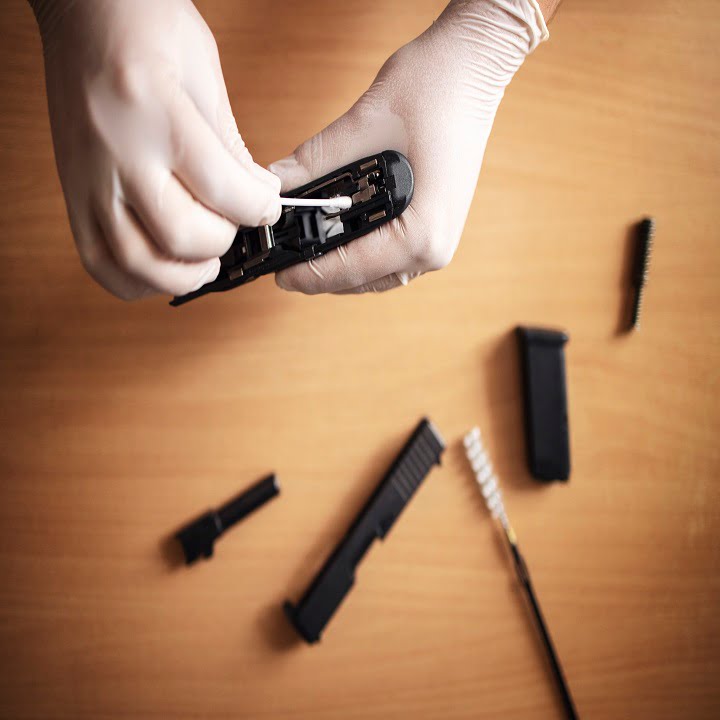
Cleaning a firearm starts with safety, not solvent. Before you touch a brush, patch, or cleaning rod, unload the firearm, remove the magazine if it has one, open the action, visually and physically check the chamber, and keep all ammunition off the cleaning table. Then follow the owner’s manual for your exact firearm, because takedown steps, lubrication points, and warning areas vary by model.
A good cleaning routine does three things: removes fouling that can affect function, protects metal surfaces from corrosion, and gives you a chance to inspect wear before the next range trip or hunt. This guide keeps the process practical and safety-first, so it helps beginners without replacing the manufacturer’s manual or qualified gunsmith advice.
Table of contents
Safety Comes First
Use the same firearm safety rules at the cleaning bench that you use at the range. The NSSF firearm safety rules are simple: treat every firearm as loaded, keep the muzzle pointed in a safe direction, keep your finger off the trigger until ready to shoot, and know your target and what is beyond it. During cleaning, that means the muzzle still needs a safe direction and your finger still stays away from the trigger.
Clear the firearm before anything else. Remove the source of ammunition, open the action, check the chamber, and check again. Keep live ammunition in another area while cleaning. If the firearm has an unusual action, unfamiliar takedown method, or any damage, stop and read the manual before continuing.
How Often Should You Clean A Firearm?
There is no single schedule that fits every firearm. A defensive handgun, hunting rifle, target shotgun, and rimfire plinker all collect fouling differently. As a simple rule, clean and inspect a firearm after live-fire use, after exposure to rain, snow, sweat, mud, dust, or salt air, and before long storage. If a firearm has been stored for months, inspect it before using it again.
Some firearms do not need aggressive scrubbing after a light range session, but they still deserve a safety check, bore check, and light wipe-down. Over-cleaning with the wrong tools can also create wear, so the goal is careful maintenance, not force. For a deeper look at timing, see our guide on how often to clean your gun.
Basic Firearm Cleaning Supplies
Start with tools that match the firearm, caliber, and manufacturer’s guidance. You may need a cleaning rod or pull-through system, bore brush, jag or patch holder, cotton patches, nylon utility brush, cleaning mat, microfiber cloth, firearm-safe solvent, and firearm-safe lubricant or protectant. Use bore brushes and patches that fit the bore; forcing the wrong size tool can damage parts or get stuck.
Use products made for firearms unless the manual says otherwise. Household cleaners, harsh abrasives, and mystery oils can damage finishes, stocks, seals, optics, or internal parts. If you are cleaning around a mounted optic, protect the lenses and avoid spraying solvent where it can creep under rings or into adjustment areas. Our rifle cleaning tips for beginners can help if you are starting with a long gun.
A Safe Cleaning Process
Clear The Work Area
Choose a stable, well-lit, ventilated area. Put ammunition in a separate location, lay out the manual and tools, and use a mat or tray so small parts do not roll away. Wear eye protection if springs, pins, or solvent splash are possible.
Field Strip Only As Directed
Field strip the firearm only as far as the manual recommends for normal cleaning. Do not force pins, pry parts, or detail-strip a firearm just because a video shows it. If the part does not move easily and the manual does not explain it, pause and get qualified help.
Clean The Bore Carefully
Use a caliber-appropriate brush, patch, or pull-through tool. Work from the chamber end when the firearm design allows it, and avoid dragging grit back into the bore. Let solvent do the work instead of grinding the rod against the crown or rifling. Follow the solvent label for contact time and ventilation.
Clean The Action And Contact Areas
Use a nylon brush, cloth, and patches to remove residue from accessible surfaces. Pay attention to areas that collect powder fouling, lint, and old lubricant. Avoid flooding the action with solvent or oil. Excess liquid can migrate into places where it attracts debris or affects primers if ammunition is later introduced.
Lubrication And Rust Prevention
Lubrication should be light and purposeful. Apply oil or grease only where the manual recommends it, usually on sliding, rotating, or high-friction surfaces. Too little lubrication can increase wear, but too much can collect grit and slow the action. Wipe away visible excess before reassembly.
For rust prevention, wipe exterior metal with a lightly treated cloth, especially after handling the firearm with bare hands. Moisture, fingerprints, and sweat can start corrosion. If the firearm was exposed to wet weather, clean and dry it as soon as practical before storage.
Inspection Before Reassembly
Cleaning is also inspection time. Look for cracks, unusual wear, loose screws, damaged sights, rust, pitting, stuck debris, broken springs, or parts that do not move as they should. If you find anything suspicious, do not guess. Have a qualified gunsmith inspect it before firing.
When reassembling, follow the manual exactly. After reassembly, perform only the function checks described by the manufacturer and keep the firearm pointed in a safe direction. If dry firing is not recommended for that firearm, do not do it. For broader safe-handling habits, our gun safety course benefits guide explains why formal instruction is useful even for experienced owners.
Storage After Cleaning
After cleaning, store the firearm unloaded and secured from unauthorized access. The storage method should fit your home, local laws, children or visitors in the house, and how quickly the firearm needs to be accessed for lawful purposes. Project ChildSafe provides firearm storage education and lock-safety resources, and local law may require specific storage steps.
Avoid long-term storage in damp cases or foam that traps moisture. Use a safe, cabinet, lockbox, or other secure storage solution with reasonable humidity control. Store ammunition according to the manufacturer’s guidance and any legal requirements. If you need a deeper storage checklist, see our ammunition storage and transport guide.
Common Cleaning Mistakes
- Cleaning with ammunition on the bench: keep live rounds away from the cleaning area.
- Skipping the manual: similar-looking firearms can have different takedown and lubrication needs.
- Using too much oil: excess lubricant can attract grit and create function problems.
- Forcing parts: if a part will not move, stop instead of prying.
- Using the wrong bore tool: mismatched rods, brushes, or patches can damage parts.
- Ignoring rust: small rust spots can spread if moisture and storage conditions are not fixed.
Also be careful with ammunition compatibility during any maintenance or range-prep routine. The SAAMI unsafe ammunition combinations resource is a useful reminder that caliber markings and ammunition selection should never be treated casually.
FAQ
Should I clean my firearm after every use?
Usually, you should at least inspect and wipe down a firearm after use. A full cleaning depends on the firearm, ammunition, weather, fouling level, and manufacturer’s guidance. Wet, dirty, or high-round-count sessions need more attention.
Can too much oil hurt a firearm?
Yes. Too much oil can attract dirt, slow moving parts, seep into areas where it does not belong, and create a messy firearm. Apply lubricant lightly and wipe away excess unless the manual says otherwise.
Can I use household cleaners on a firearm?
Do not use household cleaners unless the firearm manufacturer specifically approves them. Some products can damage finishes, stocks, seals, optics, or internal parts. Use firearm-safe solvent and lubricant instead.
What should a beginner cleaning kit include?
A beginner kit should include caliber-appropriate bore tools, patches, a nylon brush, microfiber cloth, firearm-safe solvent, firearm-safe lubricant, and a mat or tray. The owner’s manual is part of the kit, too.
When should I use a gunsmith?
Use a qualified gunsmith if you see cracks, broken parts, unusual wear, rust damage, stuck parts, reassembly problems, or any safety concern you cannot confidently resolve from the manual.
Final Takeaway
Proper firearm cleaning is a safety routine first and a maintenance routine second. Unload carefully, follow the manual, use firearm-safe tools, clean without forcing parts, lubricate lightly, inspect before reassembly, and store the firearm securely. When something looks wrong, stop and get qualified help before the firearm is used again.