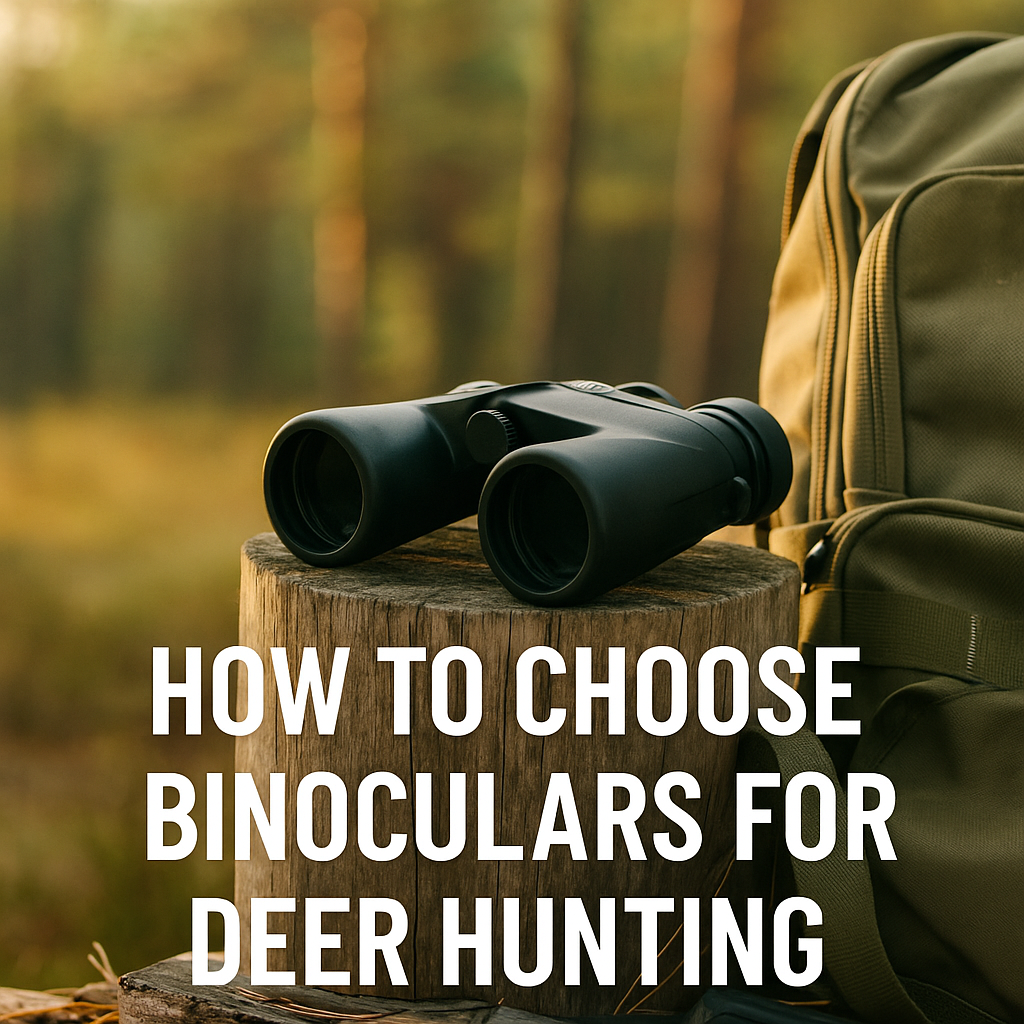
How to Choose Binoculars for Deer Hunting: A Comprehensive Guide
When it comes to deer hunting, good binoculars are as essential as your rifle, bow, or rangefinder. They let you glass crags, ridgelines, timber edges, or hidden bedding areas helping you detect deer earlier, decide whether to engage, and confirm antler size before committing. But with dozens of models, specs, and features, choosing the right pair can be confusing.
In this guide, we’ll walk you through all the critical factors you should evaluate magnification, objective lens size, field of view, brightness, coatings, durability, ergonomics, and more specifically for deer hunters. By the end, you’ll understand how to match a binocular to your hunting style, terrain, and lighting conditions.
Before diving into specs, let’s understand why optics are so valuable in deer country:
Early detection & situational awareness: Spotting a buck before it sees you can be the difference between closing the distance or being detected first. Binoculars give you the extended vision to “read” the terrain and spot movement.
Antler assessment & identification: Before you engage, you want to confirm whether it’s a legal buck, evaluate antler size, or judge whether to call off the shot. High clarity and magnification help you “peer into the woods.”
Safety & navigation: Glassing helps you detect other hunters, obstacles, or terrain hazards before entering unfamiliar ground.
Low-light performance: Much deer activity happens near dawn and dusk. Quality optics enhance the limited light during these periods.
Reduced fatigue: A good, ergonomic binocular is easier to use all day without straining your arms or eyes.
Because binoculars are such a critical tool, don’t skimp. But also don’t get fooled by features that won’t matter in real-world hunting. Let’s break down what actually does matter.
Key Specs & Considerations When Choosing Binoculars
Here are the most important factors to evaluate when selecting binoculars for deer hunting. We’ll also discuss trade-offs, so you can pick what best fits your situation.
1. Magnification (Power)
Binoculars are usually labeled with two numbers like 8×42 or 10×50. The first number (8× or 10×) is the magnification—the factor by which objects appear closer.
For deer hunting, the sweet spot is usually 8× or 10×. Many whitetail or timber hunters favor 8× because it offers a wider field of view and steadier image when held freehand.
In open terrain (e.g. western hunts, big country), a bit more magnification may help pick out antlers across ridges, so 10× may be acceptable if you can maintain stability.
But going beyond 10× (e.g. 12× or more) typically introduces shakiness unless you use a tripod or steady rest.
In many field discussions, hunters caution that you’ll often see more with a steadier 8× than a shaky 12×.
Recommendation: For most deer hunting situations, stick with 8×42 or 10×42 as your primary pair. If your terrain is very open and you have strong arms (or use supports), 10× may give you extra reach—but only if you can keep it steady.
The second number (e.g. 42 in “10×42”) is the diameter in millimeters of the objective (front) lens.
A larger objective lens lets in more light, which improves brightness and clarity especially in low light.
But larger lenses increase bulk, weight, and cost.
A common “sweet spot” is 42 mm: it balances low-light performance with manageable weight. Many top hunting binoculars use 42 mm as a standard.
Some users will go to 50 mm or more if they’re willing to accept extra weight in exchange for maximum light.
In contrast, compact binos may use 32 mm or even 25 mm objectives, which reduce weight but trade off brightness especially problematic in dawn/dusk conditions.
3. Exit Pupil & Low‐Light Performance
The exit pupil is a derived number: divide the objective diameter by the magnification (e.g. 42 ÷ 10 = 4.2 mm exit pupil).
The exit pupil hints at how much light your eye will receive under ideal alignment. A larger exit pupil tends to perform better under lower light or when your eye isn’t perfectly aligned.
For deer hunting, especially at first/last light, you want a reasonably large exit pupil (4 mm or higher). Many 10×42 or 8×42 models fall into that range.
If you choose 10×50, the exit pupil becomes 5 mm, which gives an edge in low light—but the tradeoff is more weight and size.
4. Field of View (FOV)
Field of view represents how wide an area you see through the binoculars (e.g., “360 ft at 1,000 yd”) and is especially important when scanning terrain or following moving game.
Lower magnification models (e.g. 8×) tend to offer wider fields of view, making it easier to scan quickly.
If your field of view is narrow, you’ll have to pan more, and you may lose a moving deer off the edge.
So, for a 10× model to be usable, prioritize a version with a generous field of view to offset the narrowing effect of higher magnification.
5. Prism Design, Coatings & Optics Quality
Prism Type: Most modern hunting binoculars use roof prisms because they are more compact, rugged, and weather-sealed than traditional porro prisms.
Roof prisms in quality models usually incorporate phase-correction coatings to enhance contrast and resolution.
Lens Coatings: Good binoculars label their optics as fully multi-coated. That means all air-to-glass surfaces receive multiple anti-reflective coatings to maximize light transmission. Avoid models that are only “coated” or “multi-coated” on some surfaces.
Some premium models use extra specialized coatings (e.g. “HD,” “ED glass,” “dielectric”) to reduce chromatic aberration (color fringing) and improve sharpness.
Quality coatings matter more than super-high magnification; sometimes a well-coated 8× offers better real-world performance than a poorly-coated 10×.
6. Durability, Waterproofing & Fogproofing
Hunting conditions are rarely ideal mist, rain, dew, and rough handling are expected. Your binoculars must survive the elements.
Sealing & Gas Purge: Choose binoculars that are O-ring sealed and nitrogen- or argon-purged to prevent internal fogging during rapid temperature shifts.
Armor & Grip: A rubber armored body offers better shock resistance and grip, helping protect internal optics.
Chassis Material: Lightweight aluminum or magnesium alloys are common. Magnesium is stronger and lighter but more expensive. Some budget models still use heavier bodies.
Warranty & Build Quality: Look for brands that stand behind their product (e.g. lifetime warranties). A more expensive bino with a good warranty may offer better overall value.
7. Focus Mechanism, Diopter, Eye Relief, Eyecups
Focus Wheel: The central focus knob should be smooth, quick, and precise. A sloppy or stiff wheel costs time when trying to lock on a moving deer.
Diopter Adjustment: One barrel typically has a diopter ring to fine-tune for eyes that differ in strength. Ensure the diopter range is sufficient for your eyes.
Eye Relief: This is the distance your eye must be from the eyepiece to still see the full image. If you wear glasses, aim for at least 14–15 mm of eye relief.
Eyecups: Twist-up or folding eyecups let you fine-tune your eye position and protect against stray light. They should lock securely in place.
8. Weight, Balance & Ergonomics
You’re going to carry your binoculars all day sometimes while hiking or perched in a stand. Weight matters.
In general, keeping your binoculars under about 30 oz (850 g) is a good target for comfortable all-day wear.
Mid-size or compact designs (e.g., 8×32, 10×32) shave ounces but with some trade-offs in brightness.
Also consider the binocular’s balance and how it feels in your hand. A heavy knock in an awkward place can fatigue your wrist.
9. Accessories & Mounting Options
Tripod Adapter: If you sometimes glass from a blind or a tripod, ensure your selected binocular is tripod-adaptable.
Harness or Strap: Use a binocular harness or heavy-duty padded strap to distribute weight across your chest, reducing fatigue.
Lens Covers & Caps: Good sealing lens caps protect from dust, scratches, and moisture.
Cleaning Supplies: Microfiber cloths, lens cleaning solution, and a soft brush are must-haves in the field.
Rangefinder / Spotting Scope Integration: Some binoculars integrate rangefinding or image-stabilizing features. But for deer hunting, a dedicated rangefinder is often more reliable and cost-effective.
Putting It All Together: Matching Binos to Your Hunting Style
Specifications only go so far. The “best” binocular for you depends heavily on where and how you hunt. Here are some scenario-based recommendations.
Best Choice: 8×42 or 8×32. The lower magnification gives you wider FOV and steadier views as deer move through trees or brush.
Prioritize brightness, coatings, and ergonomics over extreme magnification.
Big-Country / Western Terrain
Terrain: Open ridges, valley scanning, wide visibility.
Best Choice: 10×42 (or even 10×50) to give you extra reach for scanning across ridgelines.
Stabilization (tripod, monopod) can help with higher magnification.
Look for a model with good light transmission and wide FOV to offset the narrowing effect of 10×.
Stand / Blind Hunting
Terrain: You may be stationary for hours, often near low light.
Best Choice: A lighter model you can mount or rest—8× or 10×. Use a tripod or rest when possible.
Because your viewing position is stable, you can push for a brighter, more powerful optic without needing to worry as much about shakiness.
Spot-and-Stalk Style
Terrain: Hiking, terrain changes, quick movement.
Best Choice: A lightweight, rugged binocular (e.g. 10×32 or 8×32) that’s easy to carry and deploy quickly.
Accept some low-light limitations for the sake of portability.
Sample Hunting-Ready Binocular Features to Look For
Here is a checklist summary of what to seek (and avoid):
Feature
Target Value / Characteristic
Why It Matters
Magnification
8× or 10×
Balanced zoom vs steadiness
Objective Diameter
~42 mm (or 50 mm if you accept weight)
Good light gathering
Exit Pupil
≥ 4 mm
Better low-light performance
Field of View
As wide as possible for chosen magnification
Easier scanning and tracking
Prism Type
Roof prism with phase correction
Durability, contrast, compactness
Lens Coatings
Fully multi-coated, ED or HD if possible
Clarity, color, sharpness
Waterproof / Fogproof
O-ring sealed, gas-purged
Field durability
Armor / Rubber Grip
Yes
Impact resistance, grip
Focus & Diopter
Smooth, precise
Quick focusing in the field
Eye Relief / Eyecups
≥15 mm, twist-up eyecups
Comfortable use with glasses
Weight
≤ ~30 oz (850 g)
Comfortable carry
Warranty & Brand Support
Long / lifetime
Peace of mind in harsh use
How to Physically Test Binoculars Before You Buy
Even after narrowing down specs, nothing replaces trying optics in your hands before buying. Here’s how to test:
Focus on a distant target (trees, antennas) and see how fast and accurate the focus wheel performs.
Scan across the terrain left to right, up and down and judge if the image stays steady or distorts near the edges.
Test in low light (just before dusk or in shade) to see how bright and clear the view remains.
Check for chromatic aberration (color fringing) on high-contrast edges (branches, sky boundary).
Wear your glasses (if applicable) and test the eye relief and how much of the view you can see.
Feel the weight and balance—can you hold it comfortably for extended periods?
Test the focus/diopter feel—are the adjustments smooth and precise?
Inspect build, armor, and finish—look for weak seams, wobble in eyecups, or creaky parts.
Many optics shops, outdoor expos, or trade shows allow you to try multiple pairs side by side. As the birding optics community points out, “there’s no substitute for feeling [a binocular] in your hands.”
Common Mistakes to Avoid
Chasing excessive magnification—forgetting that increased shakiness can undo any gain in zoom.
Ignoring light transmission and coatings—magnification without clarity is pointless.
Neglecting ergonomics—a heavy optic may be left behind.
Skipping waterproof / fogproof features—especially in humid, wet, or cold environments.
Buying on specs alone without physically testing the binocular.
Overlooking warranty & service—optics sometimes need repair; good support is valuable.
Neglecting a harness or strap system—you’ll regret hanging a heavy bino around your neck all day.
Example Use Cases & Setup Tips
Glassing from a ridge: Use your 10×42 bino with a tripod or monopod. Always carry a lens cloth to keep the view clean.
Creeping along treelines: Use an 8×42 bino handheld; the wider FOV helps you catch glimpses of deer movement at edges.
Morning/evening scouting: Prioritize brighter, well-coated optics that perform well in low light.
Switching between binocular and rifle scope: Some hunters prefer matching magnifications (or close) so transitioning is intuitive and quicker.
Top Brands & Models to Consider (2025)
While this article is about how to choose, here are a few models that tend to receive strong reviews in the hunting optics world (but always test in person if possible):
These are just examples. You may find local (or regional) brands near you that offer competitive performance at better prices.
Final Thoughts & Buying Strategy
Choosing the right binoculars for deer hunting isn’t just about picking the one with the highest magnification or the biggest lenses it’s about finding the perfect balance between clarity, comfort, and practicality in the field. The best hunting binoculars enhance your ability to spot deer at a distance, judge antler size, and scan terrain without fatigue or eye strain. Whether you’re glassing through thick timber at dawn or scanning open fields at dusk, your optics play a direct role in how successful and enjoyable your hunt will be. For most hunters, an 8×42 or 10×42 model offers the ideal combination of brightness, field of view, and portability. Prioritize quality coatings, durable construction, and waterproof performance over flashy specs, and always test the feel and ergonomics before buying. A dependable pair of binoculars becomes more than just gear it becomes an extension of your awareness in the wild. Invest wisely, take care of your optics, and they’ll reward you with years of clear, crisp views and more confident, ethical hunts.