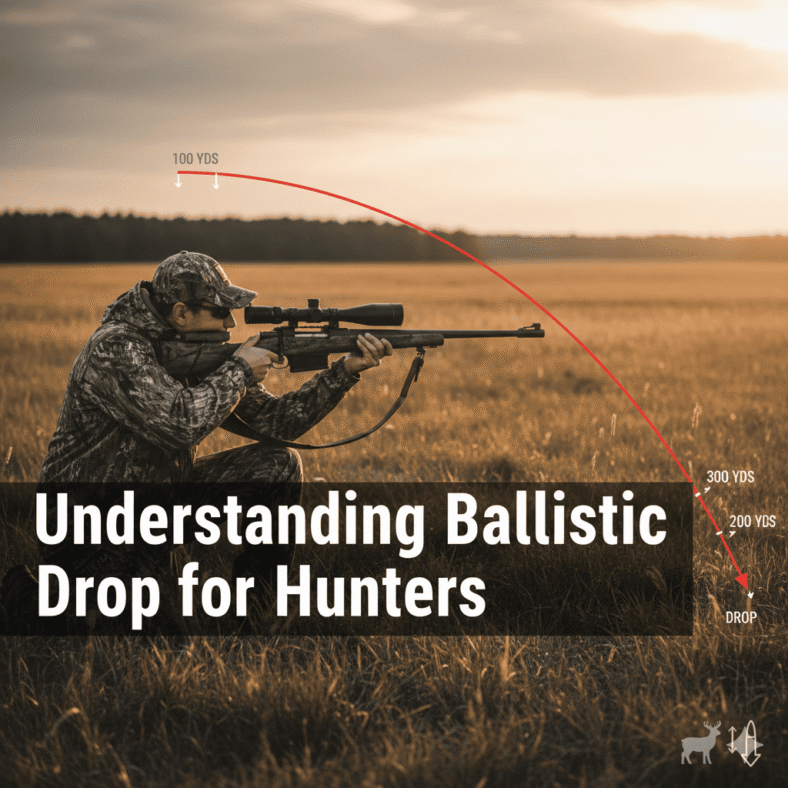
Ballistic drop is the downward path a bullet takes after it leaves the muzzle. Hunters need to understand it because a rifle that is perfectly zeroed at one distance will not hit the same point at every distance. The practical goal is not to memorize one generic chart; it is to know your rifle, ammunition, zero, real range, wind, and personal limits before taking any shot at game.
Table of Contents
Quick Answer
Ballistic drop matters most when distance increases. At short hunting ranges, a sensible zero may keep the bullet close enough to point of aim for many big-game shots. At longer ranges, drop grows quickly, and guessing becomes unsafe and unethical. If you do not know the exact range and your verified point of impact at that range, do not take the shot.
The Simple Version
A bullet starts dropping as soon as it is in flight. The scope is angled so the bullet path and line of sight meet around your chosen zero. Past that point, the bullet usually drops lower than your crosshair.
The Hunter’s Version
For hunting, the question is not only “how much does it drop?” The better question is “can I confirm the range, hold, wind, animal position, and backstop well enough to make a clean shot?”
What Ballistic Drop Means
Ballistic drop is caused by gravity acting on the bullet during flight. Faster bullets, high ballistic coefficients, and efficient shapes can reduce drop, but they do not remove it. Every cartridge drops. Every rifle and load needs to be confirmed.
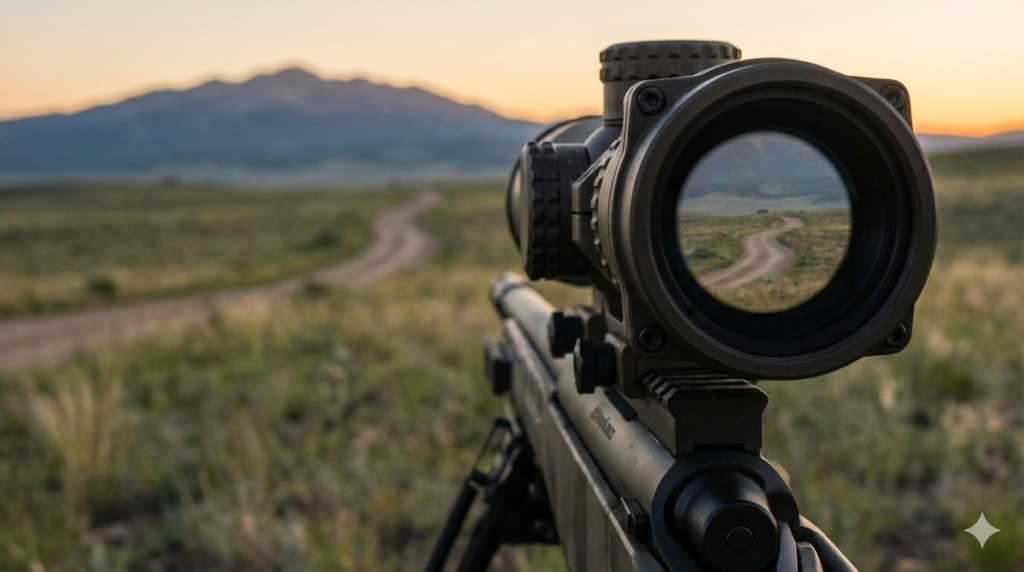
Line of Sight vs Bullet Path
Your scope looks in a straight line. The bullet travels in a curved path. At close distance the bullet may be below line of sight, then cross near the zero, then fall below line of sight again as distance increases.
Why Charts Are Only Starting Points
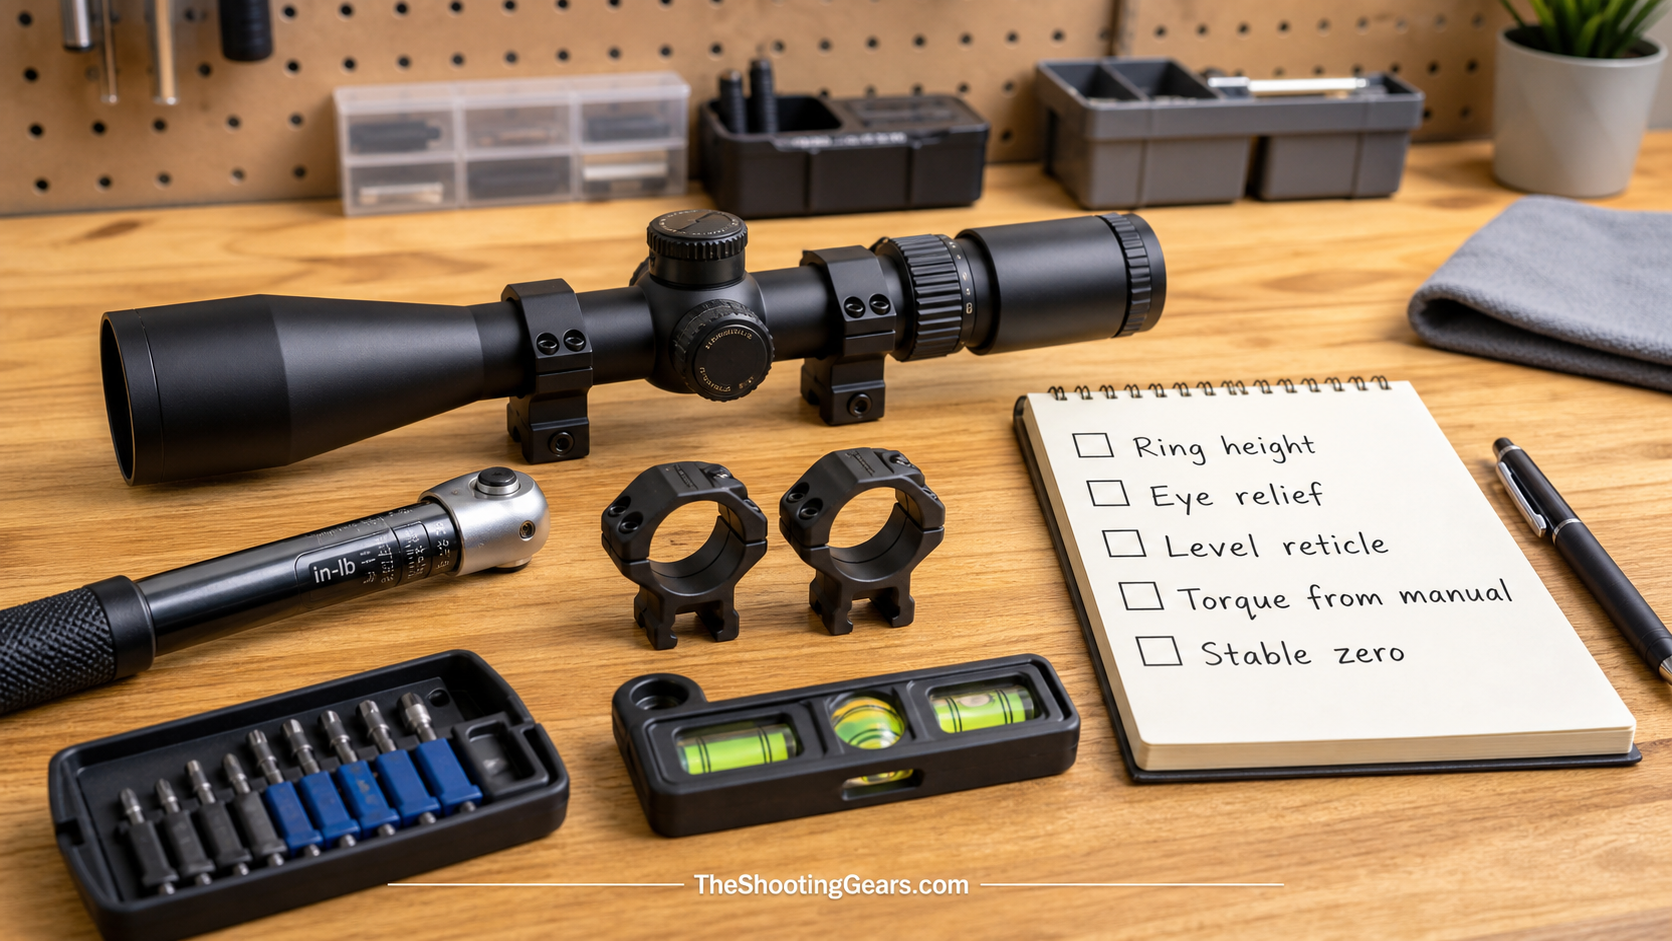
Ballistic calculators and factory charts can help you plan, but they are not proof. Barrel length, actual velocity, temperature, altitude, bullet design, scope height, and real zero can change the result. Confirm at the range before trusting any number.
Why Zero Distance Matters
Zero distance is the range where your point of aim and point of impact meet. A 100-yard zero is simple and easy to confirm. A 200-yard zero may be useful for some hunting rifles, but it should still be verified, not assumed.
100-Yard Zero
A 100-yard zero is easy to understand and works well for hunters who dial or hold based on confirmed data. It also helps beginners see exactly what the rifle is doing before extending distance.
Longer Zero Distances
A longer zero may reduce holdover inside a certain range, but it can also make close-range impacts higher than expected. That is why a zero should match the cartridge, animal, terrain, and the hunter’s verified ability.
Factors That Change Drop
- Actual muzzle velocity from your rifle.
- Bullet weight, shape, and ballistic coefficient.
- Scope height over bore.
- Zero distance and point-of-impact confirmation.
- Temperature, altitude, pressure, and wind.
- Shooting angle, especially uphill or downhill.
- Rifle support, trigger control, and shooter consistency.
For ammunition compatibility and safety, review your firearm manual and official guidance such as SAAMI’s unsafe firearm and ammunition combinations.
Rangefinding and Holdover
Range estimation is one of the biggest sources of misses at distance. If the shot is far enough that drop matters, use a rangefinder or known-distance reference. Do not guess on game.
Holding Over
Holdover means aiming above the desired impact point to account for drop. Reticle marks can help, but only if you have tested them with your rifle and ammunition at real distances.
Dialing Elevation
Dialing means adjusting the scope turret for the distance. It can be precise, but it adds steps under pressure. Always return to zero and check the turret before moving or taking another shot.
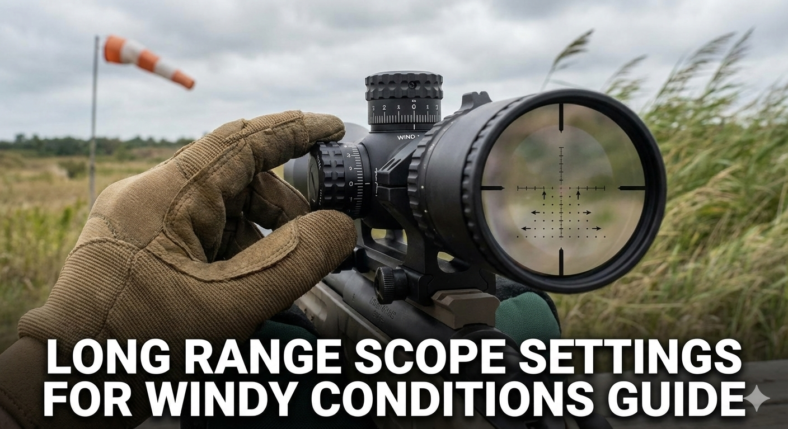
Wind and Angle
Drop is only one part of the problem. Wind can move a bullet sideways, and uphill or downhill angles can change the effective horizontal distance. For weather basics, NOAA’s wind safety resources are a useful reminder that wind conditions can shift quickly outdoors.
Wind Is Often Harder Than Drop
Drop can be mapped and confirmed more easily than wind. Wind varies between you and the animal. If you cannot read it confidently, shorten the shot or pass.
Angle Compensation
Steep uphill or downhill shots can require a different correction than flat-ground distance suggests. A rangefinder with angle compensation can help, but the hunter still needs range practice and judgment.
Ethical Range
Your ethical range is the distance where you can repeatedly place shots in the vital zone from realistic hunting positions, not from a perfect bench on a calm day. Review firearm safety fundamentals from the NSSF firearm safety rules, and use hunter education resources such as Hunter-Ed for broader hunting safety.
Set a Personal Limit
Set a distance limit before the hunt. If wind, body position, visibility, or animal movement makes the shot questionable, reduce that limit or do not shoot.
Know What Is Beyond the Target
Longer shots make background awareness even more important. Never shoot unless you have positively identified the target and confirmed a safe backstop.
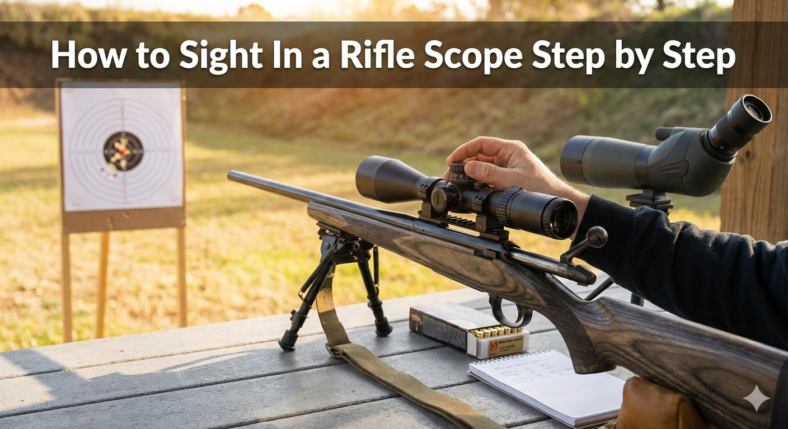
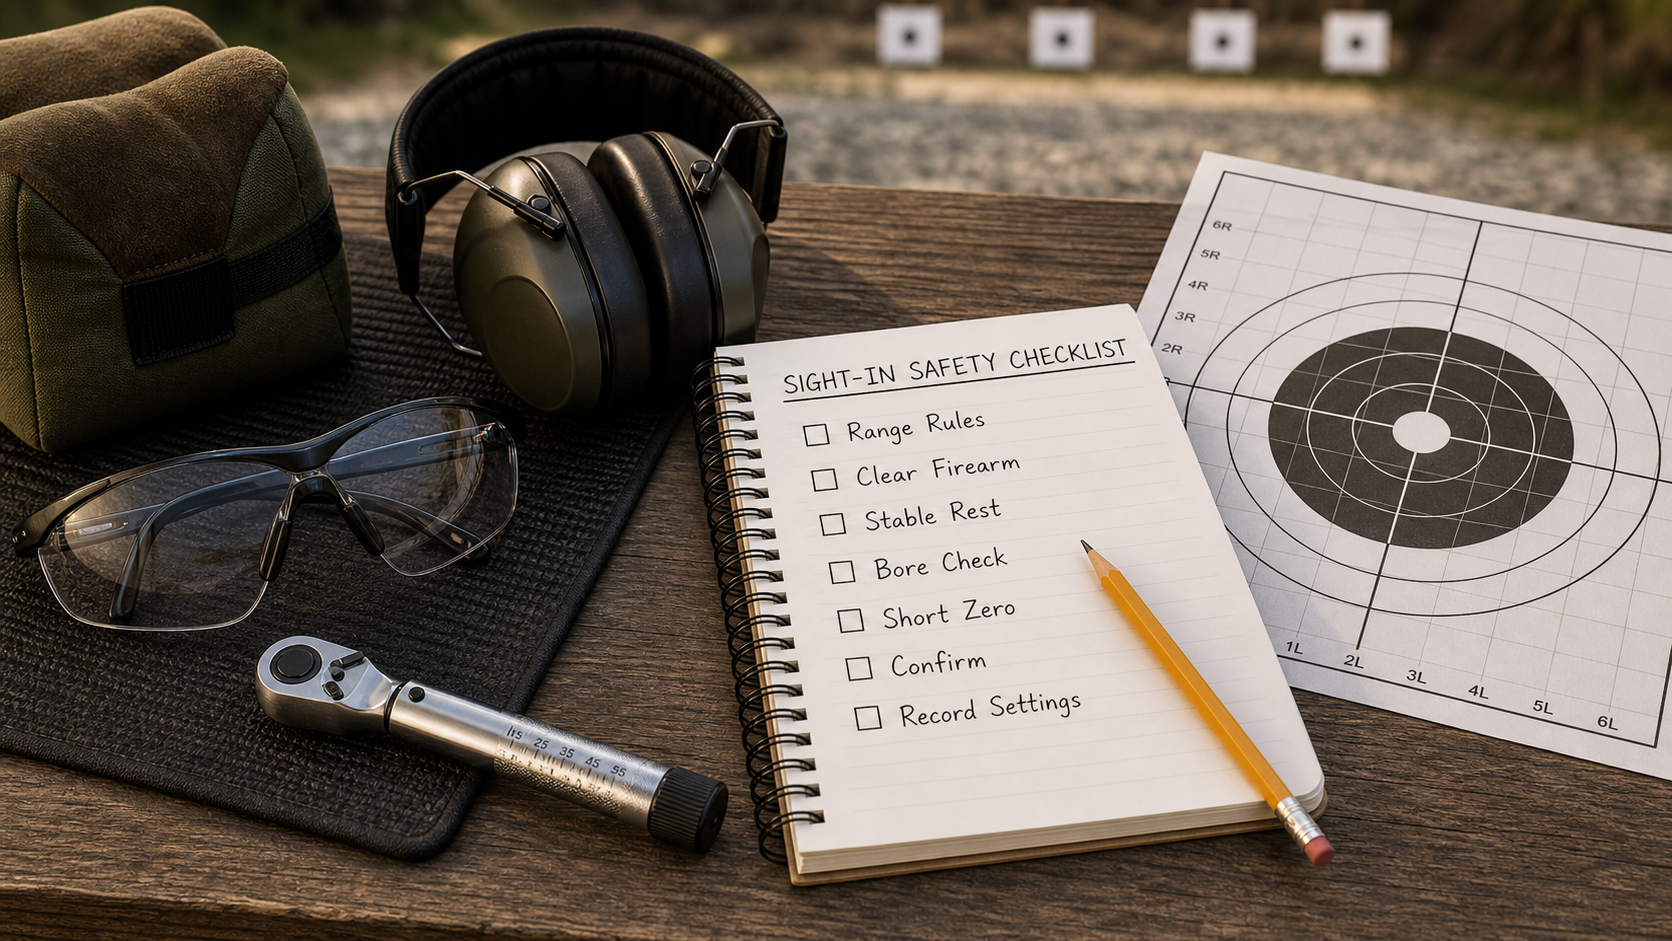
Range Verification Before the Hunt
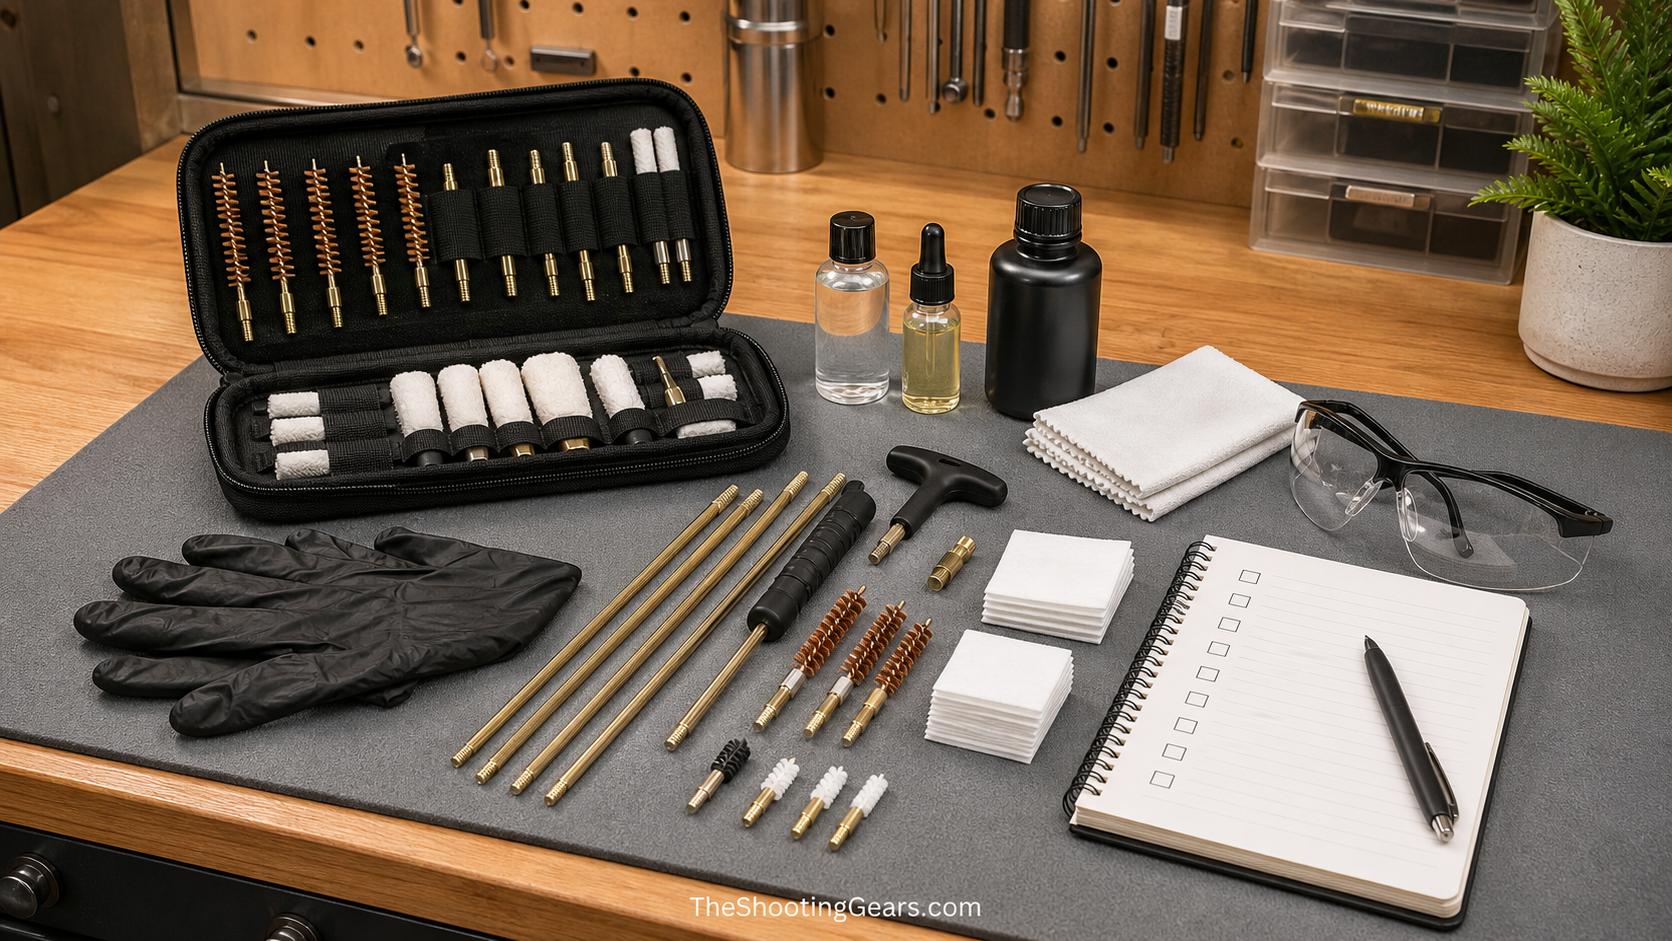
The best way to understand drop is to build confidence slowly. Start with a confirmed zero, then check point of impact at the next practical distance from a stable position. Record what the rifle actually does instead of copying a chart into your notes. If your reticle marks, turret clicks, or calculator data do not match real impacts, trust the range evidence and investigate the cause before hunting.
Practice From Hunting Positions
A bench can confirm the rifle, but it does not prove your field limit. Practice from sitting, kneeling, prone, pack-supported, tripod-supported, or blind-supported positions you realistically use. If your groups open up from field positions, shorten the distance. That is not failure; it is honest data that protects the animal and the hunter.
Field Checklist
- Confirm zero with the exact rifle and ammunition.
- Record real point of impact at the ranges you may hunt.
- Use a rangefinder when distance matters.
- Check wind, angle, animal position, and backstop.
- Use only verified reticle holds or turret corrections.
- Pass the shot if the correction is a guess.
FAQ
What causes bullet drop?
Gravity causes bullet drop. Speed, bullet shape, and distance affect how much drop you see, but every bullet drops during flight.
Is a ballistic chart enough for hunting?
No. A chart is a starting point. Confirm the data with your rifle, ammunition, optic, and shooting positions before relying on it in the field.
Should hunters dial or hold over?
Either can work if it is verified. Holding over is faster, while dialing can be more precise. Both fail if the range, wind, or correction is guessed.
How far should hunters shoot?
Only as far as they can place repeated shots from realistic field positions with a safe backstop and confirmed range. For many hunters, that limit is much closer than their rifle’s theoretical capability.
Final Takeaway
Ballistic drop is manageable when you confirm your zero, know the real range, understand your rifle’s data, and stay inside your ethical limit. It becomes dangerous when hunters guess. Treat every long shot as a decision that requires safety, certainty, and restraint.