Beginner rifle cleaning starts with safety, the rifle manual, the right tools, and a calm routine. Unload and clear the rifle first, move ammunition away from the bench, work in a ventilated area, and use cleaning products according to their labels. This guide explains beginner-safe rifle cleaning habits without replacing your firearm manual, a qualified instructor, or a gunsmith.
Table of Contents
Quick Answer
To clean a rifle safely as a beginner, unload and clear it, remove ammunition from the cleaning area, follow the manual for any disassembly, use correctly sized rods, brushes, patches, solvent, and oil, clean from the recommended direction, wipe away residue, apply only the amount of oil the manual calls for, and store the rifle securely after inspection.

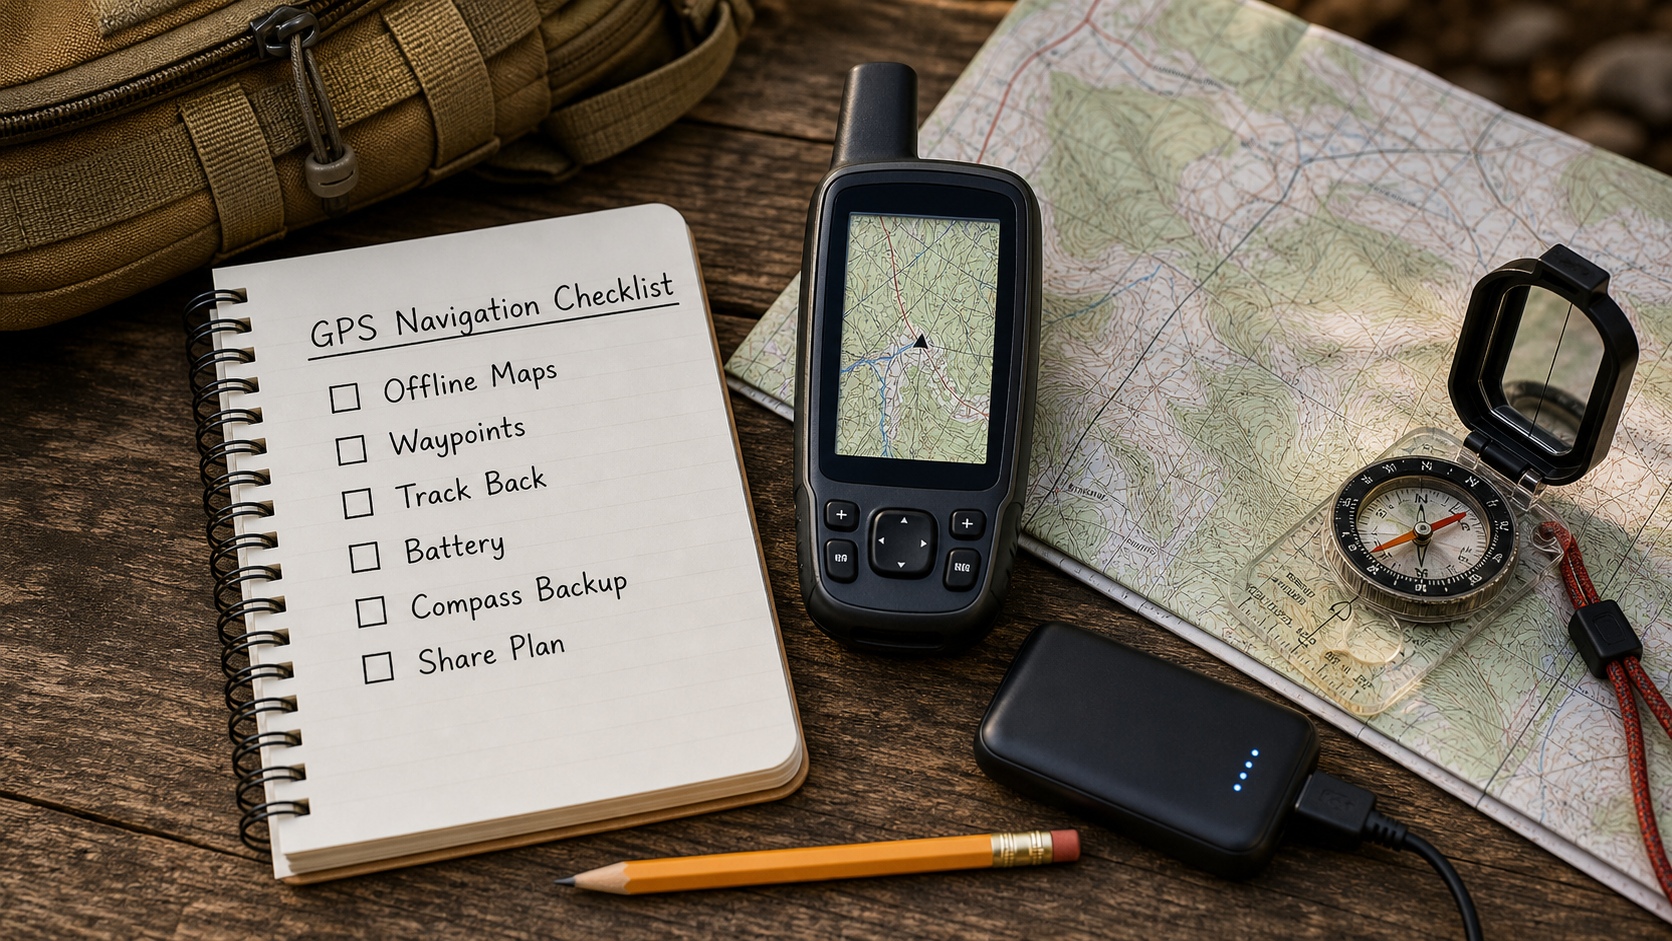
Beginner Rifle Cleaning Checklist
- Unload and clear: Confirm the rifle is unloaded before any cleaning work.
- Remove ammunition: Keep ammunition off the cleaning bench and away from solvents.
- Read the manual: Use the firearm maker’s cleaning and disassembly instructions.
- Use correct-size tools: Match rods, brushes, jags, and patches to the bore.
- Ventilate the area: Use solvent and oil in a space with airflow.
- Protect yourself: Wear eye protection and gloves when using chemicals.
- Store securely: Return the rifle and cleaning chemicals to safe storage when finished.
Start every cleaning session with firearm safety. The NSSF firearm safety rules are a useful reminder that maintenance begins with safe handling. If you clean after range sessions, residue hygiene matters too; CDC/NIOSH range guidance explains why lead and residue exposure should be taken seriously around shooting environments.
Before You Start Cleaning
Choose a stable bench, good lighting, and a surface you do not mind getting dirty. Put ammunition in another location before opening solvent or oil. Confirm the chamber and magazine are clear, then check again. If your rifle requires disassembly, follow the manual rather than memory or a random shortcut.
When to Stop and Ask for Help
Stop if a part does not move as expected, a screw feels stuck, the bore looks obstructed, the action does not function normally, or you are unsure how to reassemble the rifle. A gunsmith, qualified instructor, or manufacturer support is a better choice than forcing parts.
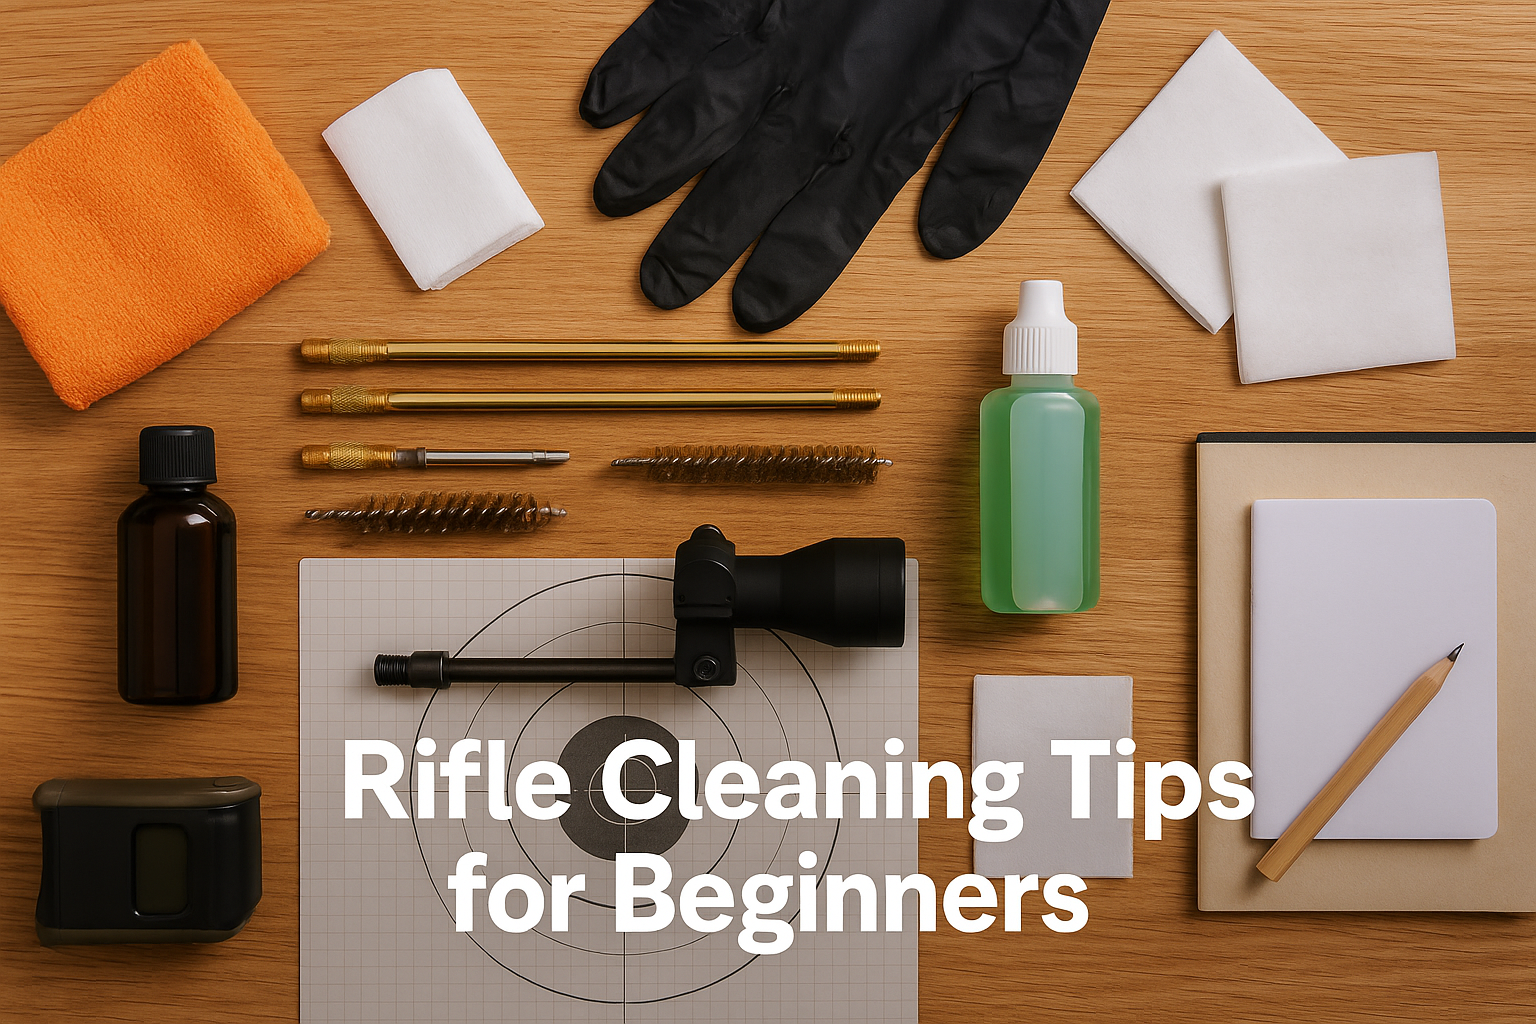
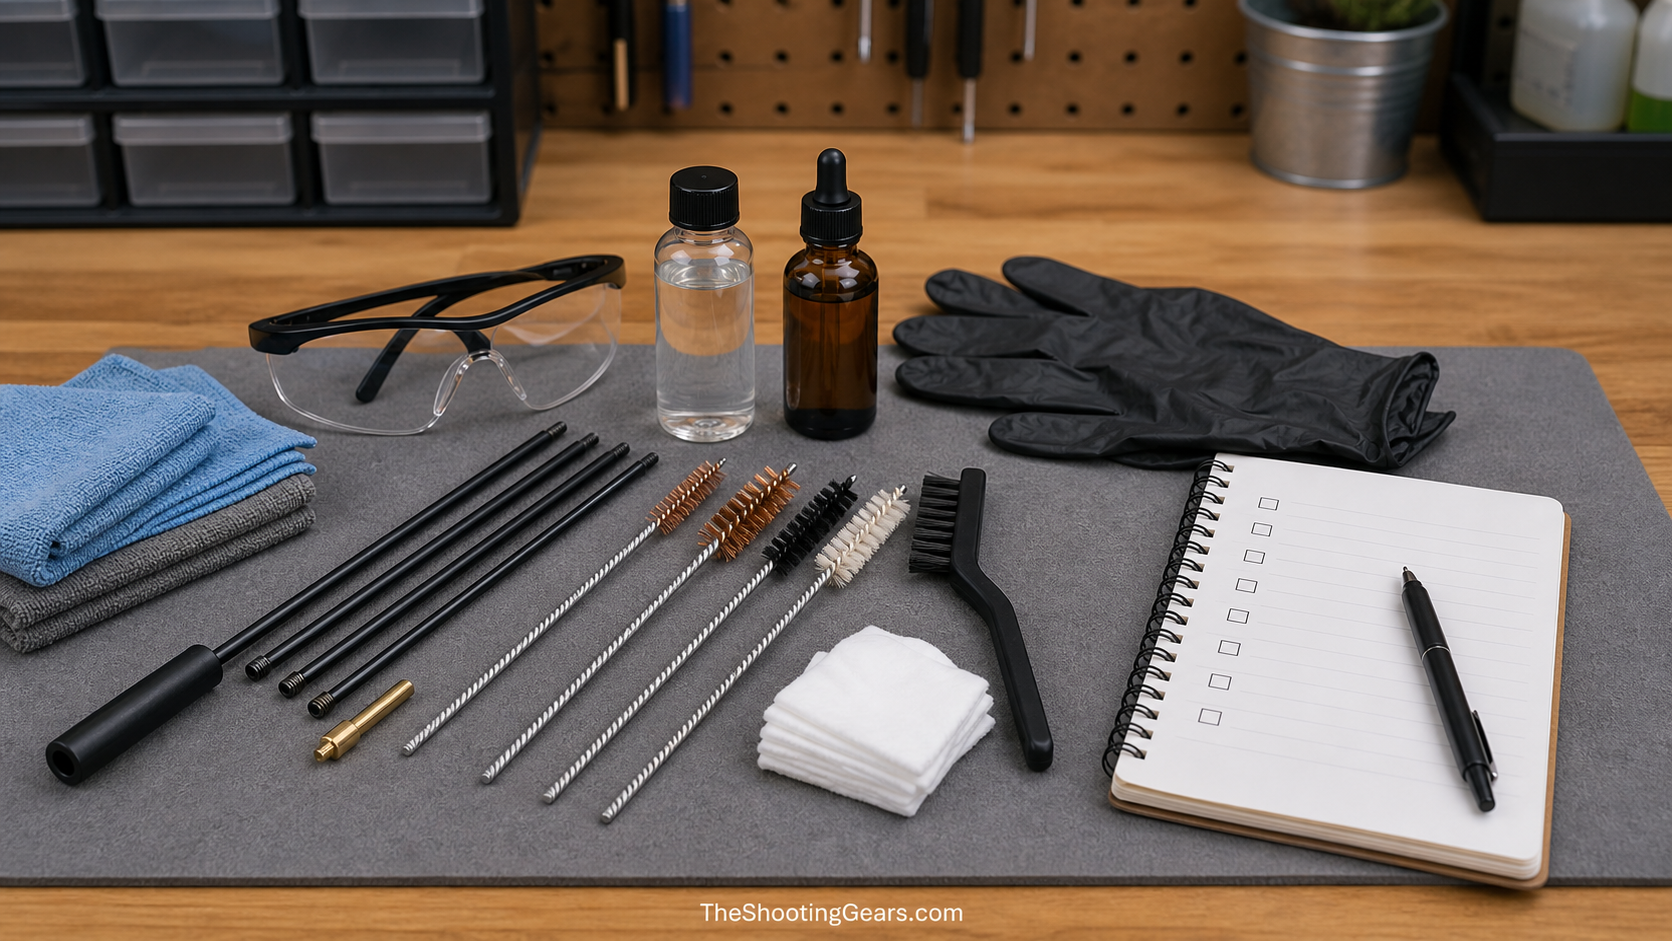
Tools and Supplies
A beginner kit should include a correctly sized cleaning rod or pull-through cable, bore brush, jag or patch loop, cotton patches, nylon utility brush, microfiber cloth, firearm-safe solvent, firearm oil, gloves, and eye protection. A bore guide can help on compatible rifles, but it must match the firearm and cleaning method.
Do not buy only by piece count. A large kit is not useful if the brushes are the wrong size, the rods are rough, or the case makes parts hard to identify. Correct fit and safe handling matter more than having the biggest kit on the shelf.
Solvent and Oil
Use solvent and oil according to their labels and the firearm manual. Avoid mixing chemicals, avoid over-oiling, and keep products capped when not in use. Eye protection and gloves are simple habits that keep residue and splashes under control.
Safe Cleaning Routine
A safe routine is slow and repeatable. After the rifle is clear and the bench is ready, follow the manual for access to the bore and action. Use properly fitted tools, work from the recommended direction, let solvent do its job, and use clean patches until heavy residue is removed. Do not scrape aggressively or force a brush through a bore that feels wrong.
Clean the chamber, bolt face, and accessible action areas only as your manual allows. Many beginners create problems by taking apart more than necessary. If the rifle has heavy rust, pitting, a bore obstruction, unusual wear, or a malfunction, cleaning is not a substitute for inspection by a qualified professional.
Keep Notes
A small maintenance note helps you remember when the rifle was cleaned, what products were used, and whether anything looked unusual. This is especially useful if you rotate several firearms or store a rifle for a season.
Oil, Wipe-Down, and Storage
Oil should protect parts without leaving the rifle wet or sticky. Too much oil can attract debris and may create problems in cold weather or dusty environments. Wipe exterior metal surfaces as appropriate, keep oil away from optics glass unless the product is made for that use, and check that the rifle functions normally after reassembly.
After cleaning, store the rifle securely and keep chemicals away from children, guests, and heat sources. General safety programs such as Project ChildSafe are useful reminders that safe maintenance and safe storage belong together.
Before putting everything away, do a simple bench reset: cap the chemicals, throw away dirty patches, wipe the mat, check that no small parts or tools are left in the action area, and return the manual and notes to the same place each time. Beginners build confidence faster when the cleaning area is organized and repeatable.
Common Beginner Mistakes
- Cleaning before fully unloading and clearing the rifle.
- Keeping ammunition on the bench during cleaning.
- Using the wrong brush, jag, or patch size.
- Forcing rods or brushes instead of stopping to diagnose resistance.
- Over-oiling parts until they feel wet or gummy.
- Mixing chemicals or ignoring solvent labels.
- Taking apart more of the rifle than the manual recommends.
FAQ
How often should a beginner clean a rifle?
Follow the firearm manual first. Many rifles benefit from cleaning after range use, exposure to moisture, dusty conditions, or long storage, but the exact routine depends on the firearm and ammunition.
Can too much cleaning hurt a rifle?
Careless cleaning can cause wear or damage if tools are wrong, chemicals are misused, or parts are forced. Careful manual-based maintenance is different from aggressive scrubbing.
Should I clean from the muzzle or chamber end?
Use the direction recommended by your firearm manual and the tools designed for that method. When unsure, ask the manufacturer, a gunsmith, or a qualified instructor.
Do I need expensive cleaning tools?
You need correct, safe, well-finished tools more than expensive tools. A small quality kit that fits your rifle is better than a large kit full of parts you cannot use.
Final Takeaway
Good rifle cleaning habits are simple: unload and clear first, follow the manual, use correct-size tools, respect solvents and residue, avoid forcing parts, apply oil carefully, and store the rifle securely. Beginners do not need a complicated routine; they need a safe, repeatable one.