How To Choose Arrow Spine: Use Manufacturer Charts for Your Bow Setup

The reliable way to choose arrow spine is to use the current selector or chart from the arrow manufacturer whose arrows you are buying, matched to your specific bow setup. Spine describes how much an arrow shaft flexes, and the right value depends on draw weight, draw length, arrow length, point weight, bow type, bow setup, and release style.

This is not a universal spine chart. Any specific spine number should come from a named manufacturer chart for the exact arrow family, with your real inputs entered. If you are unsure, a qualified archery shop can measure your setup and confirm the fit.

Table of Contents
  1. Quick Answer: Use the Manufacturer Chart
  2. What Arrow Spine Means
  3. Inputs That Affect Arrow Spine
  4. Why Manufacturer Charts Matter
  5. Beginner Arrow Spine Workflow
  6. Common Arrow Spine Mistakes
  7. Related Bow Setup Guides
  8. Frequently Asked Questions

Quick Answer: Use the Manufacturer Chart

To choose arrow spine, gather your bow’s draw weight, draw length, planned arrow length, and point weight. Then enter those details into the current selector or chart for the exact arrow brand and product family you plan to buy. Use that manufacturer’s recommendation instead of mixing values between brands.

Arrow spine depends on your complete bow setup, so start with the right manufacturer chart and the right inputs.

What Arrow Spine Means

Arrow spine describes shaft stiffness. When a bow is shot, the arrow flexes as it leaves the string and then recovers in flight. The goal is not to find a random stiffness number; it is to match the shaft to the bow and arrow setup so the arrow behaves predictably.

Static Spine

Static spine is the measured stiffness rating for the shaft. It is the number printed on many arrows and used in manufacturer charts. Static spine is useful because it gives you a starting rating, but it is not the whole story.

Dynamic Spine

Dynamic spine is how the arrow behaves when actually shot. It changes with arrow length, point weight, draw weight, bow setup, and release style. Two arrows with the same printed spine can behave differently if one is longer, uses a heavier point, or is shot from a different bow.

Inputs That Affect Arrow Spine

Manufacturer charts ask for several inputs because spine selection is setup-dependent. Changing one input can shift the recommended spine, which is why simple shortcuts often fail.

InputWhy it matters
Draw weightMore weight generally needs a stiffer match, but not by itself
Draw lengthAffects the arrow length and energy in the setup
Arrow lengthLonger arrows generally behave weaker dynamically
Point weightHeavier points generally make the arrow behave weaker
Bow type and releaseCompound, recurve, finger release, and mechanical release paths may differ
Arrow modelCharts are brand and product-family specific

Draw Weight and Draw Length

Draw weight is the starting point, but draw length helps determine the arrow length you can safely and practically shoot. A change in draw weight can mean your old arrow setup should be checked again.

Arrow Length and Point Weight

Arrow length and point weight are common reasons two similar bows end up with different recommendations. A longer arrow or heavier point can make the arrow act dynamically weaker, so those details must be entered into the selector instead of guessed.

Why Manufacturer Charts Matter

Manufacturer charts matter because each brand uses its own product lines, spine systems, and selection workflow. A value from one brand’s chart does not automatically transfer to another brand’s arrows. Use the chart for the exact arrows you plan to buy.

For example, Easton provides an arrow selector, and Gold Tip provides a spine selector. Use the Easton workflow for Easton arrows and the Gold Tip workflow for Gold Tip arrows. Do not blend the results into a single homemade chart.

For broader archery participation and safety context, USA Archery is a useful reference. For the actual spine number, though, the arrow maker’s chart and your measured setup are the sources that matter.

Beginner Arrow Spine Workflow

  1. Choose the arrow brand and product family first.
  2. Measure or confirm your draw weight and draw length.
  3. Decide the planned arrow length and point weight.
  4. Open the current manufacturer selector or chart for that arrow family.
  5. Enter the inputs exactly as the selector asks for them.
  6. Use that chart’s recommended spine, then have a shop confirm if anything is unclear.

If your draw weight changes later, repeat the workflow. If you cut arrows shorter, change point weight, or move from field points to a different hunting or target setup, recheck the chart instead of assuming the old recommendation still fits.

Keep your measurements written down with the arrows you buy. A simple note with draw weight, draw length, arrow cut length, point weight, insert weight if known, and the chart used can save confusion later. If your groups suddenly open up after a setup change, those notes help you and a shop see whether the arrow match should be checked again before chasing rest or sight adjustments.

Also separate target and hunting setups when the components differ. A practice arrow with one point weight and a hunting arrow with a different front-end setup may not behave the same. That does not mean one is wrong; it means each setup should be checked through the correct manufacturer workflow.

Common Arrow Spine Mistakes

  • Using a generic “this draw weight equals this spine” shortcut.
  • Mixing chart values between manufacturers.
  • Ignoring arrow length or point weight.
  • Copying another archer’s setup without matching your measurements.
  • Trying to tune around a mismatched arrow instead of fixing the match first.

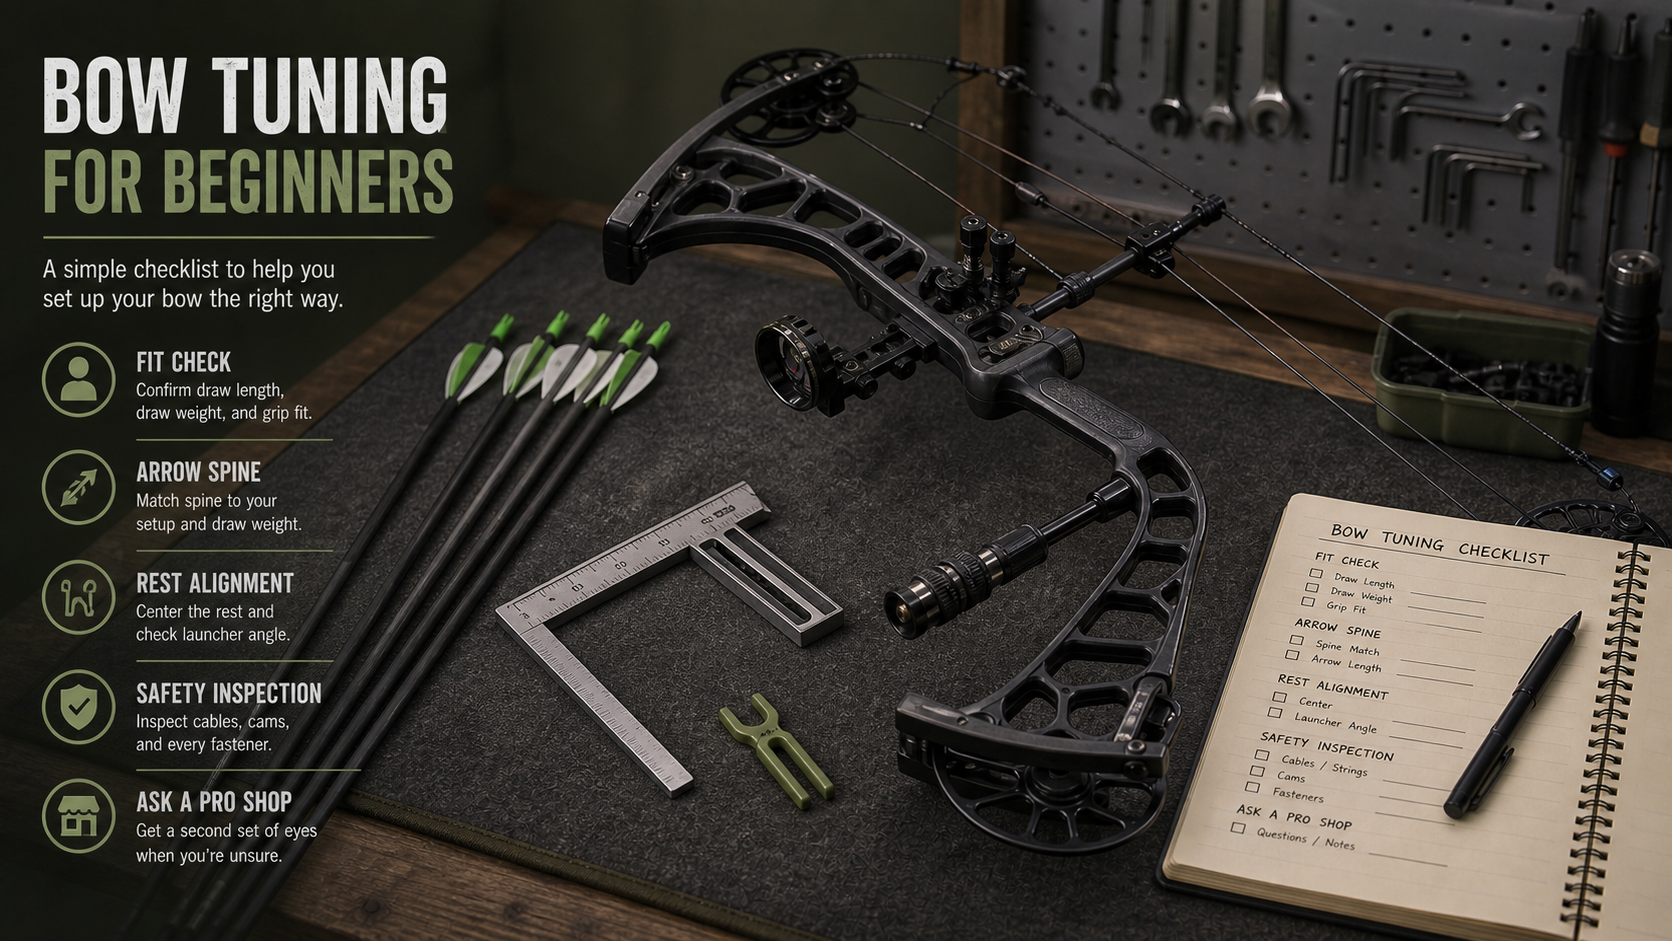
Arrow spine connects directly to bow setup and tuning. Read bow tuning for beginners, review common compound bow mistakes, check archery safety rules, and keep your gear maintained with our bow maintenance tips.

Frequently Asked Questions

How do I choose the right arrow spine for my bow?

Use the current selector or chart from the manufacturer of the arrows you are buying. Enter your draw weight, draw length, planned arrow length, and point weight, then use the recommendation for that exact arrow family.

Does draw weight alone determine arrow spine?

No. Draw weight is important, but arrow length, point weight, bow setup, bow type, and release style can also affect the recommendation.

Can I use one spine chart for any arrow brand?

No. Use the chart for the exact brand and product family you plan to buy. Manufacturer systems are not interchangeable.

What is the difference between static and dynamic spine?

Static spine is the measured shaft stiffness rating. Dynamic spine is how the arrow behaves when shot from your actual setup, which can change with length, point weight, draw weight, and release style.

Should I ask a pro shop before buying arrows?

Yes, if you are unsure about any input. A shop can measure draw weight, draw length, arrow length, point weight, and bow setup so the chart recommendation starts from accurate information.

Final Recommendation

Choose arrow spine by working through the current manufacturer chart for the exact arrows you plan to buy. Use your real setup inputs, keep each brand’s values separate, and ask a qualified shop when measurements are unclear. That workflow gives you a setup-based recommendation instead of a guess.

Bow Tuning for Beginners: A Safe, Simple Guide

Bow tuning is the process of getting your bow, arrows, rest, string, and shooting form to work together so arrows leave the bow consistently. For beginners, the goal is not to perform every advanced adjustment at home. The goal is to understand the basics, do safe visual checks, match your arrows correctly, and know when the bow belongs in a qualified pro shop.

This guide keeps the process in a safe lane. It explains what tuning means, what a beginner can check, what should be left to a technician, and how to avoid chasing equipment changes when the real issue is fit, form, or arrow match.

Table of Contents
  1. Quick Beginner Tuning Checklist
  2. What Bow Tuning Means
  3. Start With Fit and Safety
  4. Check Arrow Spine and Rest Alignment
  5. Understand Paper Tuning Without Overdoing It
  6. When to Visit a Bow Shop
  7. Common Bow Tuning Mistakes
  8. Related Archery Setup Guides
  9. Frequently Asked Questions

Quick Beginner Tuning Checklist

Use this as a starting point, not as a full setup procedure. Anything beyond these basic checks should go to a qualified bow technician or the manufacturer instructions for your exact bow model.

Start with fit, arrow spine, rest alignment, safety inspection, and a pro-shop check when you are unsure.
CheckBeginner-safe actionWhen to ask a pro
FitConfirm draw weight and draw length feel controlledIf you are guessing or changing modules
ArrowsCheck arrow spine with a manufacturer selector or shopIf arrow flight stays inconsistent
RestConfirm the arrow sits the same way each shotIf hardware needs moving or retuning
String and cablesLook for fraying, wear, or unusual changesAny replacement, twisting, timing, or press work
Noise or damageStop shooting and inspect visuallyAny crack, dry fire, hard knock, or abnormal sound

What Bow Tuning Means

Bow tuning means adjusting and matching the shooting system so the arrow leaves cleanly and repeats. That system includes the bow, arrow spine, point weight, nock fit, rest, string, cables, release, draw length, draw weight, and the archer. Easton’s arrow tuning guide is useful because it frames tuning as a complete setup issue, not one magic adjustment.

For a beginner, tuning is a sequence. Fit and safety come first. Arrow match comes second. Rest and nocking consistency come next. Fine tuning comes last, often with help. If you skip the early steps, advanced tuning methods can send you in circles.

Start With Fit and Safety

A bow that does not fit you cannot be tuned into good shooting. Draw weight should be something you can pull smoothly and hold under control through a full session, not the heaviest number you can force once. Draw length should match your body and anchor point. If you are unsure, a coach or pro shop can measure it properly.

Safety comes before every adjustment. Inspect limbs, riser, string, cables, cams, rest, nocks, and arrows before shooting. If the bow has visible damage, frayed strands, loose hardware, new noise, or anything that feels different, stop shooting. Organizations such as USA Archery and World Archery are useful starting points for safe archery context, but your exact bow manual is still the authority for your equipment.

Check Arrow Spine and Rest Alignment

Arrow spine is one of the first equipment checks to get right. Spine describes how stiff the arrow is, and the correct choice depends on draw weight, draw length, arrow length, point weight, and bow setup. Do not guess from a generic chart without matching it to your own measurements. If you want the deeper explanation, read our arrow spine guide.

Rest Alignment Is a Consistency Check

For a beginner, rest alignment starts with observation. The arrow should sit on the rest the same way every shot, the nock should engage consistently, and nothing should look loose or shifted. Actually moving the rest, setting centershot, or changing nocking-point relationships is best learned with a technician the first time. Our arrow rest guide explains the component without turning it into risky at-home press work.

Understand Paper Tuning Without Overdoing It

Paper tuning is a diagnostic method where an arrow is shot through paper and the tear is read for clues about arrow flight. A clean tear suggests cleaner flight. A left, right, high, or low tear suggests something to investigate. That does not mean every beginner should immediately start moving hardware.

For new archers, inconsistent tears often come from form: grip pressure, anchor changes, release execution, or inconsistent posture. If the same problem appears with good form and matched arrows, a pro shop can help interpret the tear and make safe adjustments.

Write down any changes you test so you can return to the last known good setup.

When to Visit a Bow Shop

Visit a qualified bow shop or authorized retailer any time the work touches stored energy, cams, limbs, strings, cables, or draw-length modules. These parts are under force, and the wrong adjustment can damage the bow or injure someone.

  • Anything that needs a bow press
  • Cam timing or synchronization
  • String or cable twisting, replacement, or adjustment
  • Draw-length module changes
  • Peep sight or D-loop installation
  • Any repair after a dry fire, hard knock, crack, or unusual noise

Common Bow Tuning Mistakes

  • Tuning before the bow fits the archer.
  • Blaming the bow when inconsistent form is the real issue.
  • Using arrow spine, rest, or nock settings copied from someone else.
  • Doing press-level work without proper tools and training.
  • Ignoring warning signs like new sounds, frayed strands, or visible damage.
  • Skipping the manual for the exact model and year.

Bow tuning connects to several other setup basics. Start with archery safety rules, then review how to choose arrow spine, the arrow rest guide, and how to increase draw weight safely.

Frequently Asked Questions

What does bow tuning mean for a beginner?

For a beginner, bow tuning means confirming safe fit, matched arrows, consistent rest and nock behavior, and stable form. Advanced adjustments can wait until the basic setup is safe and consistent.

Can I tune my bow at home?

You can do basic visual checks at home, such as inspecting for damage and confirming the arrow sits consistently. Work involving strings, cables, cams, limbs, modules, or a bow press should go to a qualified technician.

Do I need a spine chart to start?

You need spine information matched to your own bow setup. Use a manufacturer selector, your exact measurements, or a pro shop rather than guessing from a generic chart.

What is paper tuning?

Paper tuning is a diagnostic test that uses the tear in paper to judge arrow flight. It can be helpful, but beginners should be careful about making hardware changes without experienced help.

When should I stop shooting and get help?

Stop shooting if you see cracks, frayed strands, loose hardware, a damaged arrow, a new sound, or anything that feels wrong. Get help after any dry fire, hard impact, or suspected equipment damage.

Final Recommendation

Treat bow tuning as a safe sequence: fit first, safety inspection second, arrow match third, rest consistency fourth, and advanced tuning only when the foundation is stable. When the job touches the bow’s stored energy or press-level components, let a qualified technician handle it. That protects both the archer and the equipment.

Exit mobile version