Rifle Scope vs Red Dot for Hunting: How to Choose by Scenario

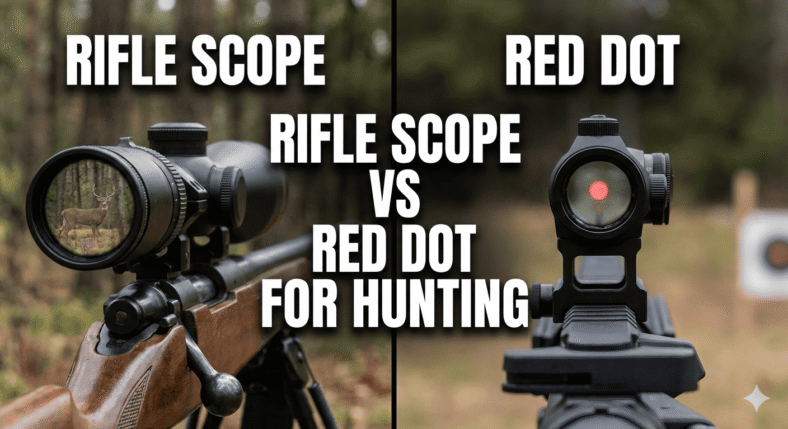
No single optic is best for every hunt. A magnified rifle scope, an LPVO, and a red dot sight each fit different scenarios. A magnified scope gives reach and detail for open country. A red dot gives a fast, both-eyes-open aiming reference for close cover. An LPVO sits between them, offering a wide 1x view and modest magnification when needed.

The right choice depends on terrain, how far you need to identify game, low-light conditions, weight, battery needs, eye relief, and your exact firearm/optic setup. This comparison is general guidance, not a universal recommendation. Always follow safe handling rules, confirm target and backstop, and check your state hunting regulations before the hunt.

What Is a Magnified Rifle Scope?

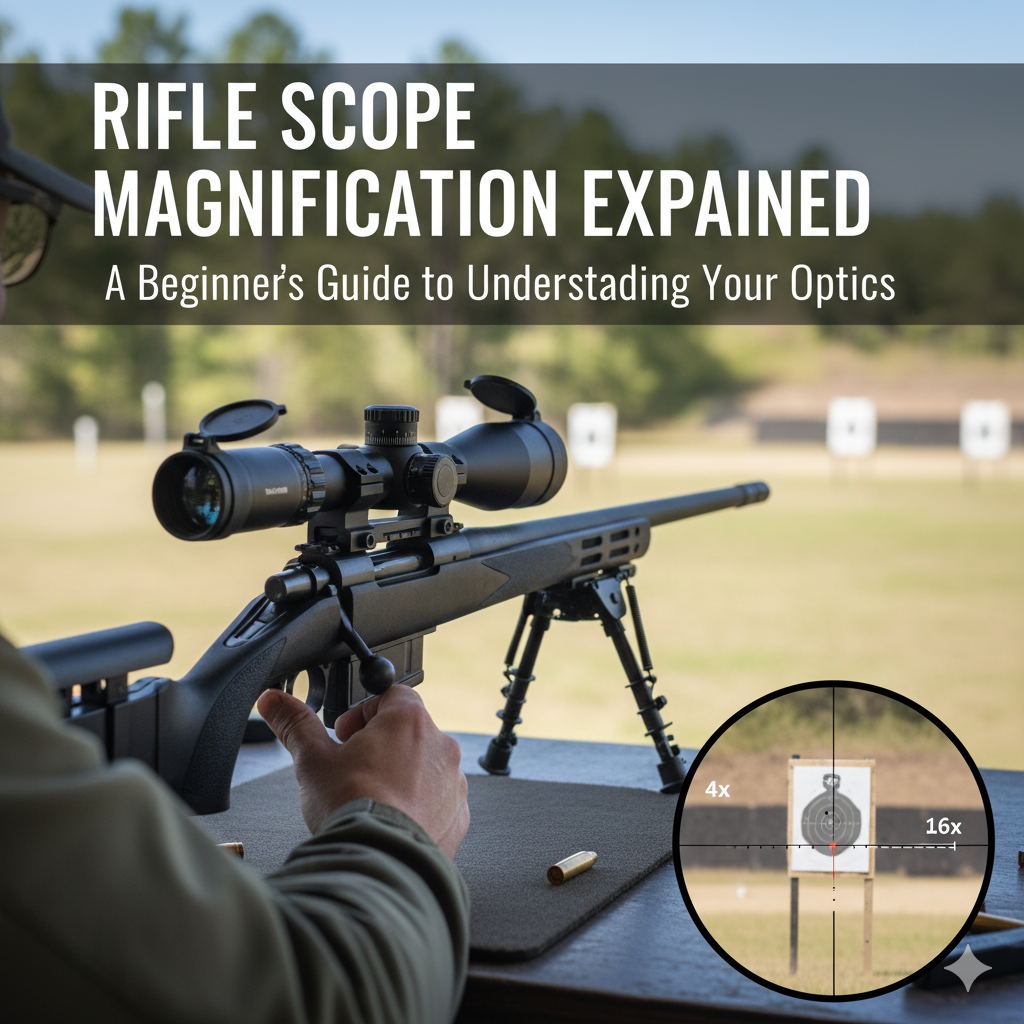
A magnified rifle scope uses lenses to enlarge the target image and shows an aiming reticle. Magnification may be fixed or variable, such as a 3-9x range. Higher magnification helps you see detail at distance, while narrowing field of view and making head position more important.

Magnified scopes have defined eye relief, which is the distance your eye sits behind the scope to see a full image. See your exact optic manual for its magnification range, eye relief, reticle, and adjustment details. For related basics, read our guide to rifle scope magnification and our explanation of eye relief.

What Is a Red Dot Sight?

A red dot sight uses an illuminated aiming dot and is usually non-magnified. The main advantages are a wide view, fast aiming reference, and more forgiving head position than a magnified scope. That can help in close cover where speed and awareness matter.

The tradeoff is limited magnification for studying detail at distance. A red dot also depends on battery power and brightness settings, so check the optic before a hunt and carry a spare battery. If you want a related primer, see our reflex sights vs red dot guide.

What Is an LPVO?

An LPVO, or low-power variable optic, is a scope whose range starts at or near 1x and rises to a modest top end such as 1-4x, 1-6x, or 1-8x. At low power it can feel closer to a both-eyes-open optic, while higher power gives more detail than a non-magnified red dot.

LPVOs still have scope-style eye relief and are often heavier than red dots. The Vortex LPVO 101 guide explains the bridge concept well, but you should confirm exact weight, magnification, reticle, and eye relief against the specific model. Our article on 1-4×24 LPVOs for hunting also covers the practical tradeoffs.

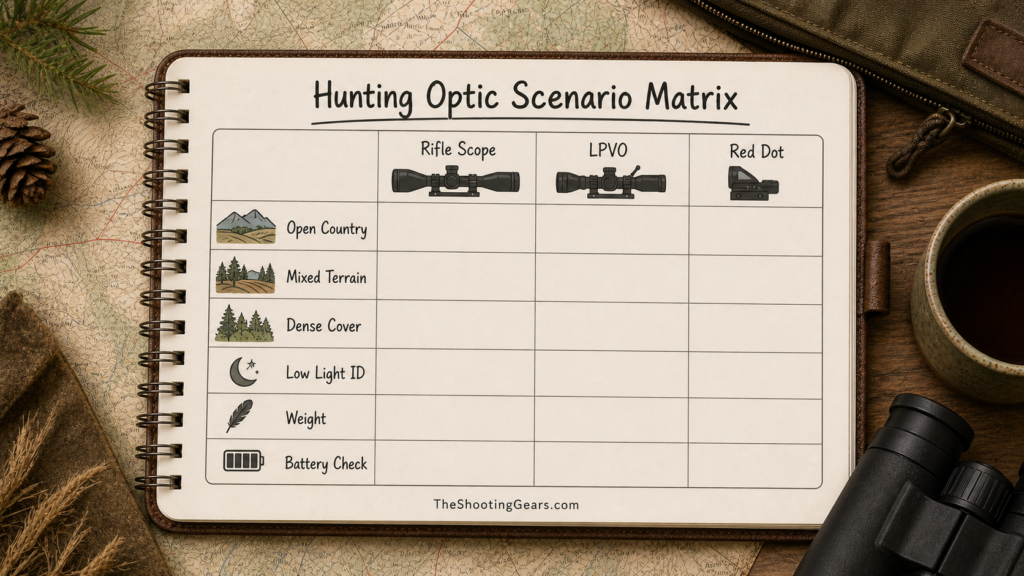
Rifle Scope vs LPVO vs Red Dot: Comparison Matrix

This matrix summarizes typical traits. It is not a ranking, and it is not a performance promise. Confirm specs with the manufacturer, and use your own terrain and legal hunting conditions as the final filter.

FactorMagnified Rifle ScopeLPVORed Dot
MagnificationFixed or variable, mid to high1x to modest top endUsually non-magnified
Field of viewNarrows as power increasesWide at 1x, narrower zoomedWide, both eyes open
Eye reliefDefined; head position mattersDefined; head position mattersMore forgiving
Low-light identificationCan help study detail at distanceFlexible, depending on glass and magnificationFast dot, limited detail at distance
Battery dependenceUsually none unless illuminatedOften illumination optionalBattery required for dot
Typical terrain fitOpen country, longer identificationMixed terrainDense cover, closer shots
Use the matrix as a planning worksheet, then confirm the specifications and limits of your exact optic.

Field of View, Eye Relief, and Low-Light ID

Field of view, eye relief, and low-light identification often decide the optic choice. A red dot gives the widest and most forgiving close-cover view, but it does not magnify distant detail. A magnified scope gives reach for identification and observation, but it narrows the view as magnification increases. An LPVO offers a flexible middle ground.

In low light, magnification can help you study detail, but no optic guarantees identification. Glass quality, conditions, legal shooting light, and your own judgment all matter. The Leupold glossary is useful for checking optic terms, and our reticle guide explains reticle choices in more detail.

Comparison by Hunting Scenario

Use this scenario map as a starting point, not a rule. Your terrain, eyesight, firearm setup, and local rules matter more than any label.

ScenarioOften FitsWhyWatch Out For
Dense woodsRed dot or LPVO at 1xWide view and fast acquisitionLimited reach to study distant detail
Mixed terrainLPVOClose-view flexibility plus modest magnificationWeight and eye relief
Stand huntingMagnified scope or LPVOMore time to settle and identifyHead position and field of view
Open countryMagnified scopeMore reach for observation and identificationNarrower view at higher power
Low-light identificationMagnified scope or LPVOMagnification can help study detailNo optic replaces legal light or target ID
Battery simplicityNon-illuminated scopeUsable reticle without batteryLess illuminated aiming help

Weight, Battery, and Maintenance Notes

A red dot is usually the lightest and most compact, but it depends on a battery. A magnified scope varies widely by model and may work without a battery if the reticle is etched. An LPVO is flexible but often heavier than a red dot. Keep lenses clean, verify mounts are secure, and follow manufacturer torque and setup guidance.

Safe firearm handling still comes first. The NSSF primary firearm safety rules are worth reviewing before any range or hunting setup work.

Frequently Asked Questions

Is a rifle scope or red dot better for hunting?

Neither is better for all hunting. A magnified scope suits open country and longer identification, a red dot suits close cover and fast aiming, and an LPVO bridges the two.

Can you hunt with a red dot sight?

Yes, many hunters use red dots in dense woods or close cover. The main tradeoffs are limited magnification for distant detail and dependence on battery power.

Is an LPVO good for hunting?

An LPVO can work well in mixed terrain because it offers a wide low-power view and modest magnification. It also carries scope-style eye relief and is often heavier than a red dot.

Are red dot sights parallax-free?

Some manufacturers describe red dots as having minimal parallax across a usable range, but treat any parallax-free wording as a design-specific manufacturer claim, not an absolute. Check the specific optic documentation.

Which optic is best in low light for hunting?

No optic guarantees low-light identification. A magnified scope or LPVO can help you study detail, while a red dot gives a fast, wide view with limited magnification. Legal shooting light and target/backstop identification still control the decision.

Final Takeaway

Choose a hunting optic by scenario. Use a magnified rifle scope when distance and detail matter most, a red dot when close-cover speed and a wide view matter most, and an LPVO when you need flexibility between the two. Then verify the exact model’s specifications, mount setup, battery needs, and legal hunting rules before relying on it in the field.

Rifle Scope Magnification Explained for Beginners

If you’re new to hunting or target shooting, choosing the right rifle scope can feel confusing especially when it comes to magnification. What does “3-9×40” really mean? How much magnification do you need for 100 yards, 300 yards, or even 1,000 yards? And what’s the difference between fixed and variable scopes?

In this beginner-friendly guide, we’ll break down everything you need to know about rifle scope magnification, so you can confidently pick a scope that matches your shooting style, target distance, and environment.

🎯 What Is Rifle Scope Magnification?

Magnification refers to how many times closer your target appears through the scope compared to what you’d see with the naked eye.

For example:

  • A magnification makes the target appear three times closer.
  • A magnification makes it appear nine times closer.

If you’re viewing a deer at 300 yards through a 3× scope, it will look like it’s only 100 yards away to your eye.

Magnification helps you see your target more clearly, but higher isn’t always better. The right power depends on distance, lighting, and shooting purpose.

🔢 Understanding Scope Numbers: “3-9×40” Explained

You’ve probably seen scope labels like 3-9×40 or 4-12×50. Let’s decode that.

ExampleMeaning
3-9×40The scope has a variable magnification from 3× to 9×, and an objective lens diameter of 40mm.
4×32A fixed magnification of , with a 32mm objective lens.
6-24×50A variable magnification from 6× up to 24×, with a 50mm objective lens for brighter image quality.

Breakdown:

  • First number (3-9) = magnification range (zoom power).
  • Second number (40) = diameter of the front (objective) lens, which affects light transmission and brightness.

So a 3-9×40 scope can zoom from 3× to 9×, and its 40mm lens helps gather enough light for clear, bright images—perfect for medium-range shooting.

⚙️ Fixed vs Variable Magnification Scopes

There are two main types of scopes when it comes to magnification:

1. Fixed Power Scopes

  • Example: 4×32
  • The magnification stays constant (4× in this case).
  • Simpler, lighter, and often more durable because fewer moving parts.
  • Great for beginners or hunters who shoot at a consistent distance.

Pros:

  • Less expensive
  • Easy to use
  • Reliable and shock-resistant

Cons:

  • Not flexible for varying shooting distances

2. Variable Power Scopes

  • Example: 3-9×40 or 4-16×50
  • Allows you to adjust magnification for different distances and targets.

Pros:

  • Versatile for both close and long ranges
  • Ideal for hunting, competitions, and tactical use

Cons:

  • Slightly heavier and costlier
  • More internal mechanics (potential for alignment drift over time)

If you’re a beginner, a variable scope like 3-9×40 is a great all-rounder it offers enough range flexibility for most hunting and range scenarios.

📏 Choosing the Right Magnification by Shooting Distance

One of the biggest beginner mistakes is over-magnification. You don’t need 25× zoom for deer hunting at 100 yards! Here’s a general guide:

Shooting DistanceRecommended MagnificationIdeal Usage
0–100 yards1× to 4×Close-range hunting, home defense, tactical shooting
100–300 yards4× to 9×Most hunting (deer, boar, coyote), mid-range targets
300–600 yards9× to 12×Long-range target shooting, varmint hunting
600–1000+ yards12× to 25×Extreme long-range precision, competition shooting

Example Scenarios:

  • Whitetail deer hunting (100–250 yards): 3-9× or 4-12× is perfect.
  • Coyote or varmint hunting (300–600 yards): 6-18× or higher helps you spot smaller targets.
  • Benchrest or long-range competition (800+ yards): 16-25× or more gives fine precision for small bullseyes.

Remember: higher magnification reduces your field of view, which can make it harder to track moving targets quickly.

👁️ Field of View (FOV) and Why It Matters

Field of View (FOV) means how wide an area you can see through the scope, usually measured in feet at 100 yards.

  • Lower magnification = Wider FOV
  • Higher magnification = Narrower FOV

For example:

  • At , you might see 30 feet of width at 100 yards.
  • At , you might only see 12 feet of width.

This trade-off means you should use lower power for scanning or tracking moving targets, and higher power for precise aiming on stationary ones.

🌅 The Role of the Objective Lens Size

The second number in a scope (like the 40 in 3-9×40) indicates objective lens diameter in millimeters.

Larger lenses (e.g., 50mm):

  • Gather more light
  • Brighter image in low-light (dawn/dusk)
  • Allow higher magnification clarity

Smaller lenses (e.g., 32mm):

  • Lighter, more compact
  • Less light-gathering capability

If you hunt in low-light conditions, choose a larger objective lens (44–50mm).
For daytime range shooting, 40mm or smaller is usually fine.

🧠 Understanding Exit Pupil and Eye Relief

Two terms you’ll often see in scope specs are exit pupil and eye relief.

🔸 Exit Pupil

It’s the diameter of the beam of light exiting the eyepiece, calculated as:

Objective Lens ÷ Magnification

For example:
A 3-9×40 scope at 3× gives:

40 ÷ 3 = 13.3mm exit pupil (bright image)

At 9×:

40 ÷ 9 = 4.4mm exit pupil (dimmer image)

Human pupils dilate to about 7mm in darkness—so a larger exit pupil = brighter view, especially in low light.

🔸 Eye Relief

This is the distance your eye must be from the scope to see a full image.

  • 3–4 inches of eye relief is ideal for most rifles.
  • Too short, and you risk a “scope bite” from recoil.
  • Too long, and you’ll struggle to get a clear sight picture.

Always choose a scope with generous, consistent eye relief for comfort and safety.

🎯 First Focal Plane (FFP) vs Second Focal Plane (SFP)

Modern scopes come in two optical designs depending on where the reticle (crosshair) is placed:

1. First Focal Plane (FFP)

  • Reticle zooms in and out with magnification.
  • Holds true across all power levels perfect for long-range shooters using holdovers.
  • More expensive but very precise.

2. Second Focal Plane (SFP)

  • Reticle stays the same size regardless of magnification.
  • Easier for beginners and hunters who shoot at a set distance.

If you’re just starting out, an SFP scope is usually simpler and more affordable.

🪶 The Impact of Magnification on Weight and Handling

Higher-powered scopes tend to:

  • Weigh more
  • Be longer
  • Require higher mounting rings
  • Affect rifle balance

For hunters who walk long distances, lighter 3-9× scopes are ideal.
Precision or competition shooters may prefer heavier 6-24× optics with better adjustment controls.

🪞How to Adjust Magnification Properly

On variable scopes, the power ring near the eyepiece controls magnification.
Here’s how to use it effectively:

  1. Start at the lowest power to locate your target quickly.
  2. Zoom in gradually once your crosshairs are centered.
  3. Avoid max zoom unless absolutely necessary—small hand movements become exaggerated, and image brightness may drop.

Tip: If your target looks shaky at high zoom, reduce magnification slightly it often improves overall visibility and steadiness.

🧭 Magnification and Parallax: The Hidden Factor

At higher magnification levels, parallax error can cause your reticle to shift off the target even if your head moves slightly.

What Is Parallax?

Parallax occurs when the reticle and target image aren’t on the same optical plane.

How to Fix It

  • Many mid-to-high-end scopes include a side parallax knob or adjustable objective (AO) to fine-tune focus for different distances (usually marked 50yds, 100yds, 300yds, ∞).
  • Adjust until the reticle stays fixed on target even if you move your head slightly.

For beginners shooting under 300 yards, a factory-set parallax (100 yards) scope is usually fine.

🧩 Balancing Magnification with Purpose

When picking your scope, think of these three questions:

  1. What distance will I shoot most often?
  2. What size are my targets?
  3. Do I prioritize speed, accuracy, or light gathering?

Here’s a quick summary:

Type of ShootingTypical RangeRecommended Scope
Deer / Hog Hunting50–300 yards3-9×40 or 4-12×44
Varmint / Predator200–600 yards6-18×44 or 6-24×50
Target / Benchrest500–1000 yards10-25×50 or higher
Tactical / 3-Gun0–200 yards1-6×24 or 1-8×30
Brush / Woods Hunting<100 yards1-4×24 or 2-7×32

🧰 Bonus: Other Factors to Consider When Buying a Scope

Magnification is just one piece of the puzzle.
Also consider:

1. Lens Coating

Look for fully multi-coated optics to reduce glare and increase brightness.

2. Tube Diameter

Most scopes are either 1-inch or 30mm.

  • 30mm tubes offer greater adjustment range and light transmission but require heavier mounts.

3. Reticle Type

Choose reticles based on your goal:

  • Duplex: Simple and clean for hunting
  • BDC (Bullet Drop Compensator): Great for long-range holdovers
  • Mil-Dot: Ideal for tactical and range estimation

4. Durability

Ensure it’s waterproof, fog-proof, and shock-resistant, especially for outdoor use.

5. Brand Reputation

Trusted brands include Vortex, Leupold, Bushnell, Nikon, Burris, and Primary Arms—each offering great entry-level scopes for beginners.

🪶 Common Beginner Mistakes with Magnification

  1. Over-zooming: Using 20× when 6× is enough—makes your view darker and shakier.
  2. Neglecting eye relief: Causes scope bite from recoil.
  3. Buying the biggest scope available: Adds unnecessary weight and cost.
  4. Ignoring mounting height: Large objective lenses may require higher rings, altering cheek weld.
  5. Forgetting lighting conditions: High magnification in dusk conditions = dim sight picture.

Remember: a clear, stable image at lower power beats a shaky, dim one at high power.

🧍‍♂️ Recommended Magnification for Beginners

If you’re starting out, here are tried-and-true configurations:

  • 3-9×40 → Classic all-rounder for hunting and target shooting.
  • 4-12×44 → Slightly more reach for longer shots.
  • 1-6×24 → Perfect for tactical or short-range rifles.
  • 6-24×50 → For serious long-range or precision shooters.

🏁 Conclusion: Finding Your Perfect Scope Magnification

Rifle scope magnification doesn’t have to be intimidating. The key is to match your magnification range to your target distance and shooting environment—not just to pick the highest numbers.

For most beginners, a 3-9×40 scope is the sweet spot: bright, versatile, affordable, and simple to use. As you gain experience and specialize in certain shooting styles, you can move up to higher magnifications with advanced features like parallax adjustment and FFP reticles.

Whether you’re tracking deer in thick woods or punching paper targets at 500 yards, understanding magnification helps you shoot smarter, safer, and more accurately.

Exit mobile version